Copper Mill - Climbing to the Upper Levels (Part 2)
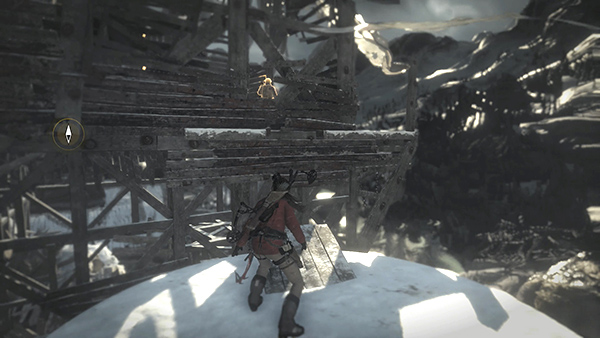
There's a lone Trinity soldier in the building ahead. If you're quick, you may be able to shoot him through the broken slats. Otherwise, wait until he moves off to the right.
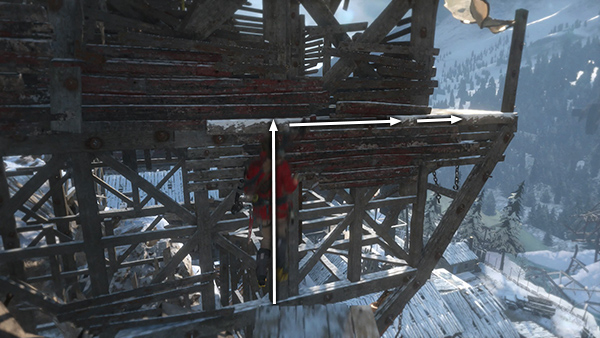
Then jump and grab a handhold on the wall, climb then jump to the right.
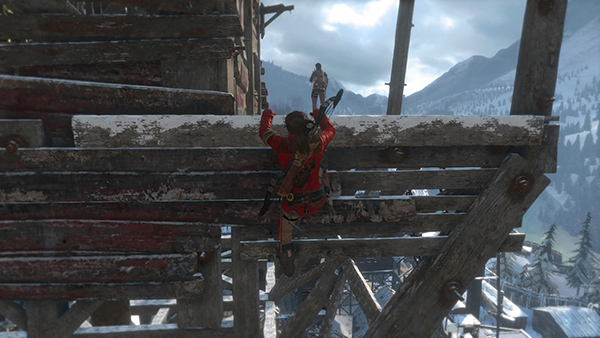
Pull up onto the ledge...
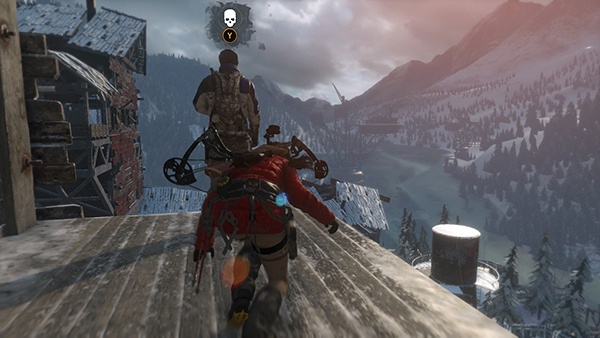
...and sneak up behind him to deliver a stealth attack.
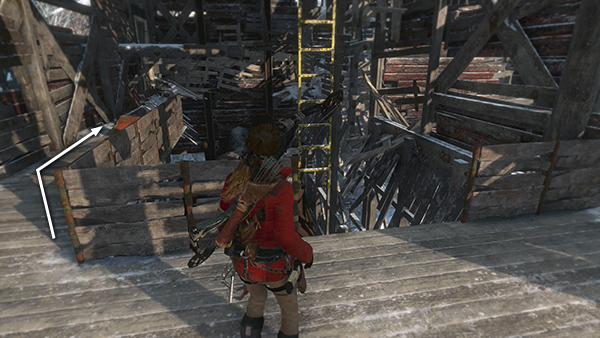
Now, if you don't need cloth, you can take the quicker route to the level above. Instead of climbing the yellow ladder, go around to the left...
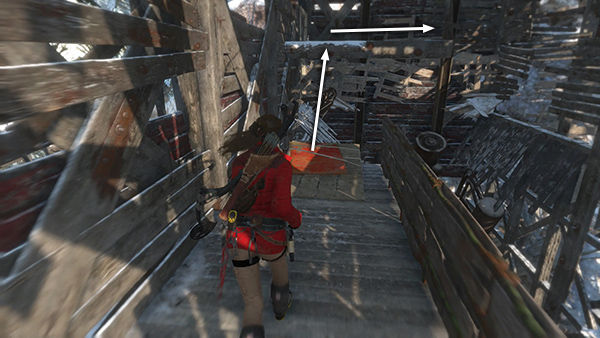
Jump from the red ledge to grab the thick, wooden beam ahead. Pull up, walk to the right...
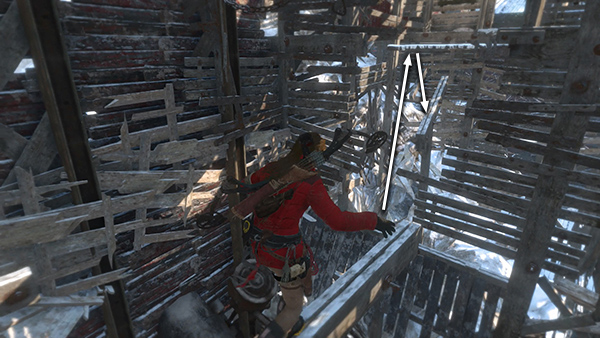
...and use the horizontal bar to swing over to the next beam.
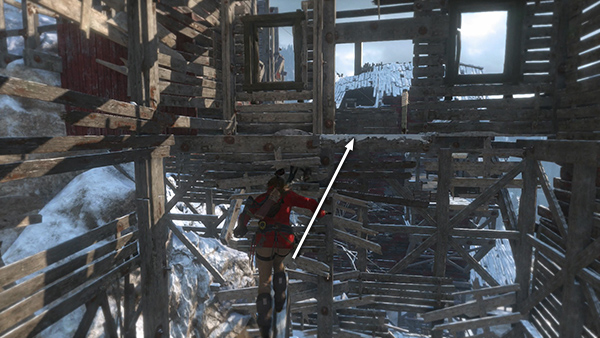
Move to the end of the beam, jump to grab the ledge ahead, and pull up onto a ledge with a rope-wrapped pole.
If you want to take a detour to pick up some cloth, instead grab the yellow ladder shown in the fifth screenshot above. Climb to the top. Then climb the wooden handholds on the side of the building, traverse around to the left, and drop down onto a ledge with a container of cloth. Climb the slats into the attic room above, and then ride the zip line down to the ledge with the rope-wrapped pole (not shown).
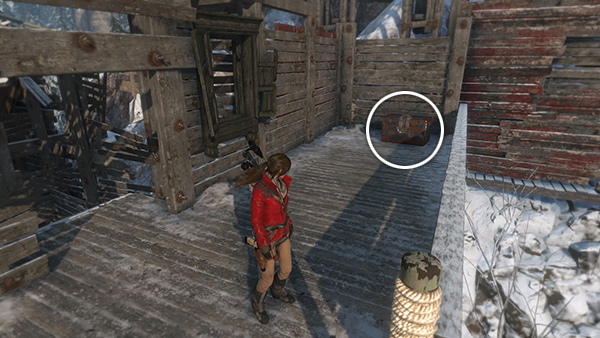
This ledge also has a strongbox (11/14) containing a SUBMACHINE GUN COMPONENT (3/4). You'll need the LOCKPICK to open this box. So if you have not yet completed the Communications Breakdown Mission in the Logging Camp, you'll have to do that first to get the tool.
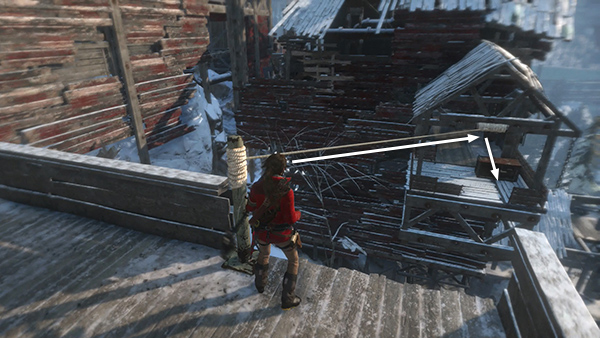
Stand near the rope-wrapped pole and fire an arrow into the beam below to make a zip line. Slide down into the adjacent building and immediately move behind the metal box.
[Part 1 | Return to the Copper Mill Walkthrough]
Copyright © - Stellalune ( ). All rights reserved. Feel free to copy or print this walkthrough for personal use. By all means, share it with friends, but please include this credit line so people can send me their feedback. No part of this walkthrough may be reproduced on another site without permission. Follow this link for details about this site's advertising and privacy policy.