St. Francis' Folly - Secret #1
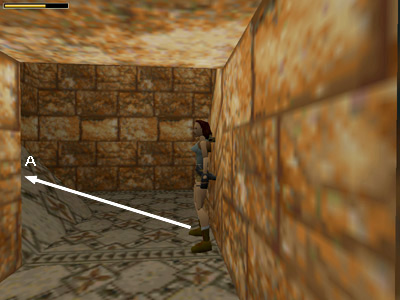
As you enter the room, there's an angled block that meets the floor on the left (A). Stand Lara in the doorway facing the angled block, with her left foot on the line of tiny triangles that spans the doorway. (This is the red line in the diagram on the main walkthrough page.) Walk forward as far as possible toward the angled block then hop back to the position shown in the screenshot above.
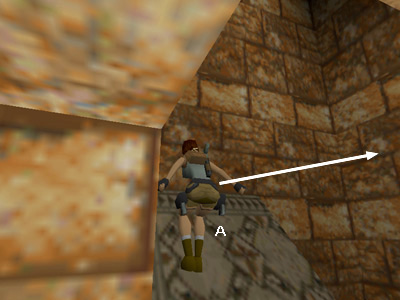
Press and hold Action. Press Jump + Forward, then release forward while holding both Action and Jump. Lara will jump forward onto the angled block (A), backflip off it onto the angled block behind her (B). . .

. . . automatically turn to face down the slope and jump to grab the ledge above.
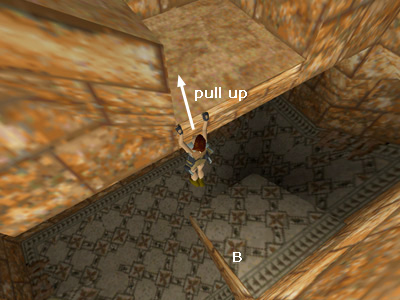
Continue holding Action as you release Jump and press Forward to pull up to the middle level.

Position Lara facing the middle of the lower block (C) with her back against the higher block (D). Hold Action and press Jump + Forward. Release Forward while holding Jump and Action, and Lara will jump forward onto the first block (C). . .
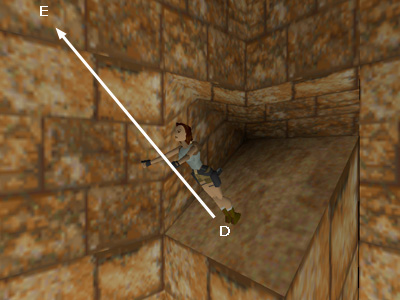
. . . backflip onto the higher block (D), then jump forward to grab the ledge above (E).
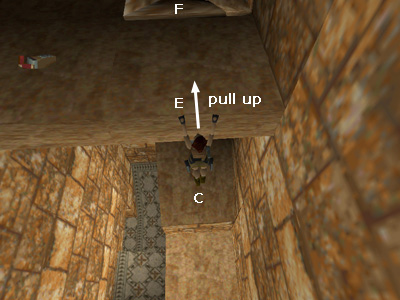
Pull up to the upper level.
Walkthrough text and diagrams copyright © 1998- Stellalune (email ). All TR1 screenshots were made using Glidos and Fraps. Feel free to copy or print this walkthrough for personal use. By all means, share it with friends, but please include this credit line so people can send me their feedback. No part of this walkthrough may be reproduced on another site without permission. Follow this link for details about this site's advertising and privacy policy.