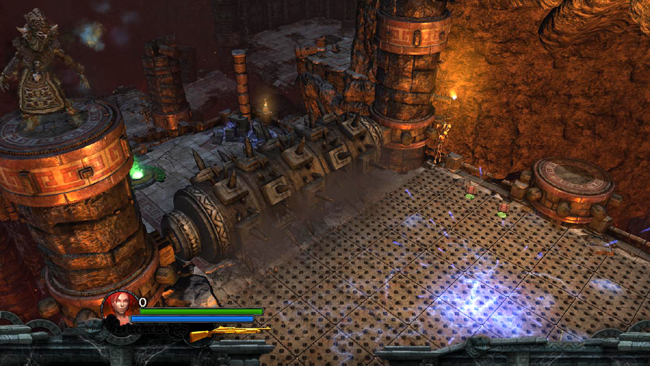
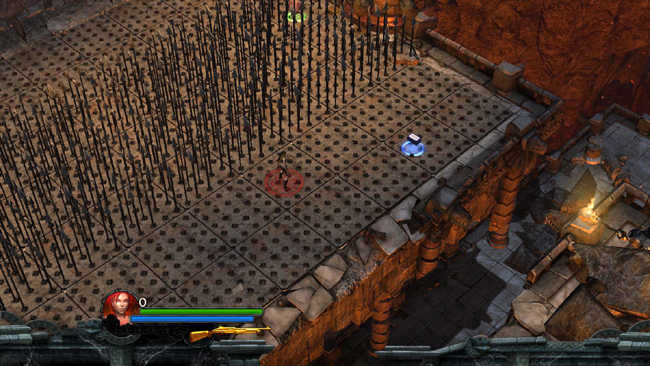
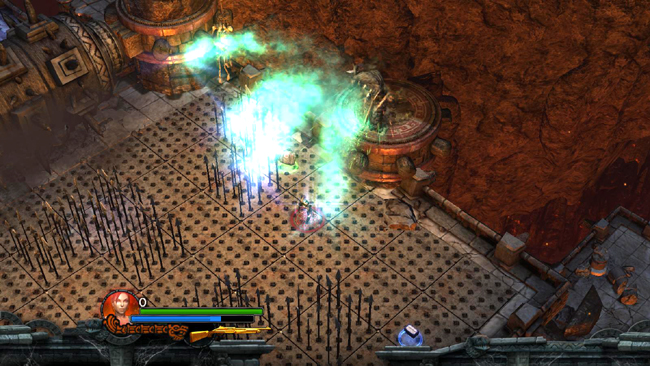
The spikes are retracted at first, but after a brief cut scene, in which Xolotl taunts Lara further and hurls some magic lightning at the floor, it starts to light up disco style.
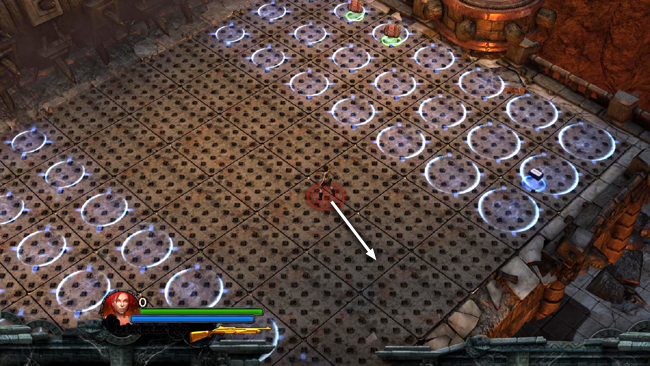
Wherever the flashing circles appear, spikes will soon pop up. So quickly move out of the way. The first time the lights flash, just move to the middle right of the floor. Lara will be safe here from the first 2 sets of spikes.
One. . .
. . . and. . .
. . . two.
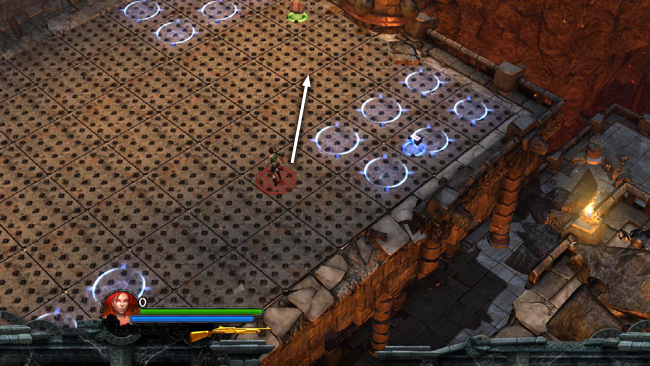
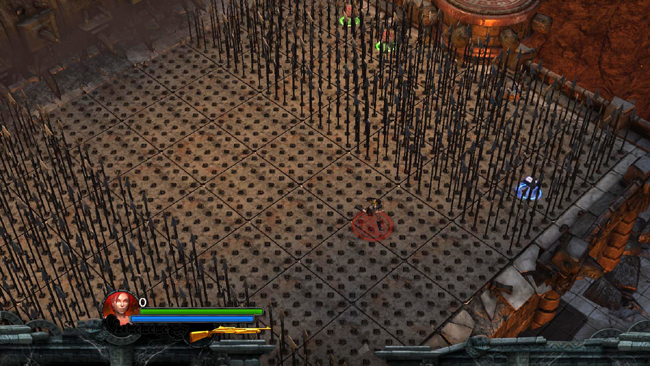
Then move over to the NE edge of the floor.
This small area remains clear at first, although more spikes will pop up the longer you stand here.
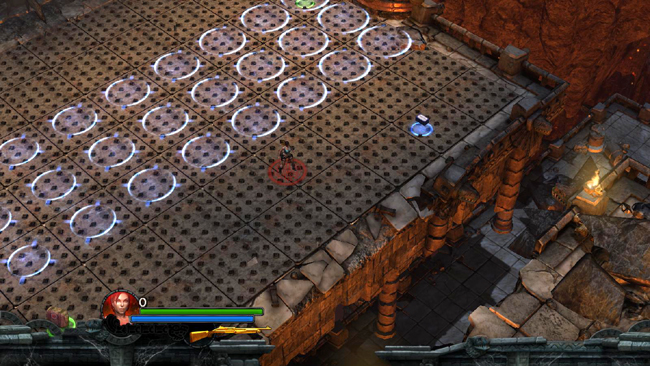
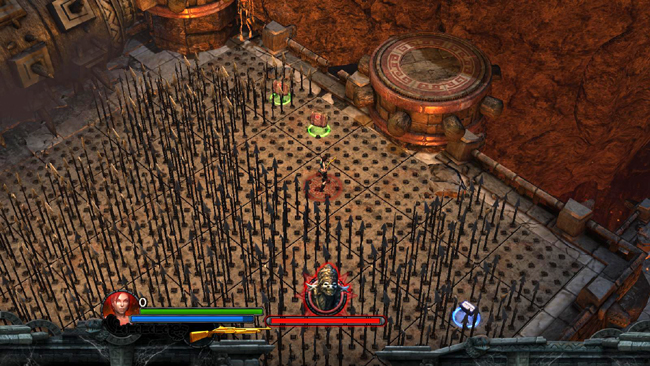
Soon Xolotl drops down onto the circular platform on the NE side of the spike field. Shoot him with a powerful, easy-to-aim weapon like the golden shotgun if you've unlocked it.
Meanwhile, try to avoid the spikes and Xolotl's energy bolts.
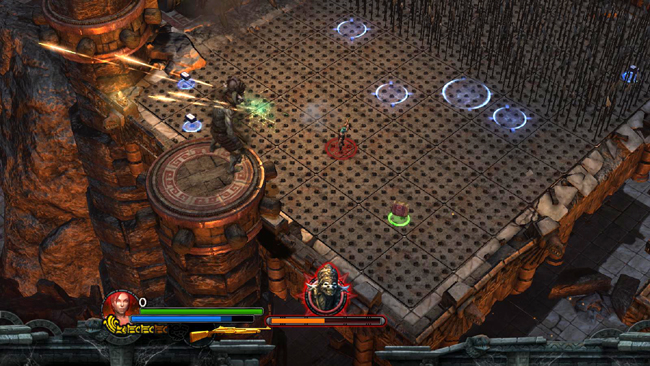
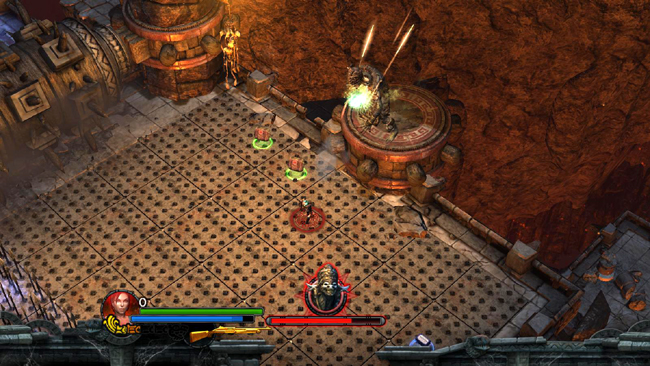
If you can manage to deplete his health bar quickly, he'll return to his perch above the spiked roller and the next phase of the fight will start. Otherwise, once he's taken a few hits, Xolotl will leap from the first platform to the one on opposite side of the room. Follow him as he moves back and forth between platforms and continue firing. Avoid the spikes and pick up the health and ammo scattered around the floor as needed. Eventually Xolotl will run out of health and withdraw.
[Part 2 | Return to the Xolotl's Stronghold Walkthrough]
Copyright © - Stellalune (). All rights reserved. The screenshots and videos included here were made using Fraps. Feel free to copy or print this walkthrough for personal use. By all means, share it with friends, but please include this credit line so people can send me their feedback. No part of this walkthrough may be reproduced on another site without permission. Follow this link for details about this site's advertising and privacy policy.
|