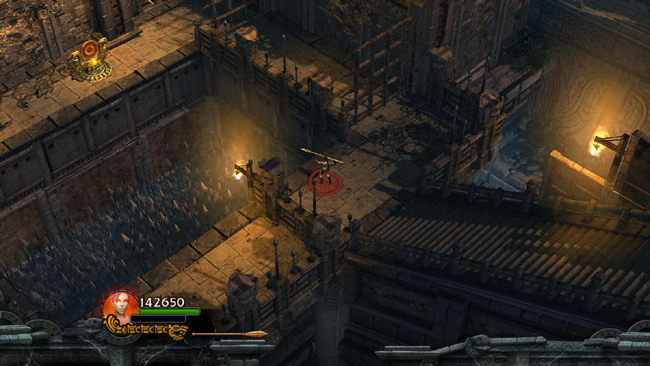
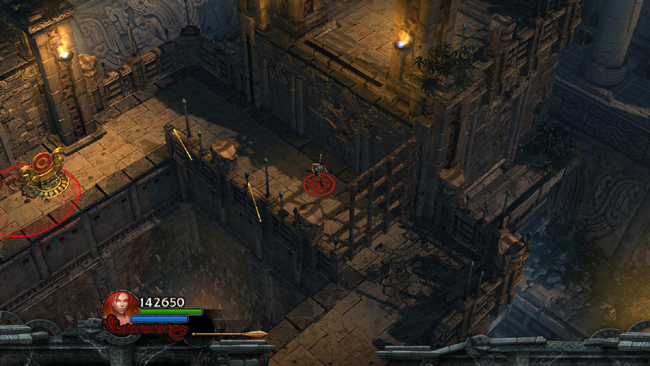
Shoot the bull's-eye target on the other side of the spike pit to open the first gate on the right and another gate high on the NE wall.
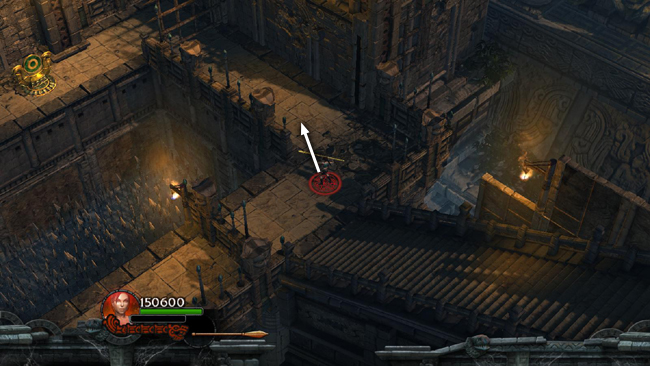
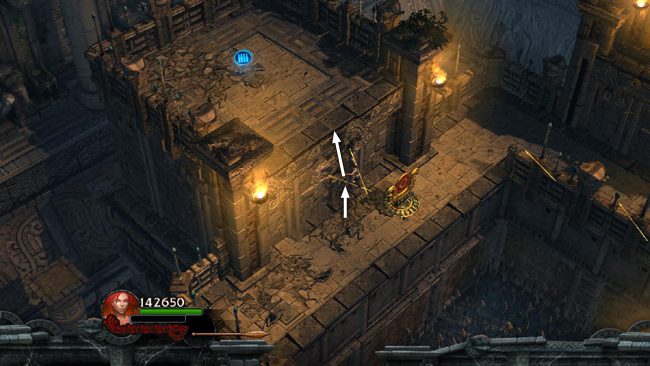
Throw a spear into that wall and climb up to the ledge with the HEALTH UPGRADE.
Drop back down and move to the corner of the pit near the first gate, shoot the target again and quickly run/roll through. . .
. . . as the first gate closes and the second opens.
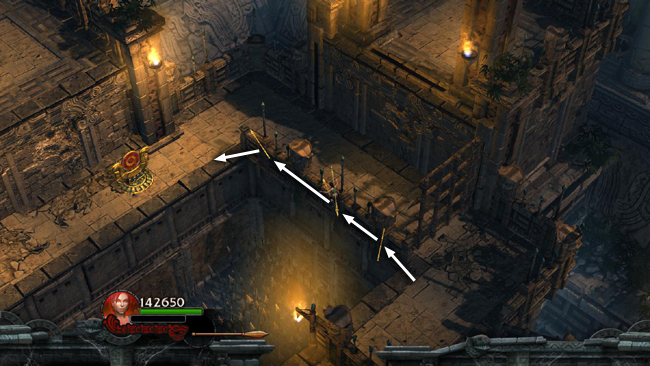
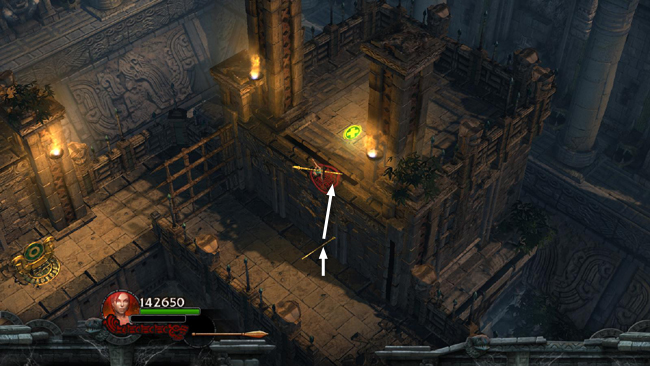
Alternatively, throw 2 or 3 spears into the NE rim of the pit (i.e., just beside the area between the gates) and use them to jump across to the ledge with the bull's eye.
Then throw a spear into the wall behind the target and climb onto the ledge above to get an AMMO UPGRADE.
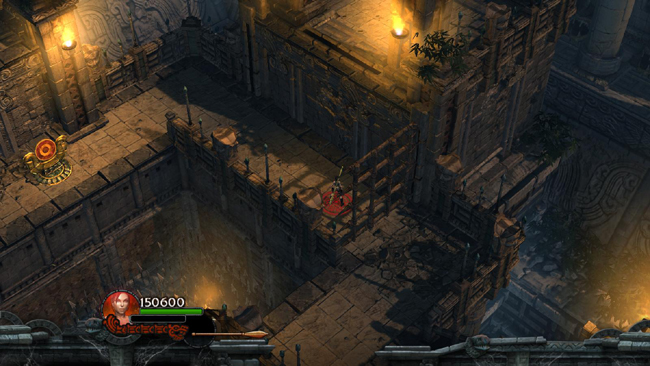
Climb back down and plant a bomb near the bull's eye, run into the area between the gates and detonate the bomb to flip the switch and open the outer gate so you can return to the main area.
[Return to the Temple of Light Walkthrough]
Copyright © - Stellalune (). All rights reserved. The screenshots and videos included here were made using Fraps. Feel free to copy or print this walkthrough for personal use. By all means, share it with friends, but please include this credit line so people can send me their feedback. No part of this walkthrough may be reproduced on another site without permission. Follow this link for details about this site's advertising and privacy policy.
|