Forgotten Gate - Trap Hall - Part 2
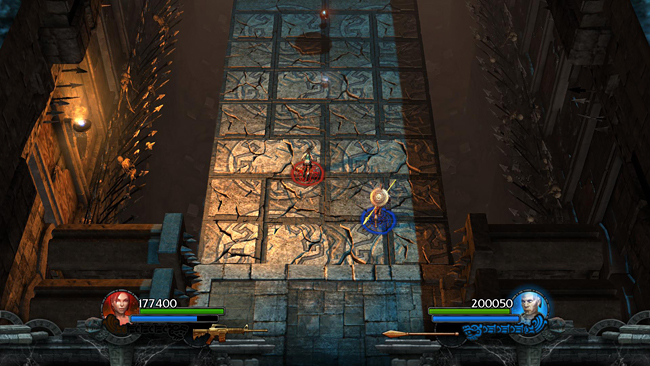
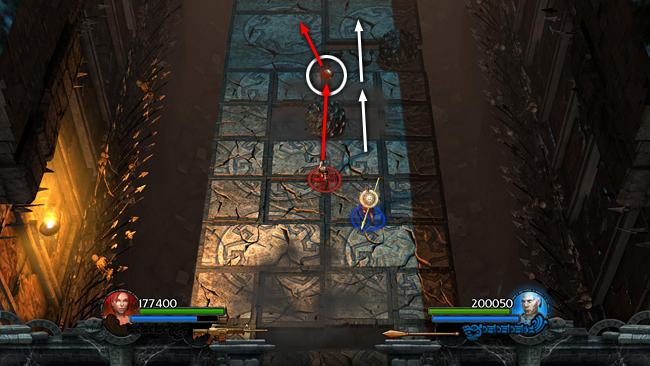
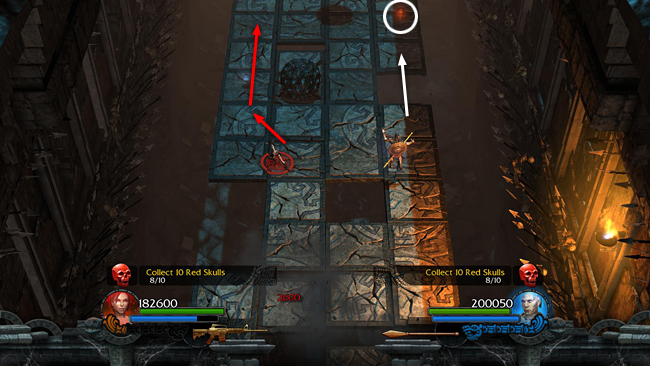
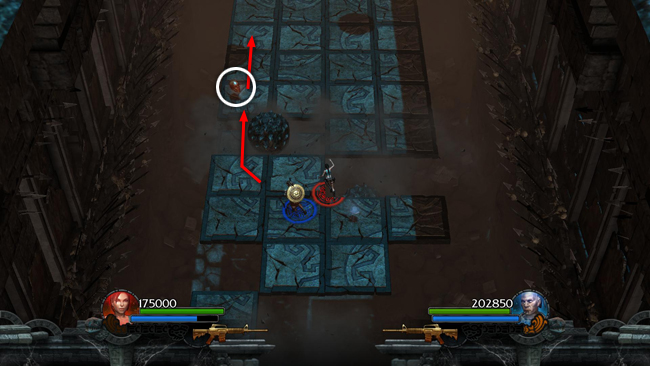
Next comes a second section of collapsing tiles with huge boulders falling from above. Each boulder casts a shadow on the floor where it's about to land and create a dangerous gap. But if you keep your eyes on the shadows, you can avoid those sections or get ready to jump over them as you approach.
Reward Challenges: If you manage to navigate the trap hall on the first attempt, you'll receive a Gold Lizard Artifact (+ bomb). If you finish the entire level in 10 minutes or less, you'll get the Golden Scepter of Cihuacoatl Relic (Ammo Regeneration, Scatter Shot). Again, the entire sequence is shown in the single-player video and LraCroft's co-op video (without red skulls). [Part 1 | Return to the Forgotten Gate Walkthrough] Copyright © - Stellalune (). All rights reserved. The screenshots and videos included here were made using Fraps. Feel free to copy or print this walkthrough for personal use. By all means, share it with friends, but please include this credit line so people can send me their feedback. No part of this walkthrough may be reproduced on another site without permission. Follow this link for details about this site's advertising and privacy policy. |