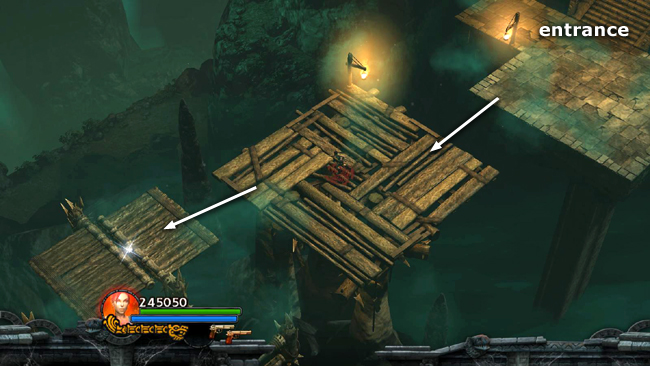
Jump from the entrance to the large platform to the SW. Continue SW, onto one folding platform. . .
. . . then another. Jump from there to the platform with the bull's-eye switch.
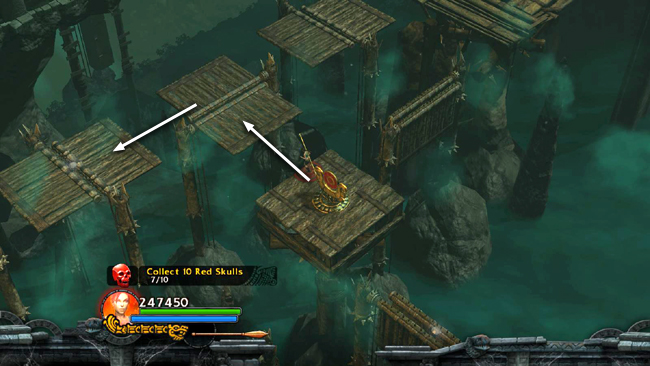
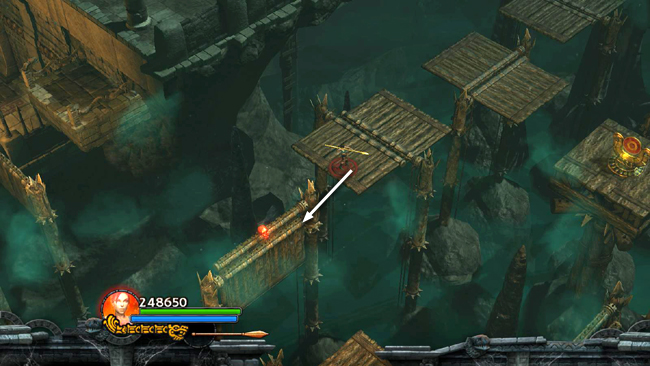
Shoot it to raise the folding platform with the red skull (8/10) and collapse the others. Jump over to get the skull. Then return to the bull's eye.
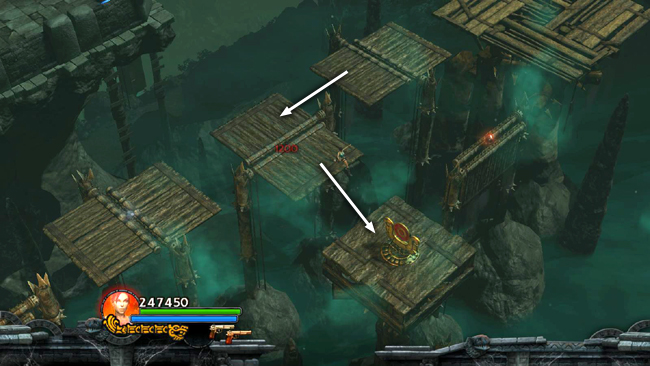
Shoot the target again to raise the platforms to the NW once more. Jump onto the nearest one, then to the one beyond it to the SW.
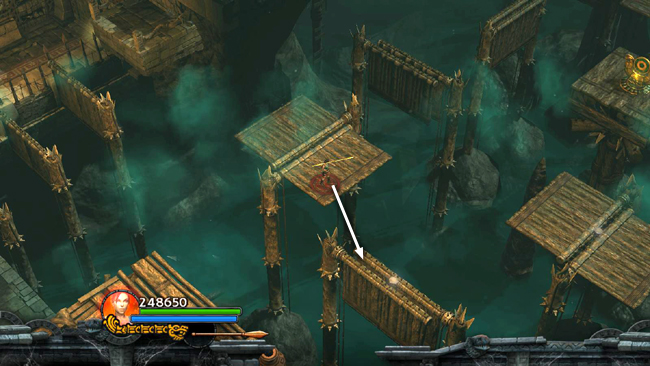
From here, you can see another red skull (9/10) on the next folding platform, which is collapsed. Shoot the target to the east and quickly jump onto the platform with the skull as it rises and the one Lara is standing on collapses.
NOTE: Alternatively, you could make your way across from the target to the red skull via the platforms to the south, as shown in the co-op walkthrough.
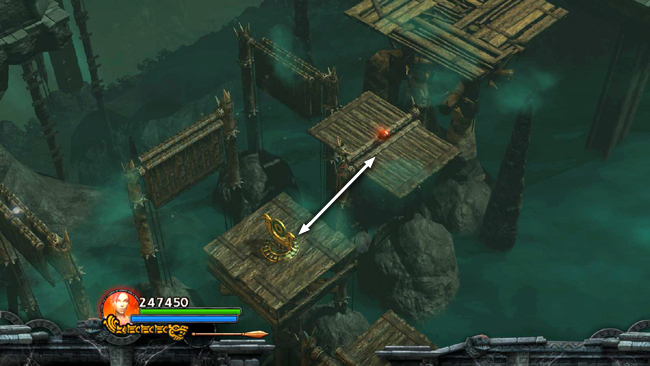
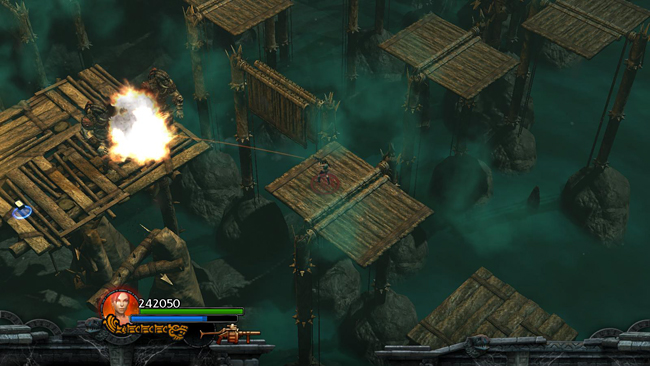
Move to the bottom corner of the platform where you found the skull. Shoot the target once more and quickly jump onto the next platform to the SE as the previous platform collapses.
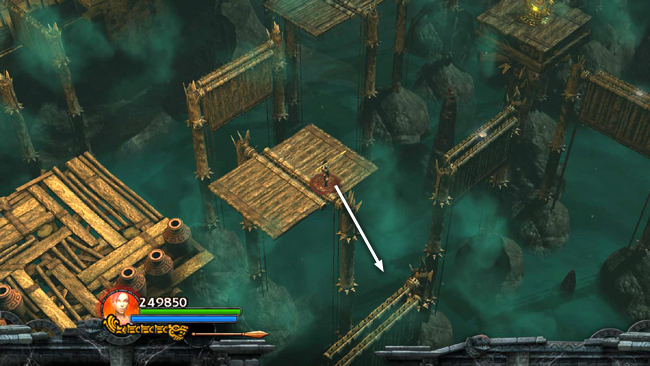
Move to the SE side of this platform, shoot the target again and quickly jump to the next platform to the SE.
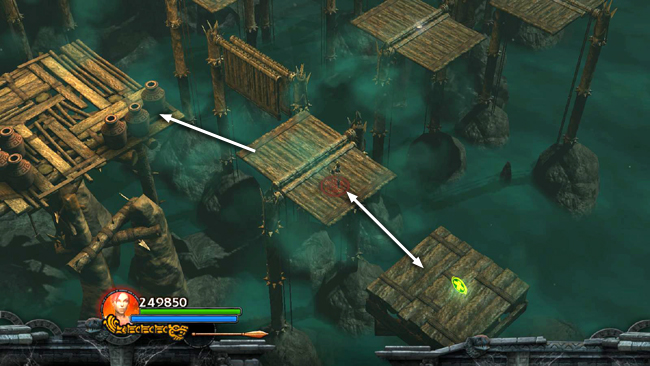
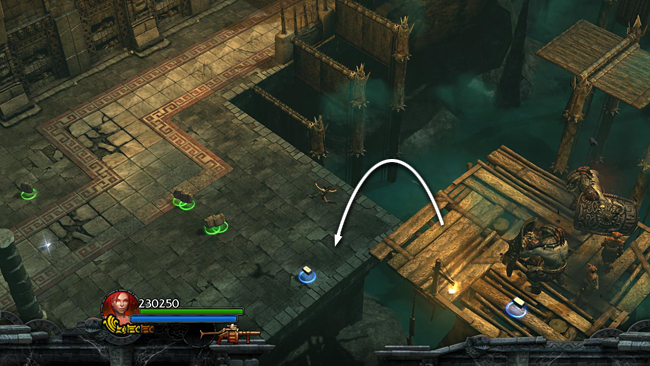
Then jump to the next platform, where you'll find a HEALTH UPGRADE. Jump back to the previous platform and then leap from the left corner of that platform to the corner of the large one with the urns.
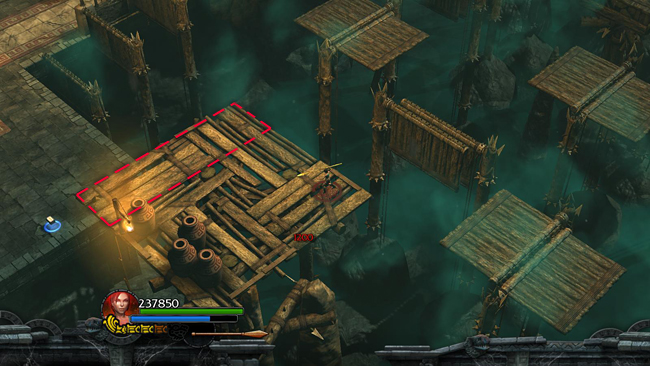
Smash the urns to get 3 ammo and several gems. As long as you don't step on the NW edge of the platform (outlined in the screenshot above) you can move about freely without triggering the next set of enemies.

When you have all the goodies, move over to the NW edge of the platform. Stepping here triggers the appearance of 2 shield demons, along with a few minor enemies. If you like, you can then jump back to the previous folding platform.
The enemies will not follow, and you can shoot them from safety.
Alternatively, when the shield demons appear, jump down into the room on the left to fight them. You'll have more room to maneuver, but you'll also trigger a few additional enemies here. This is actually the area where you first encountered the shield demons earlier. Any supplies you didn't take then should still be there.
[Return to the Twisting Bridge Walkthrough]
Copyright © - Stellalune (). All rights reserved. The screenshots and videos included here were made using Fraps. Feel free to copy or print this walkthrough for personal use. By all means, share it with friends, but please include this credit line so people can send me their feedback. No part of this walkthrough may be reproduced on another site without permission. Follow this link for details about this site's advertising and privacy policy.
|