
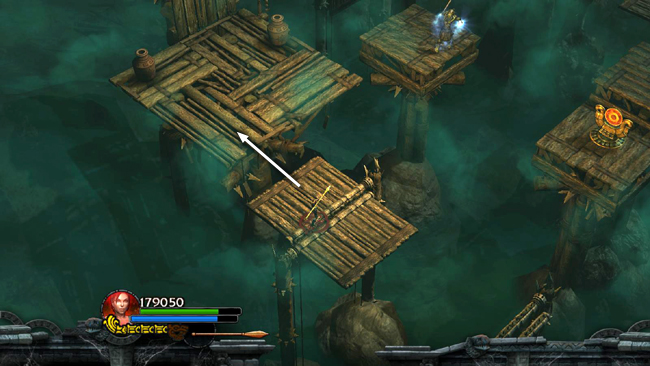
After you've taken care of the skeletons on the large platform with the TNT, shoot the 2nd bull's-eye again to collapse the platform to the NE and raise the one to the NW. Jump onto it and move to the other side.

Shoot the bull's-eye again and quickly jump onto the next platform as it rises and the one Lara is standing on collapses.
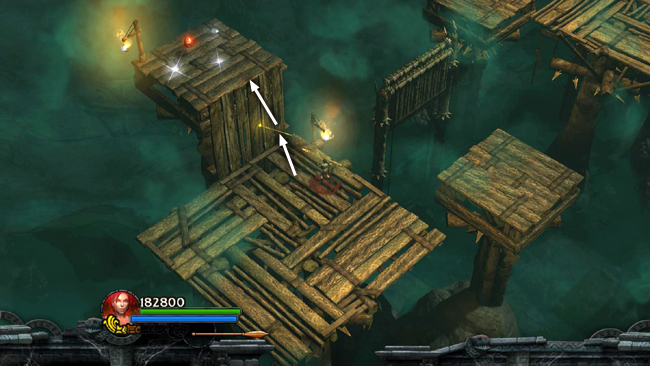
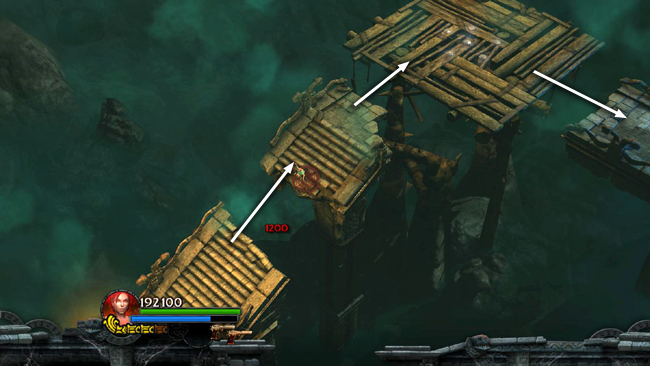
Spear the shaman who appears on the small platform to the north. Then jump onto the next large platform to the NW and fight 2 skeletons. Smash the urns for health and ammo.
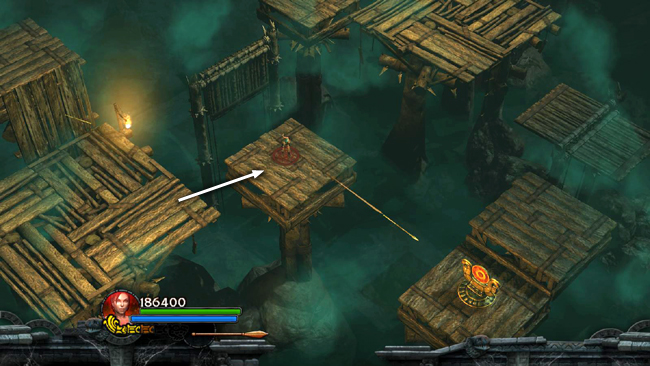
Use a spear to reach the ledge with the red skull (6/10) and gems. Then drop back down onto the large platform.
Jump to the next small platform to the NE. Shoot the bull's-eye again to raise the folding platform to the NW.
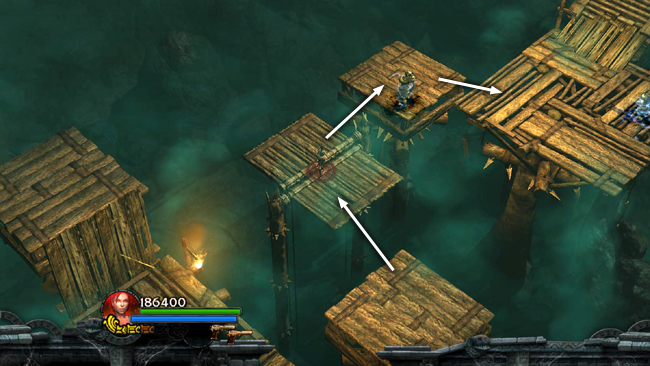
When you jump onto it, 2 shamans materialize: one on the next small platform, one on the large platform to the right. You can spear the first one immediately. You may need to jump across the platforms to the big one before you can see the second shaman well enough to target him.
Go up the wooden ramp, jumping across 2 gaps. Gather the gems on the next large platform and then jump to the stone walkway on the right (SE). Climb the stairs back to the main area.
[Part 1 | Return to the Twisting Bridge Walkthrough]
Copyright © - Stellalune (). All rights reserved. The screenshots and videos included here were made using Fraps. Feel free to copy or print this walkthrough for personal use. By all means, share it with friends, but please include this credit line so people can send me their feedback. No part of this walkthrough may be reproduced on another site without permission. Follow this link for details about this site's advertising and privacy policy.
|