Baba Yaga DLC - Boss Fight (Part 4)
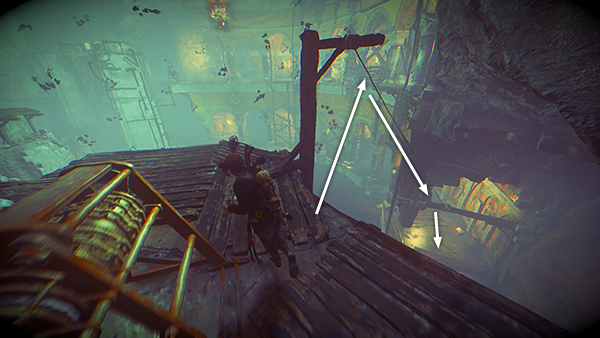
Now, continue making your way around the room counterclockwise by sliding down the zip line to the right of the third vat.
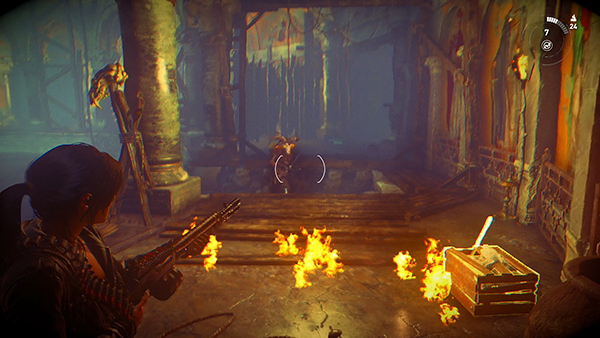
Take out another swordsman who rushes at you when you touch down. Pick up more cloth here if you need it. The walkway directly ahead is blocked by a wooden barrier. So move into the alcove on the right.
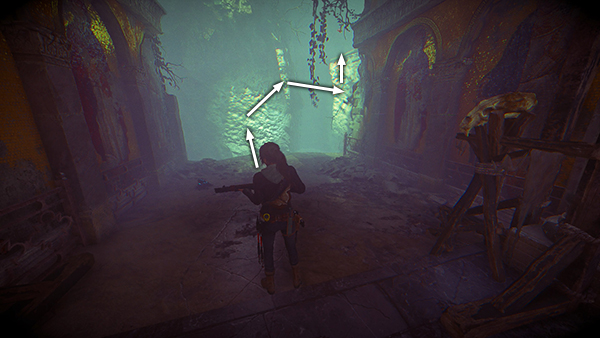
Grab some ammo and magnesite and then climb the rough walls to the ledge above on the right. (If you fall into the water you won't be able to climb out on the ledge where you started, but you can swim to the base of the climbing wall on the right and latch on with your axes.)
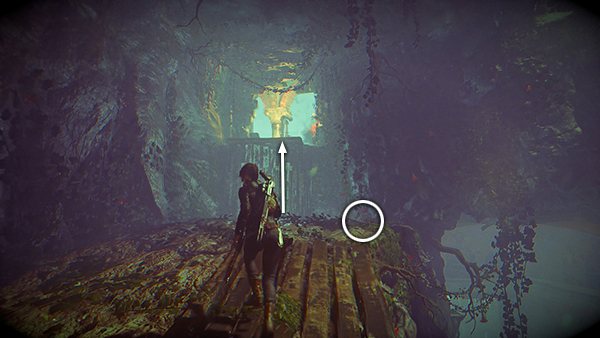
At the top, turn right, pick up some loose feathers, and then scramble up the painted wooden wall.
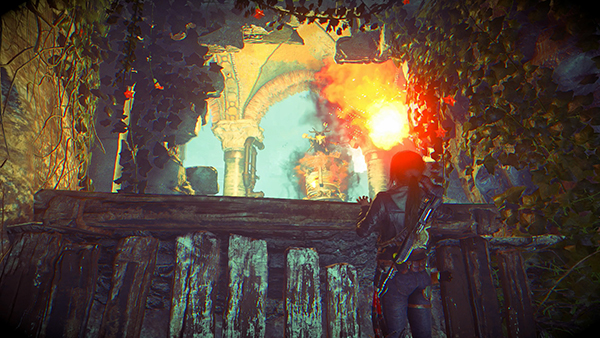
Immediately drop back to avoid one of the witch's fireballs.
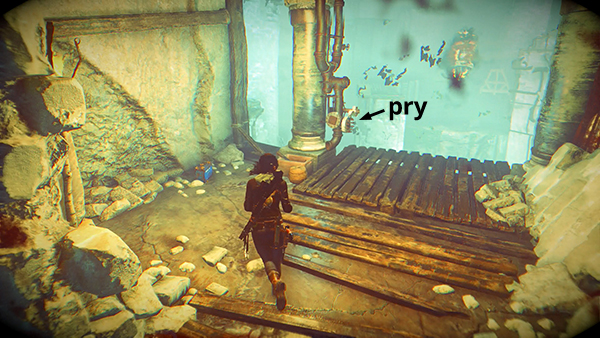 Pull up again, move forward, grab some pistol ammo, and use your axe to pry the hook off the gear mechanism on the left side of the wooden ledge.
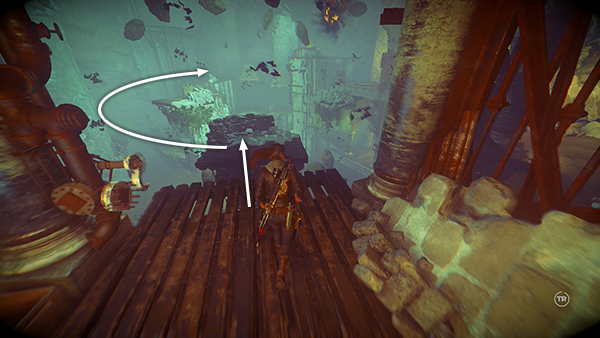
This activates a series of moving platforms that begin to circle the arena. If you like, you can shoot at the witch to prevent her from hurling fireballs as you wait for a platform to approach. Then jump on and ride around to the wooden ledge on the far side of the room (i.e., the ledge on the south side just to the left of the 2 dangling platforms).
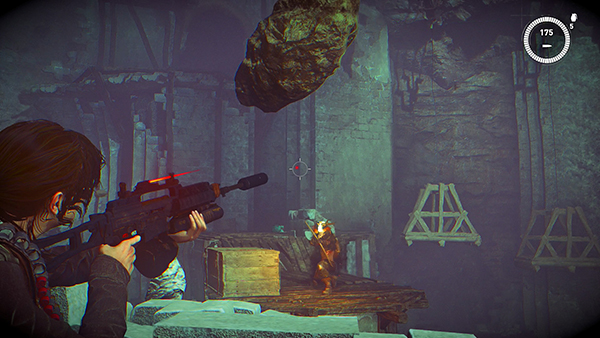
Shoot the archer waiting on the ledge as you approach.
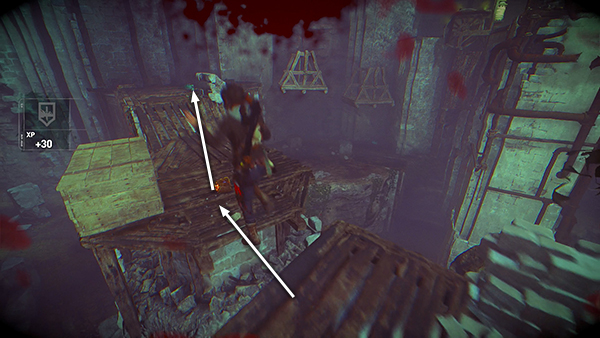
Then jump over to where he was standing, run forward, and take cover behind the low stone wall on the right.
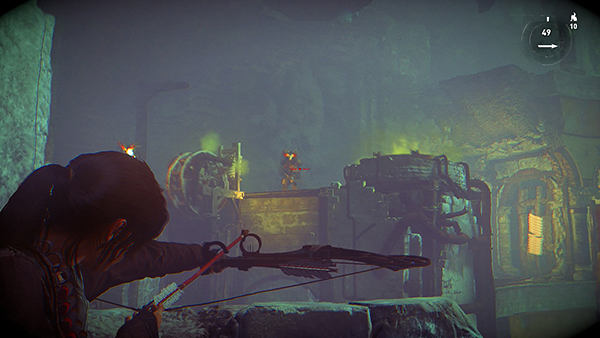
From here you can pick off 2 more archers on the ledge above.
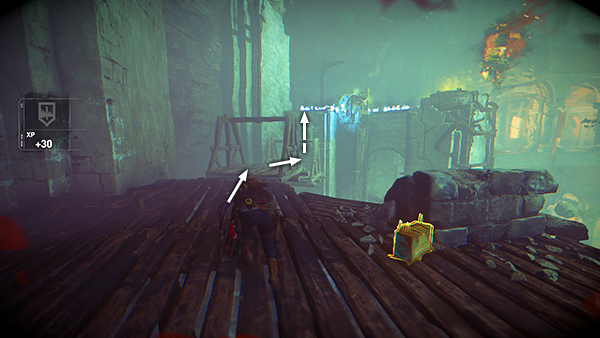
Gather ammo and hardwood. Then use the 2 dangling platforms to jump across to the ledge where the archers were standing. You'll need to jump onto the first platform, wait just briefly for it to descend, rasing the platform in front of it. Then jump onto the second platform and scramble up the wall ahead. (If you fall, you can work your way back around to this point or just reload the checkpoint, which should put you back at the mechanism that activates the moving stone platforms.)
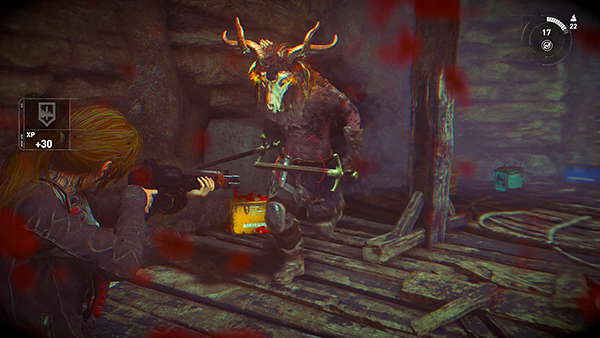
As soon as you climb onto the ledge above the dangling platforms, pull out the shotgun and kill another charging swordsman.
[Part 3 | Part 5 | Return to the Wicked Vale Walkthrough]
Copyright © - Stellalune ( ). All rights reserved. Feel free to copy or print this walkthrough for personal use. By all means, share it with friends, but please include this credit line so people can send me their feedback. No part of this walkthrough may be reproduced on another site without permission. Follow this link for details about this site's advertising and privacy policy.