Baba Yaga DLC - Timed Run to Final Document (Part 1)
This sequence is also shown in a short video walkthrough.
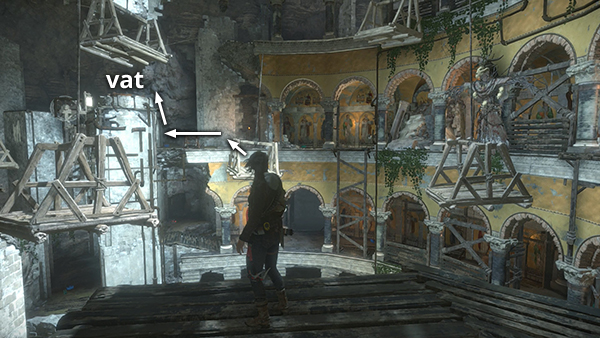
Start by riding one of the moving platforms on the middle level around to the ledge just below the fourth vat (D on the map). If you're returning later for this document, or if you fall into the pool during the following timed sequence, see part 2 for how to climb back up to the vat.
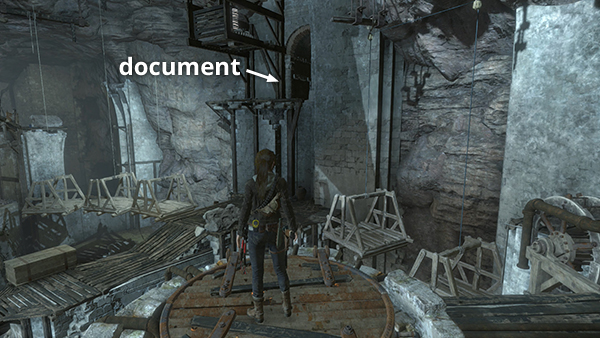
Stand on top of the vat and look to the southeast. Notice the 5 dangling platforms, a set of 3 off to the left and a set of 2 on the right. The ledge with the document is above and between these sets of platforms.
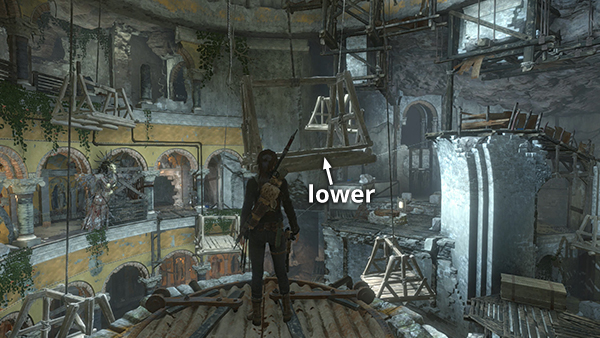
While you're standing on the vat, notice how one of the 3 revolving platforms here on the upper level hangs a little lower than the others. This is important, as you'll need to jump from the vat to grab that platform shortly.
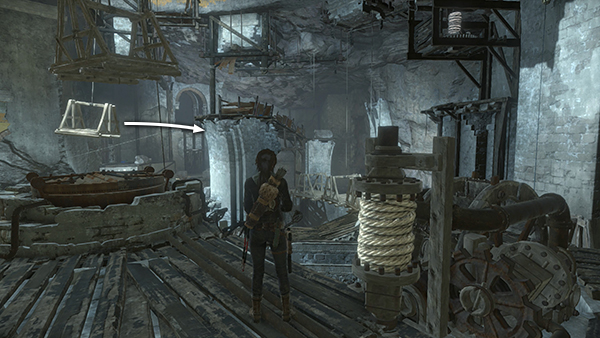
Here's the sequence: Stand near the spinning rope spool and wait for the lower of the 3 revolving platforms to move around toward the tall, light-colored stone ledge on the east side of the room.
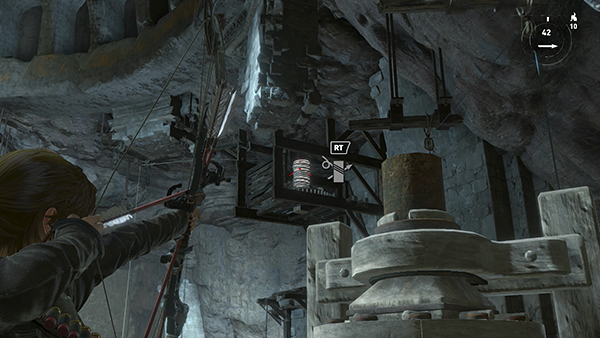
When it does, shoot a rope arrow into the spool above on the right in order to attach it to the spinning spool next to you.
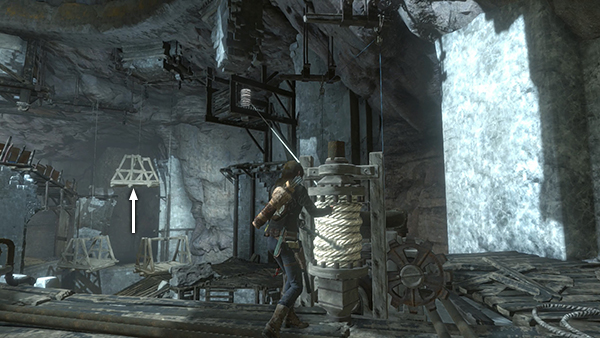
This raises one of the dangling platforms off to the right. It only stays up for about 30 seconds, so you'll need to hustle. Don't even wait for the platform to rise. As soon as your rope line is anchored to the spool...
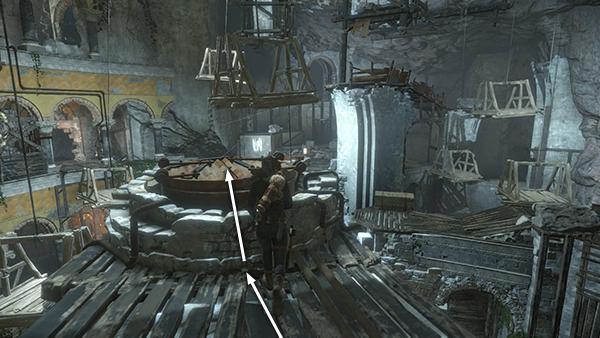
...turn left and run/jump up onto the vat.
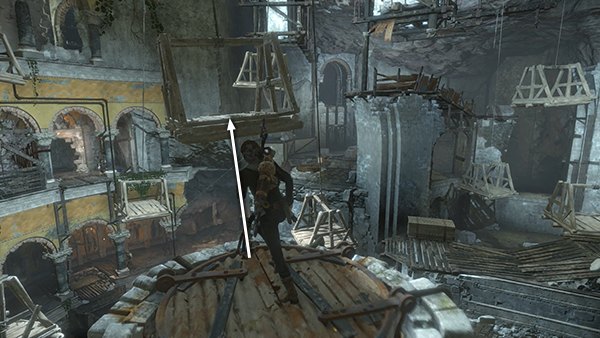
As the lower of the 3 revolving platforms moves past, jump forward to grab it and pull up.
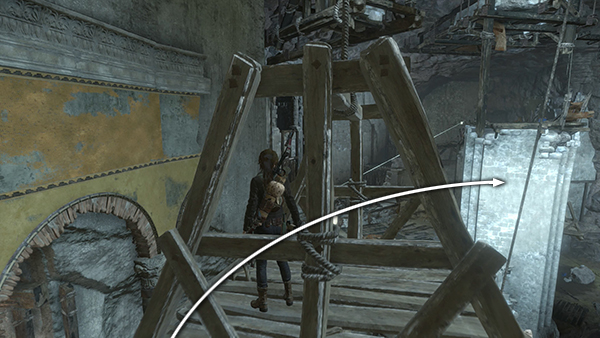
Ride the platform around to the east side of the room...
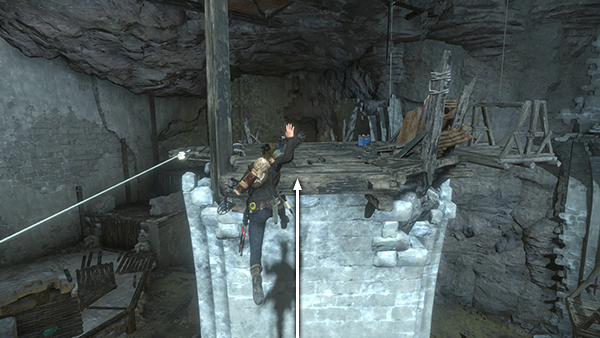
...and jump to grab the tall, light-colored stone ledge.
Remember to hold the Jump button for the most air time.
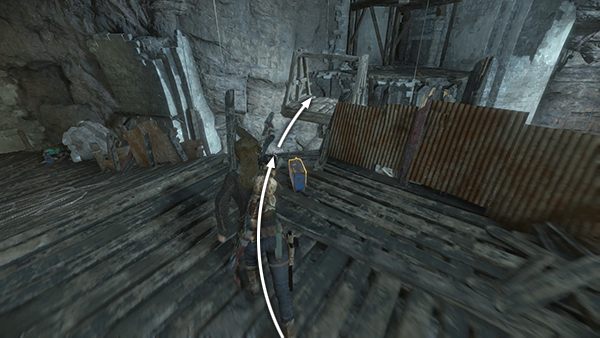
Pull up onto the ledge. Then sprint and jump off the right side to reach the dangling platform, which should still be raised.
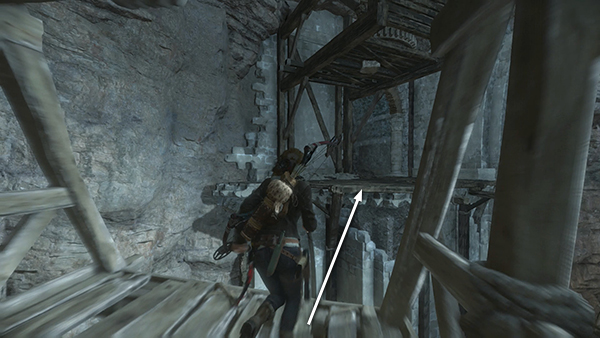
Run or sprint forward, jump off the edge of the platform, and either grab the ledge ahead or use your grapple to catch onto it.
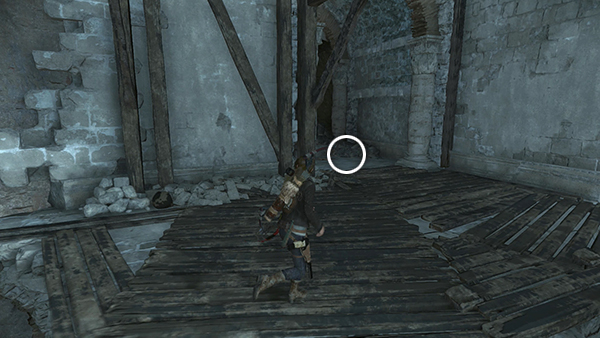
Pull up to find the last document (21/21) sitting in the alcove. It is Not Worth Living from the series Dreams in the Witch House (Russian).
[Return to the Wicked Vale Walkthrough]
Copyright © - Stellalune ( ). All rights reserved. Feel free to copy or print this walkthrough for personal use. By all means, share it with friends, but please include this credit line so people can send me their feedback. No part of this walkthrough may be reproduced on another site without permission. Follow this link for details about this site's advertising and privacy policy.