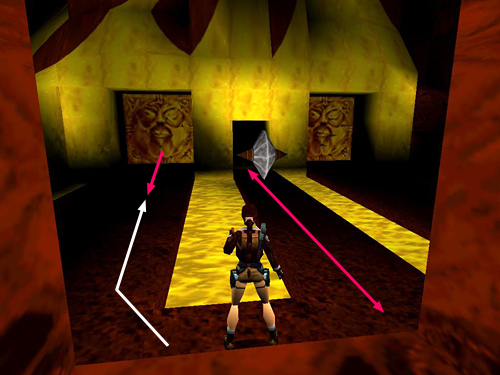
Walk or run down the left pathway just until the spikes start moving.
Roll and run back toward the entrance. . .

. . . stopping in the spot between the left and middle walkways.
Wait here until the spiked wall stops.

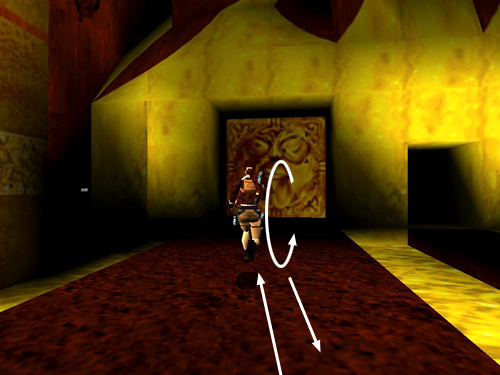
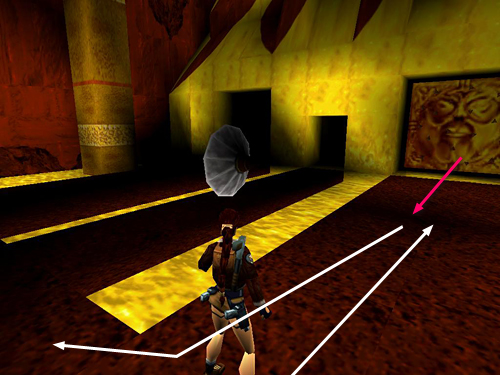
Then carefully move around it—just touching it can kill Lara—and head for the end of the walkway where it came from. Be careful not to run off the edge, as there is molten ore in the alcove where the spikes originated. Turn left and take a running jump to the ledge in the corner. Go forward then right and pick up flares and a small medi pack near the skeleton.
Step back out onto the block above the pool, turn left and take a standing jump down to the walkway. Then return to the wall near the entrance.
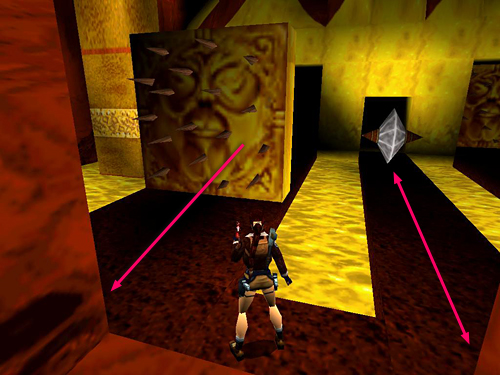
Repeat the same procedure on the right side of the room. Run forward just far enough to trigger the moving wall. Roll and run back to the safe spot between the right and middle walkways. Wait for the spiked wall to stop and then go around it to the end of the walkway.
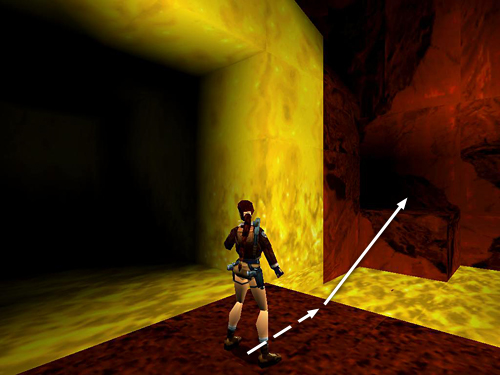
Take a running jump onto the ledge in the right corner.
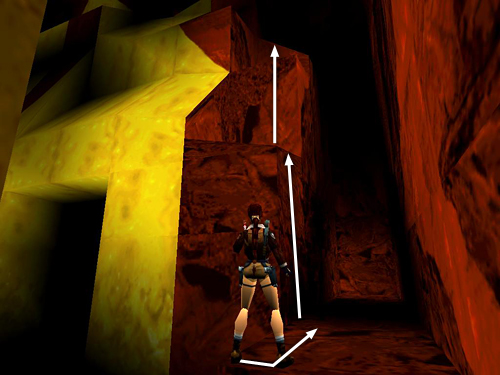
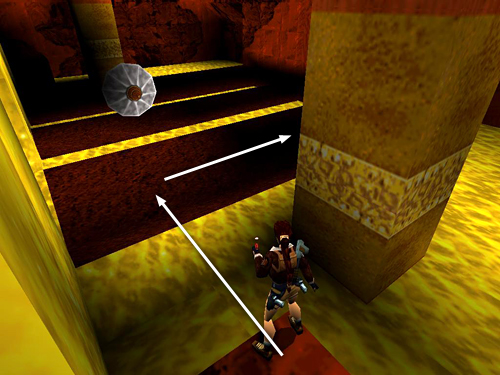
After jumping from the end of the walkway to the raised block in the corner, turn left, take a few steps forward, turn left again, and pull up onto the block a little higher than Lara's head. Turn right and pull up onto the next block.
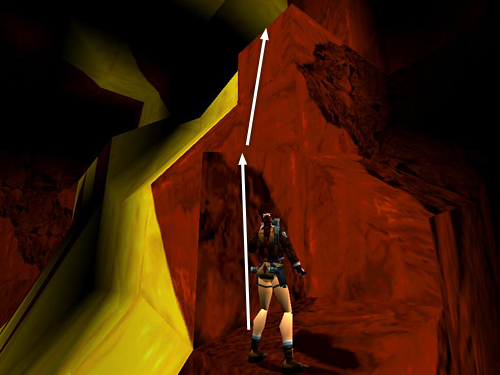
Turn left and pull up onto the next block, then right again and pull up onto the next block.
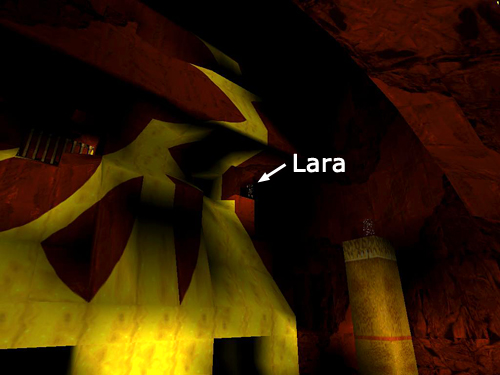
Here the camera shifts to show a wide-angle view of the area.
[Part 2 | Return to the Furnace of the Gods Walkthrough]
Copyright © 1999- - Stellalune (). All rights reserved. The screenshots and videos included here were made using Fraps. Feel free to copy or print this walkthrough for personal use. By all means, share it with friends, but please include this credit line so people can send me their feedback. No part of this walkthrough may be reproduced on another site without permission. Follow this link for details about this site's advertising and privacy policy.
|