Solarii Fortress - Combat in the Street Below the Palace - Part 4
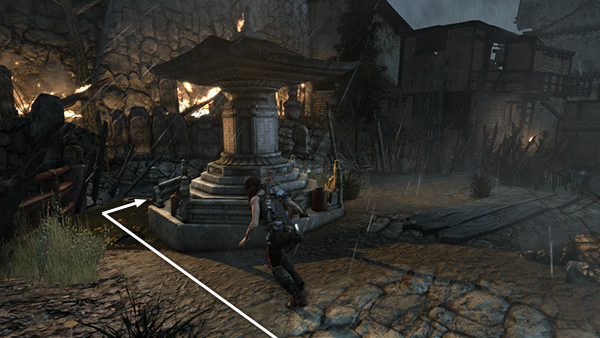
When you're ready to move on, head to the end of the street, where it turns to the west. Go around the fountain on the left side...
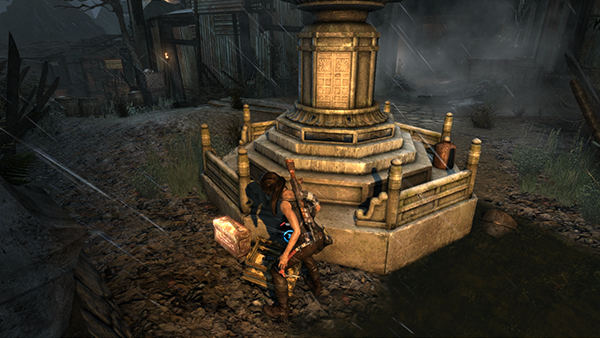
...to find more grenades and rifle ammo.

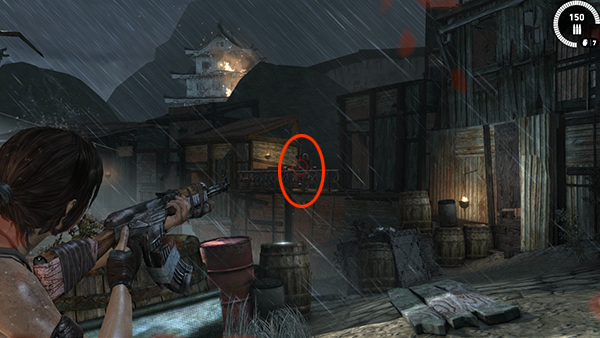
Move out into the street beyond the fountain to trigger a cut scene and (thank goodness!) a checkpoint. Another squad of Solarii notice Lara. They shine a spotlight on her and begin shooting with rifles and a mounted machine gun like the one Nikolai had.
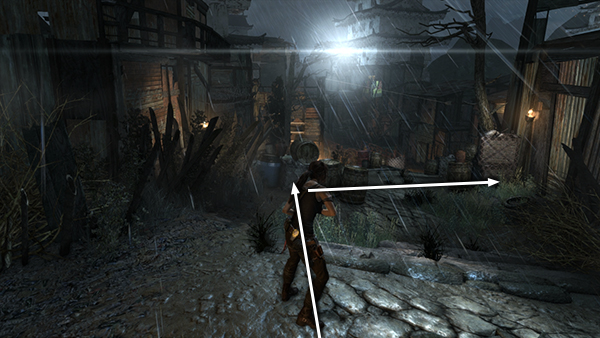
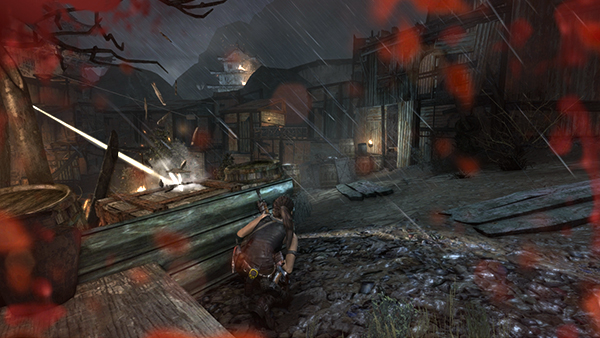
This time you can't shoot out the spotlight, since it's protected by slats. So just try to ignore it. Immediately run forward and take cover behind the metal crate on the left. Do not crouch behind the barrels, since the machine gun can easily destroy them, leaving Lara vulnerable. Scramble across the street and hide behind the stacked metal crates near the right wall.
From there, run across to the street to the next metal barrier on the left.
Take out the enemy on the ledge on the other side of the street.
If you take damage while doing this, release Aim to crouch behind the metal wall until Lara's health is restored.
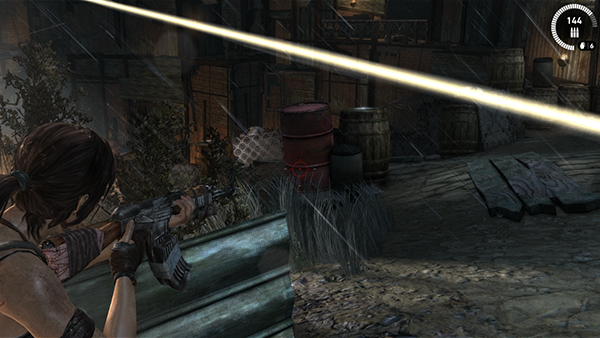
Before advancing further, shoot the red barrel in the middle of the street. Otherwise the machine gunner will blow it up as Lara runs past, and she'll take damage.
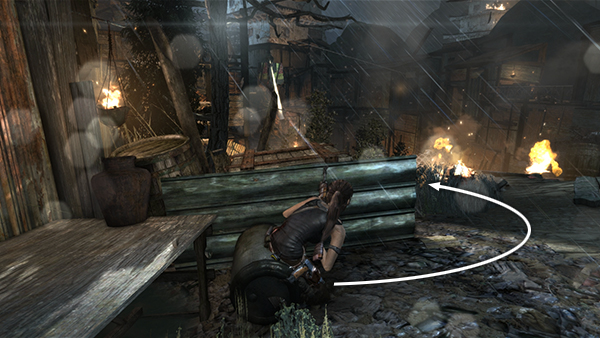
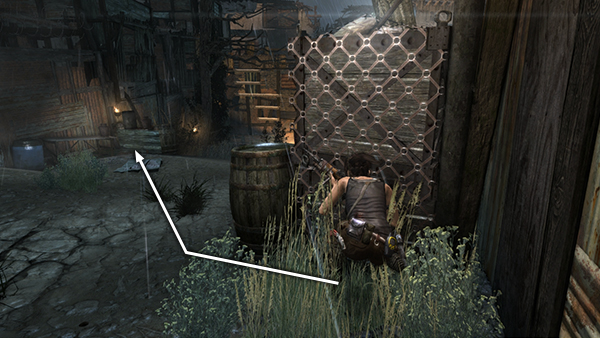
Run around the low metal wall where you're hiding now, but stay on the left side of the street.
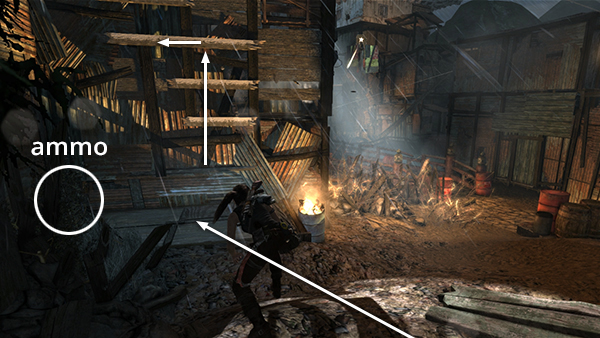
Ahead is a wall with a wooden ladder. Grab some rifle bullets at the base of this wall on the left. Then climb the ladder to the top of the wall...
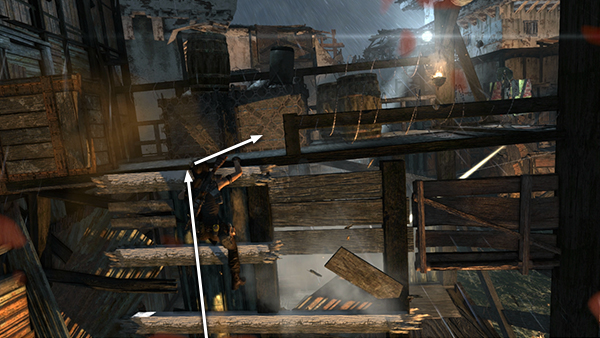
...and hide behind the metal crates there.
[Part 3 | Part 5 | Return to the Solarii Fortress Walkthrough]
Copyright © 2013- - Stellalune (). All rights reserved. The screenshots and videos included here were made using Fraps. Feel free to copy or print this walkthrough for personal use. By all means, share it with friends, but please include this credit line so people can send me their feedback. No part of this walkthrough may be reproduced on another site without permission. Follow this link for details about this site's advertising and privacy policy.