Shantytown - First Challenge Tomb Entrance
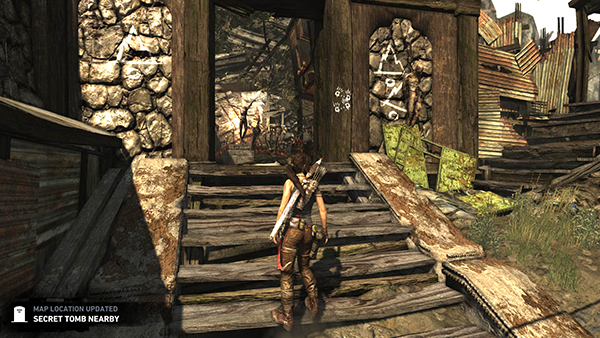
Climb the steps toward the Challenge Tomb. But be careful! There's another snare set up in the doorway.
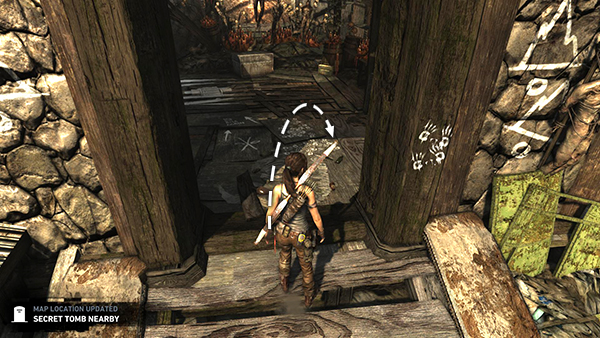
Jump over the blanket into the room beyond.
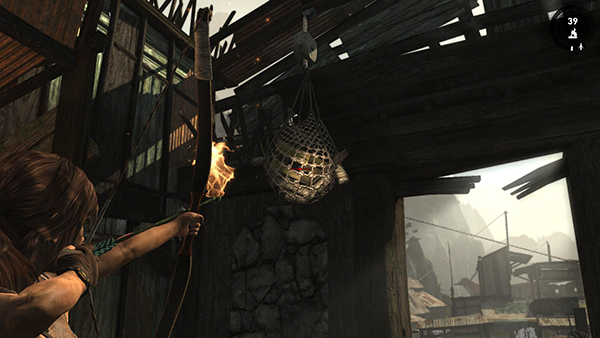
Turn around and shoot a fire arrow into the salvage net hanging above on the left to disarm the snare.
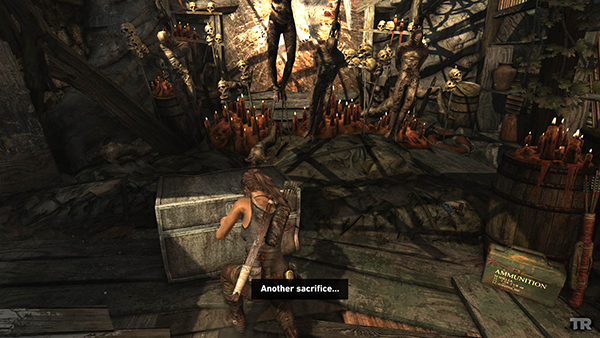
Crack open the crate and pry open the large salvage trunk at the back of the room. There are also arrows and shotgun shells here if you need them.
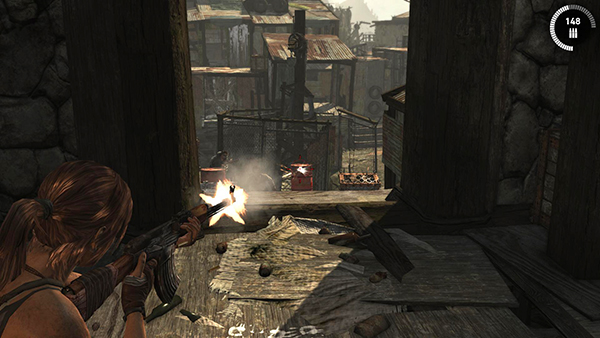
While you're gathering the goodies, 8 Solarii soldiers appear outside at the foot of the stairs.
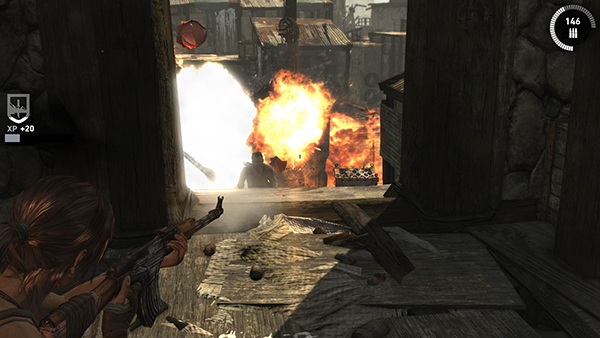
You can shoot the fuel barrels to kill some of them and then finish the rest off with the rifle or flaming arrows.
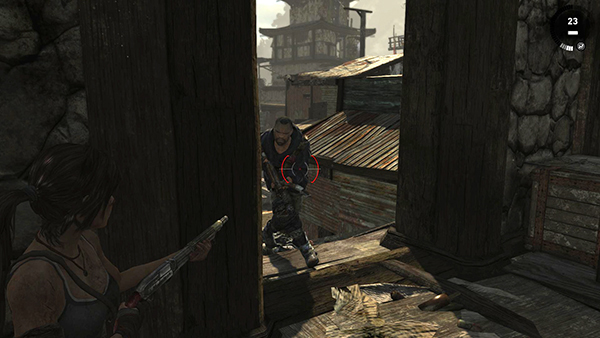
But if they start coming too quickly, move to the left of the doorway and blast them with the shotgun one at a time as they approach.
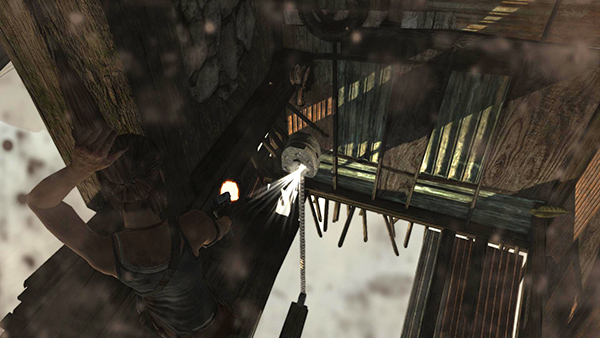
If you do accidentally trigger the trap, Lara will be left hanging upside down as the Solarii close in. Unless you're very good at aiming from that angle, I'd advise shooting the pulley that suspends the trap as fast as you can to get free so you can fight.

Otherwise, aim for the fuel barrels to try and take out multiple enemies at once. Then kill the rest as they approach.
[Return to the Shantytown Walkthrough]
Copyright © 2013- - Stellalune (). All rights reserved. The screenshots and videos included here were made using Fraps. Feel free to copy or print this walkthrough for personal use. By all means, share it with friends, but please include this credit line so people can send me their feedback. No part of this walkthrough may be reproduced on another site without permission. Follow this link for details about this site's advertising and privacy policy.