Shantytown - Ambush at Helicopter Hill - Part 1
If you prefer a more confrontational approach to combat, the main walkthrough includes a few tips for handling the big fight that follows the helicopter cut scene. This sequence of screenshots shows a sneakier alternate strategy.
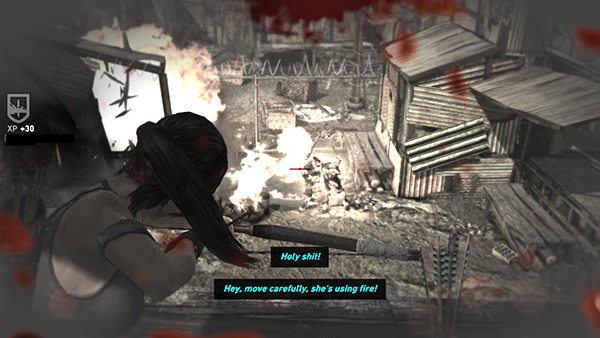
When you regain control of Lara after the cut scene and everything is moving in slow motion, shoot a fire arrow into one of the 3 guys below. Or just fire into the puddle of oily water behind them. The flames will spread and engulf them all.
It's difficult not to panic when you're under attack and the controls won't respond, but just wait it out. Release Aim and as soon as you can move again, pick up the arrows leaning against the railing by Lara's hip.
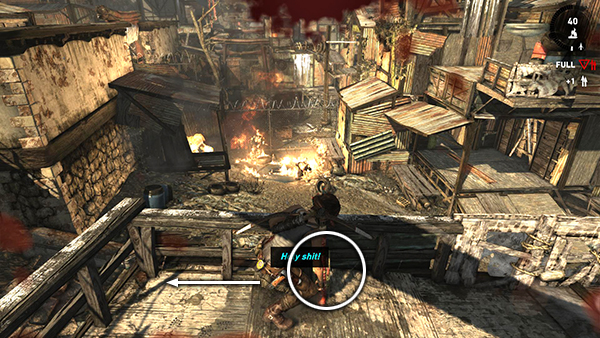
Then turn left and vault over the railing to land on the ground below. On the way down, press D-Pad Left on the controller or 3 on the keyboard to switch to the shotgun.

Shoot out the boarded-up doorway.
Run through, ignoring the bad guys coming at you from above on the right. Climb the rusty, yellow ladder just ahead on the left.
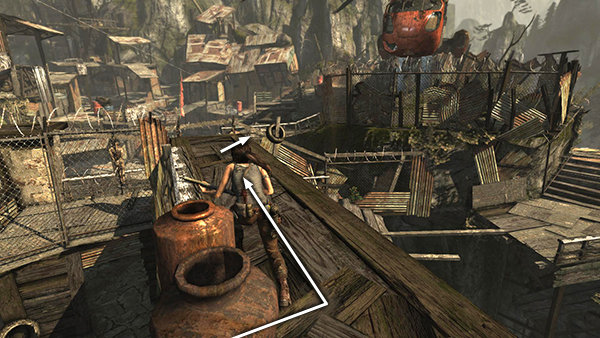
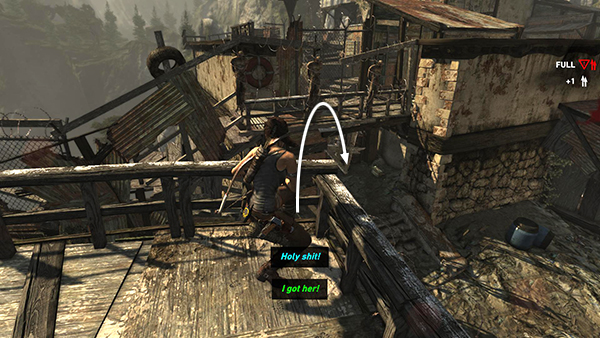
At the top, turn left and run along the plywood ledge. Don't hesitate here or you'll get shot up by the enemies behind you. At the end of the ledge, veer right...
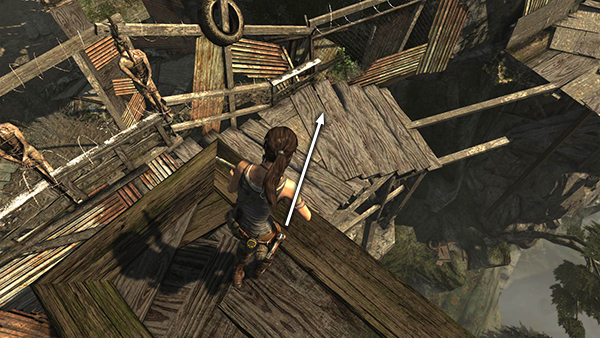
...and jump down onto the ledge below.
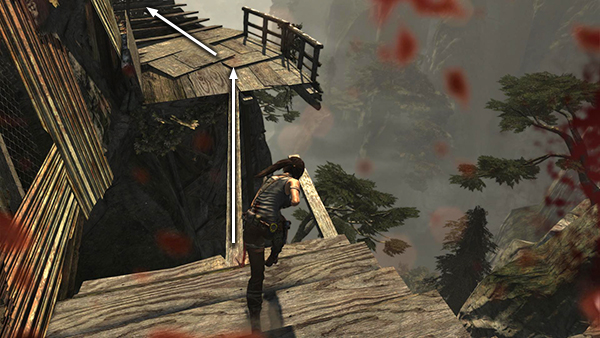
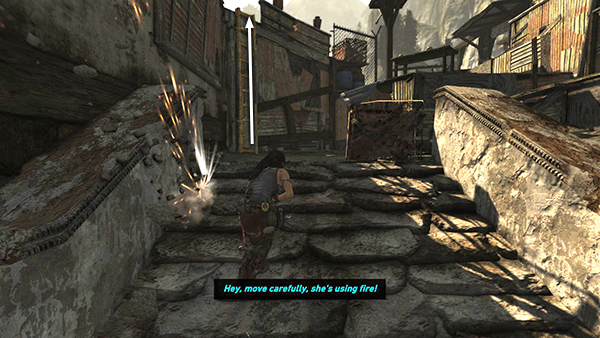
Cross over the narrow beam. (From here on, this is the same path you took before as you were making your way to the helicopter.) Keep running up the steps and around the corner.
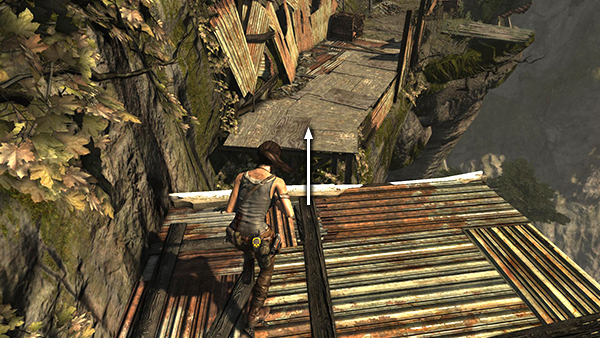
Then jump down across the gap and continue forward onto the dirt path with the metal crates.
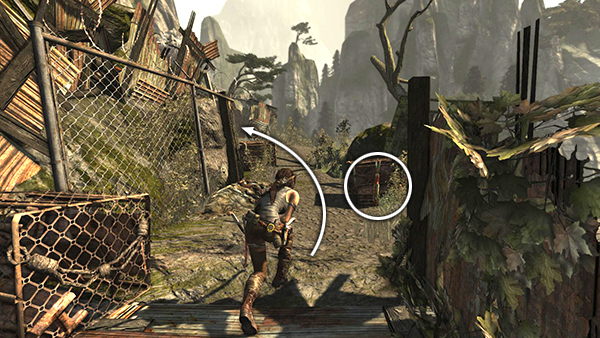
If you didn't pick up the arrows earlier, they'll still be here. At this point, Lara should be safe from enemies ahead and behind. Catch your breath and then move up to the bend in the path.
[Part 2 | Return to the Shantytown Walkthrough]
Copyright © 2013- - Stellalune (). All rights reserved. The screenshots and videos included here were made using Fraps. Feel free to copy or print this walkthrough for personal use. By all means, share it with friends, but please include this credit line so people can send me their feedback. No part of this walkthrough may be reproduced on another site without permission. Follow this link for details about this site's advertising and privacy policy.