Shantytown - Chamber of Judgment Challenge Tomb - Part 1
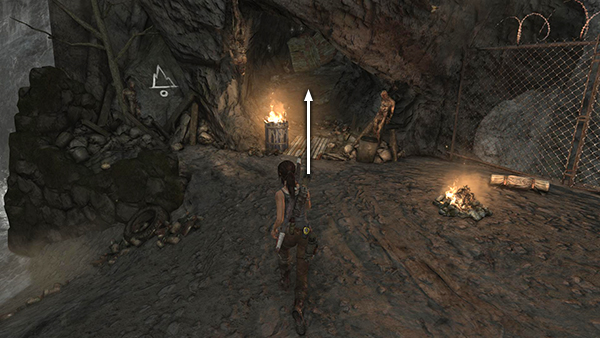
Enter the tunnel near the campsite.

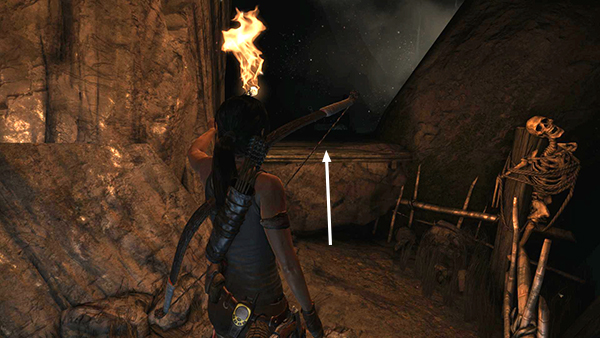
A little way in, the passage widens into a cave with planks and a few body parts scattered on the ground. On the left, hidden amid some scrubby plants, is the last GPS cache (15/15). Use Survival Instinct if you're having trouble spotting it.
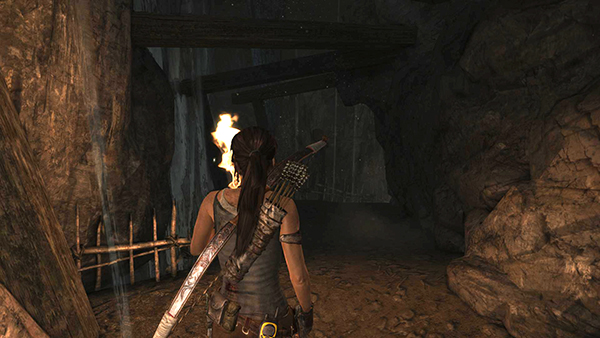
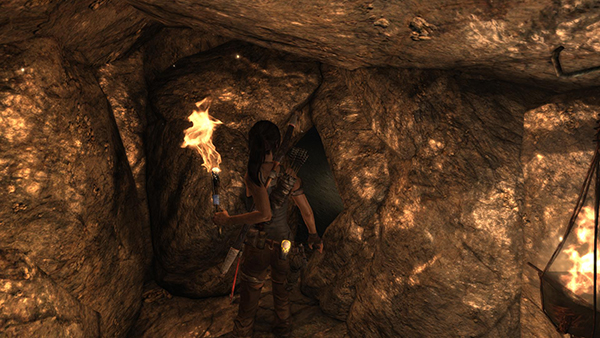
Continue along the tunnel. Just beyond the spot where Lara automatically lights her torch, you pass through an area with water dripping from the ceiling.
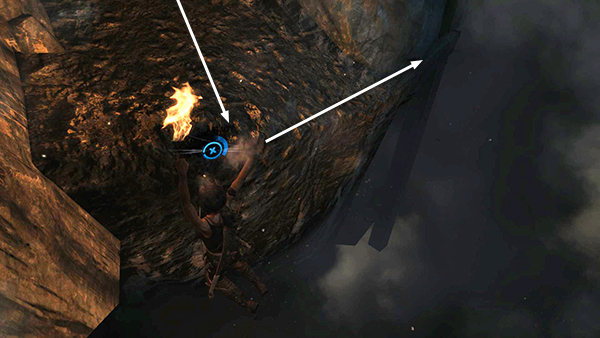
Soon afterward, you step onto a muddy slope and slide down. There's no way to avoid this, so just go with it. Lara automatically grabs the edge, but you need to press Interact to keep her from losing her grip. Then traverse to the right until Lara is hanging on a wooden beam.
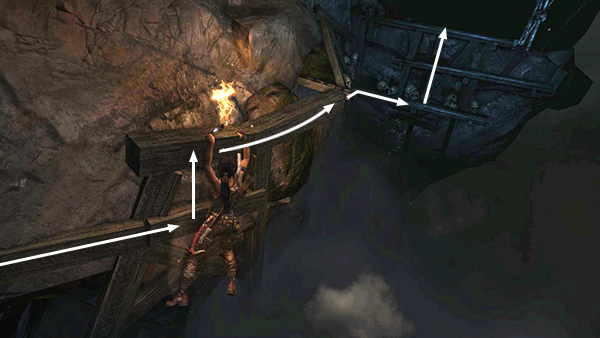
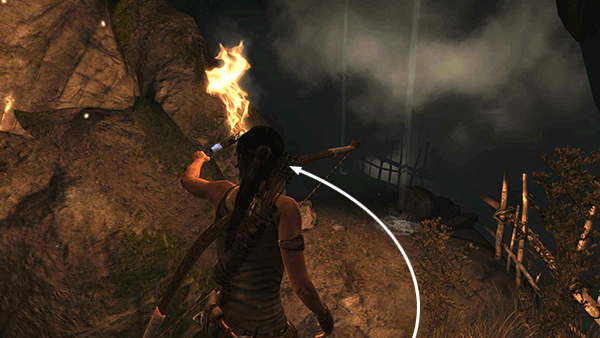
Continue climbing to the right and upward, around a corner onto a set of beams with skulls tucked into the crevices, then finally up onto a solid ledge.
From here, vault up onto the low wooden ledge ahead and crack open the salvage crate there.
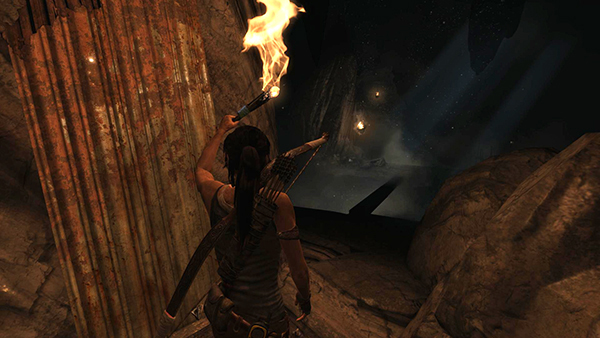
Ignore the path leading off to the left. You'll use it on the way back. For now, head to the right along the ledge with a low, wooden fence on its outer edge.
Use the narrow beam laid across the chasm to cross.
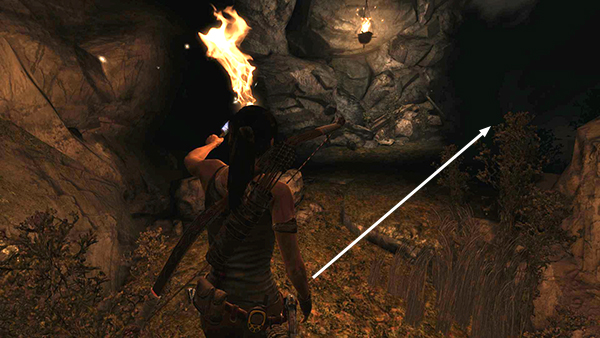
Then continue following the tunnel, which has no more forks or branches.
At the end, squeeze through a Lara-sized gap in the rocks into a large cavern. Then move up the slope to the Chamber of Judgment Day Camp.
[Part 2 | Return to the Shantytown Walkthrough]
Copyright © 2013- - Stellalune (). All rights reserved. The screenshots and videos included here were made using Fraps. Feel free to copy or print this walkthrough for personal use. By all means, share it with friends, but please include this credit line so people can send me their feedback. No part of this walkthrough may be reproduced on another site without permission. As an Amazon Associate I earn from qualifying purchases. Follow this link for details about this site's advertising and privacy policy.