Base Approach - Bunker Exterior - Part 2
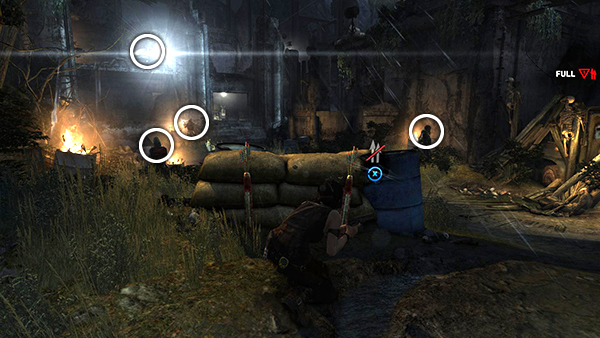
From here you can see 4 more men: 2 ahead on the left, one on the right, and one manning the spotlight.
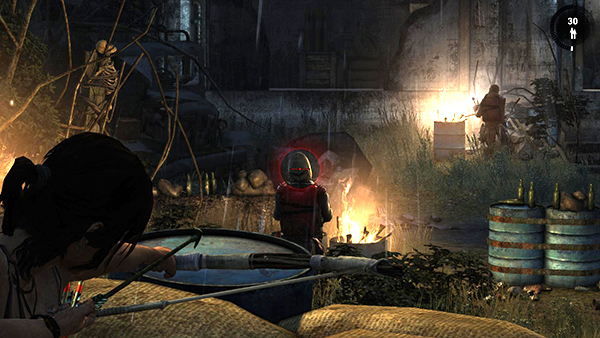
Take out the nearer of the two guys on the left using the bow for a silent headshot.
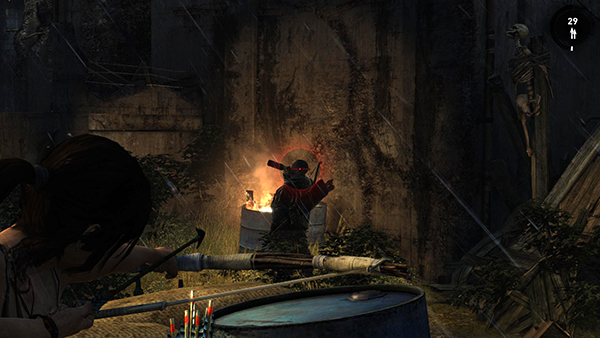
Repeat this with the guy near the flaming barrel on the right.
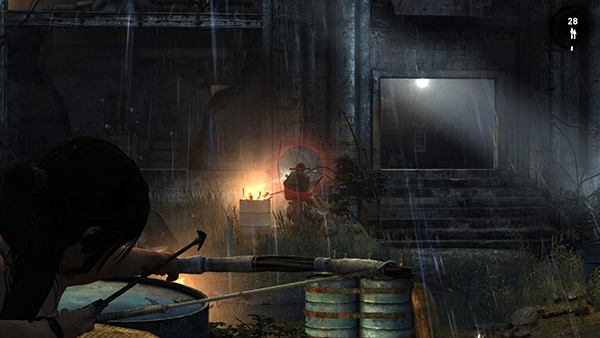
Then take out the guy with explosives who seems to be welding something near the wall below the spotlight.
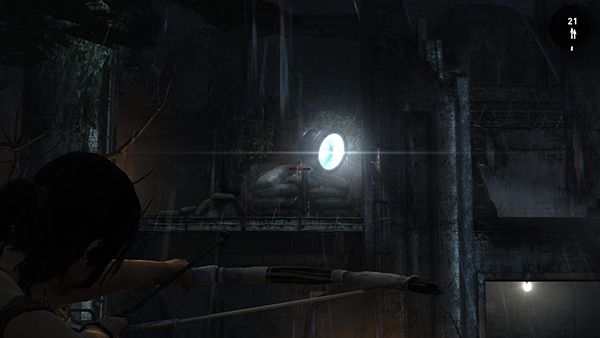
For some reason, the guy working the spotlight doesn't seem to notice that you've taken out his buddies. He'll be joining them soon enough, though. Move to the left side of the sandbag wall and aim your bow just to the lower left of the spotlight, about where 7:00 would be on a clock. Your reticle will turn red showing you've got the man targeted.
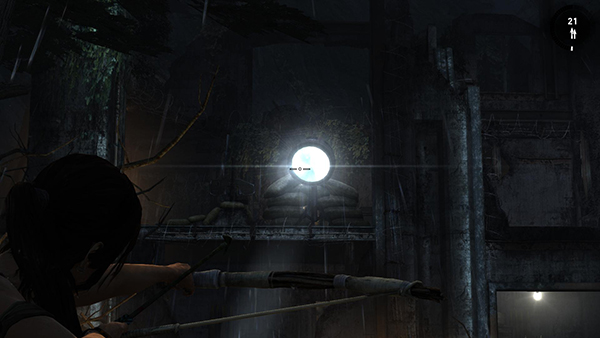
You may lose and regain the target as the spotlight moves, but be patient.
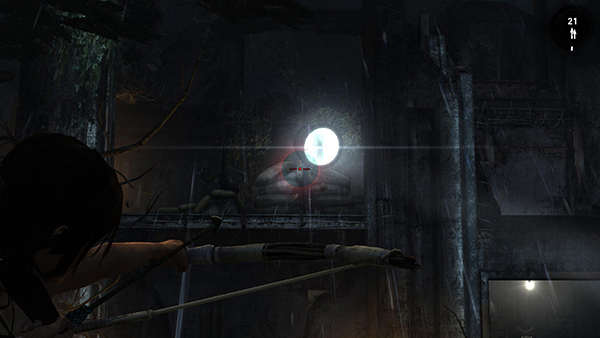
When the spotlight is about to move away, hold the Fire button to charge up a power shot. Then as soon as you have a clear shot, release the button to fire.
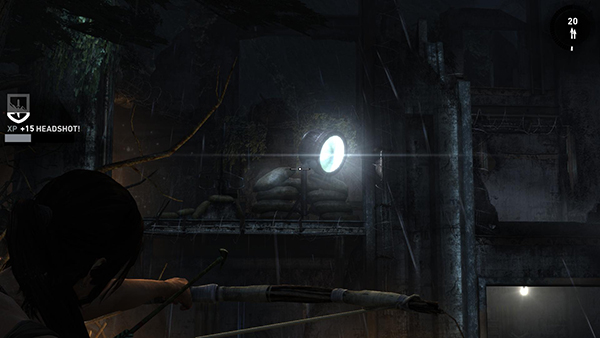
Mischief managed.
[Part 1 |Part 3 | Return to the Base Approach Walkthrough]
Copyright © 2013- - Stellalune (). All rights reserved. The screenshots and videos included here were made using Fraps. Feel free to copy or print this walkthrough for personal use. By all means, share it with friends, but please include this credit line so people can send me their feedback. No part of this walkthrough may be reproduced on another site without permission. As an Amazon Associate I earn from qualifying purchases. Follow this link for details about this site's advertising and privacy policy.