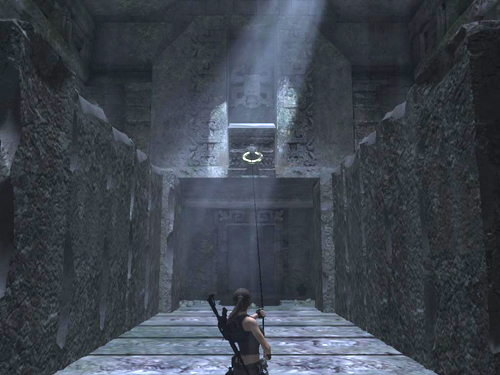
Stand close to where the first set of blocks meet, facing straight down the aisle between them. When they open, grapple the shiny metal ring on the stone block above the doorway.
Pull it down and drag it along the aisle between the pounding blocks. If the cable comes loose, just wait for the pounding blocks to open and grapple the ring once more.
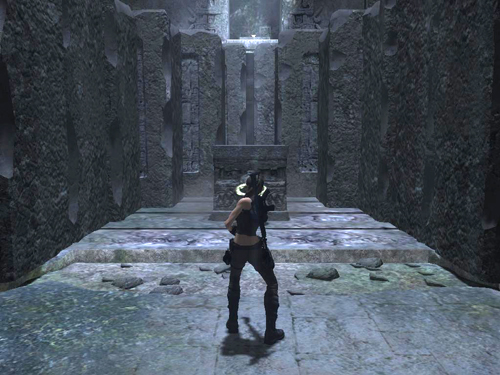
Keep tugging the block toward Lara until it stops in the groove between the nearest set of pounding blocks.
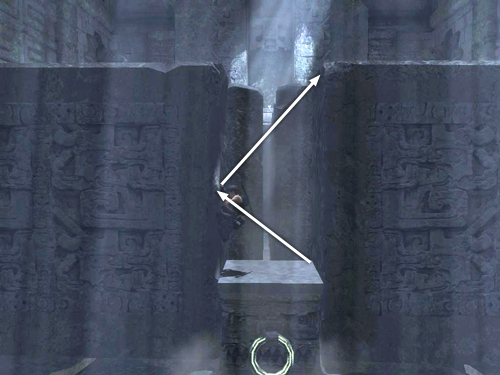
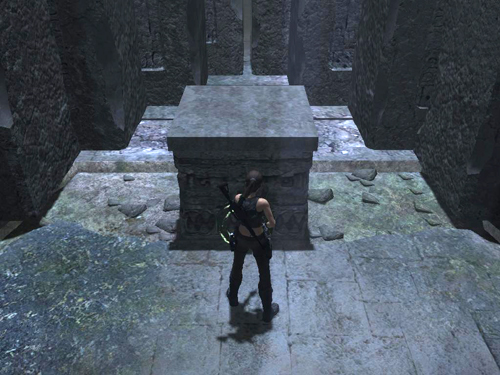
Now climb on top of the block with the ring. As long as you don't step off the edge, it's safe. Stand at the right side of the block facing left. Just as the pounding blocks are about to come together, chimney jump between the blocks. . .
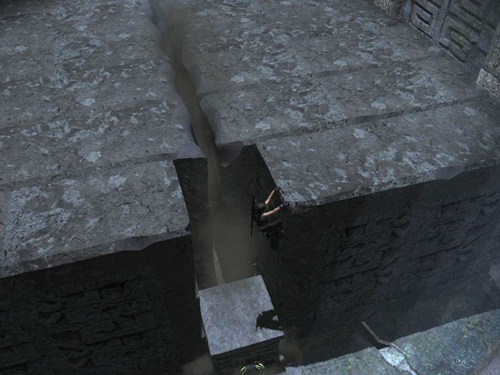
. . . so Lara grabs the top of the block on the right.
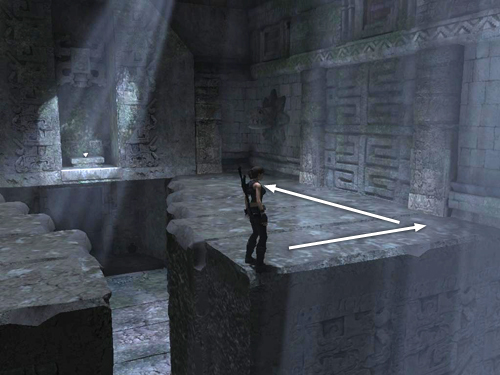
Pull up to stand on top of the moving block and make your way toward the right wall. Then cross over the tops of the blocks.
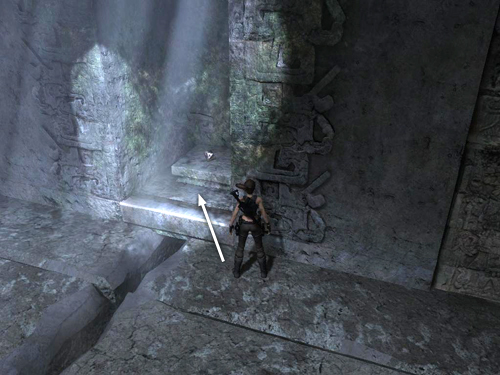
When you reach the farthest block, walk to the end of it but don't drop down. Wait for it to move toward the center of the room and then jump into the alcove with the treasure (32/50). Pick it up. Then step to the edge of the alcove. As soon as the blocks start to separate, drop down and run out of the way. Follow the short, dark passageway to the exit.
[Return to the Midgard Serpent Walkthrough]
Copyright © 2008- - Stellalune (). All rights reserved. The screenshots and videos included here were made using Fraps. Feel free to copy or print this walkthrough for personal use. By all means, share it with friends, but please include this credit line so people can send me their feedback. No part of this walkthrough may be reproduced on another site without permission. Follow this link for details about this site's advertising and privacy policy.
|