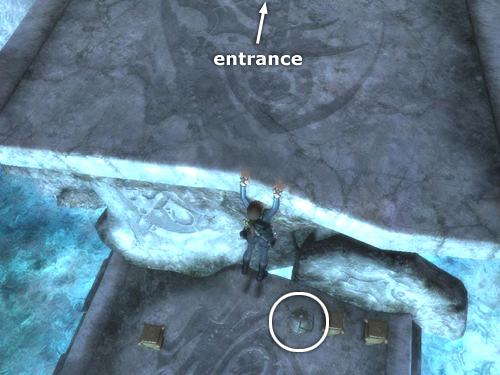
Drop down onto the ledge below the one at the entrance. Smash the shiny jar to get the treasure (25/30) inside if you like.
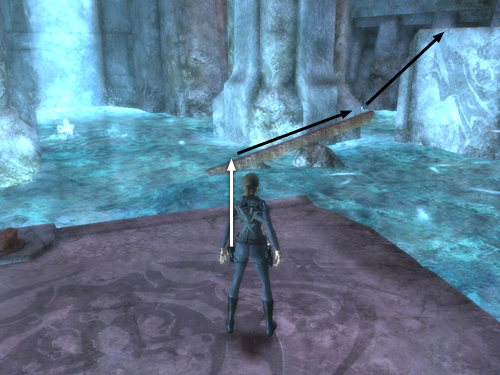
Turn around to face out across the pool. Kill any thralls that have materialized and then jump onto the fallen column that runs along just above the toxic water toward the tiny island ahead on the left. Walk along the column (you can jump forward or press Sprint to scurry along) and then jump onto the island. One of the jars here contains a treasure (26/30), and there's another glowing symbol on the back of the support column here. Make a note of its location. You'll be back soon. Jump back to the column, cross over it and jump back onto the big ledge where you first dropped down.
NOTE: From this point on, I encountered no more thralls in this area, but I've heard from other players that thralls continue to respawn throughout your explorations here. Maybe this is different for various versions of the game. I'm playing the PC version.

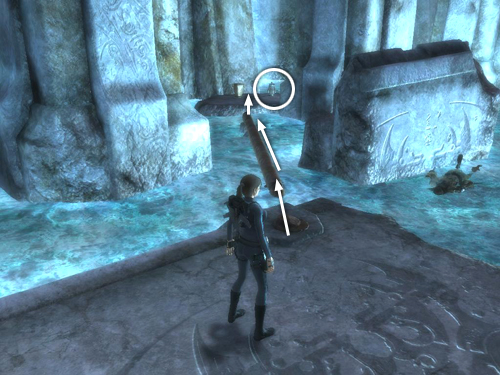
Turn away from the wall and jump onto the short, vertical column sticking up out of the water ahead and to the right. Turn right to face the low wall and then jump forward to grab it. Climb along the narrow stone ledge toward the left end of the wall.
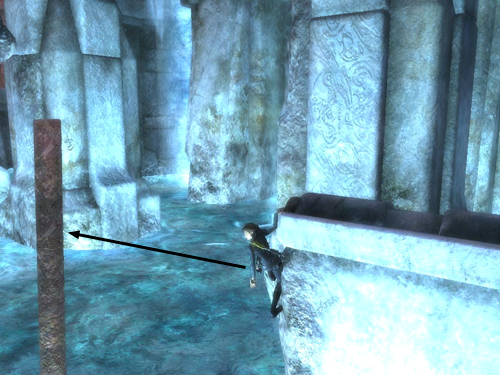
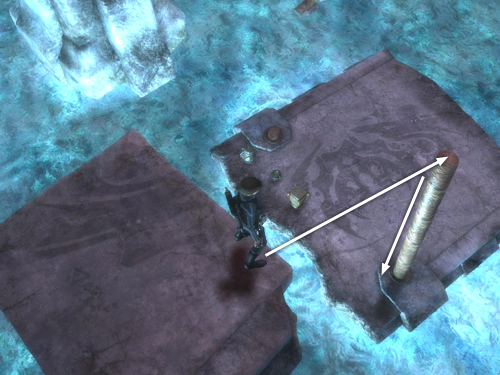
Make sure Lara is hanging from the corner of the ledge (as shown above) before jumping back to grab the narrow, brownish column behind her.
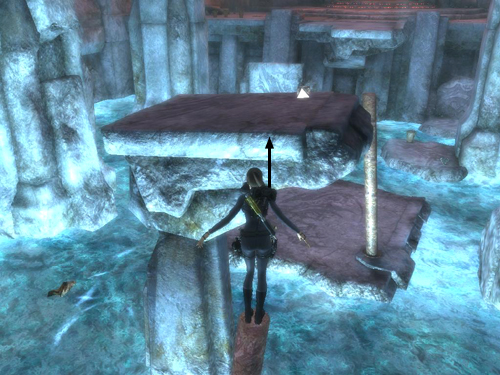
Pivot on top of the column to face the slightly tilted platform and jump forward to grab the edge of it. Pull up and claim another treasure (27/30).
Jump from the tilted platform to the top of the next brown column, which sticks up out of the small island below. Press Crouch to go from perching on top of the column to hugging it around the middle. Press Crouch again to let go and drop to the floor. Pick up the health potion and break the shiny jar to get the treasure (28/30) inside.
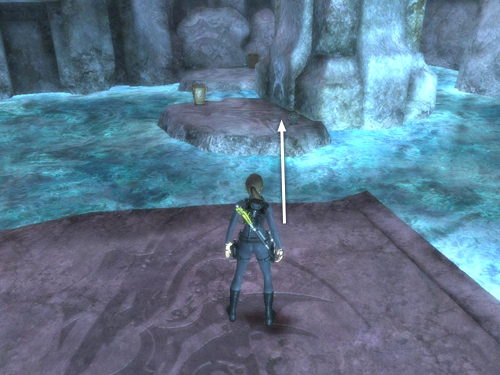
Now move to the other side of the ledge and carefully jump over to the next small island. This is a fairly long jump and it's easy to miscalculate and slip into the pool. So be sure to start on the right side of the ledge, where the gap is a little smaller, take a running jump and hold the Jump key to keep Lara in the air for that crucial extra fraction of a second. Pick up the health potion and, again, make a mental note of the glowing symbol on the column.
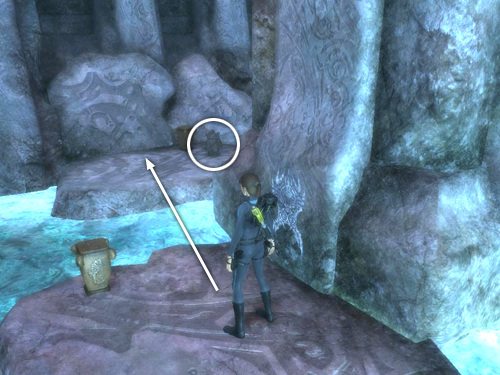
From here, jump to the next small island ahead near the wall, where you'll find a pair of clay jars, one of which holds a treasure (29/30). Get it and then jump back to the previous island with the carved symbol.
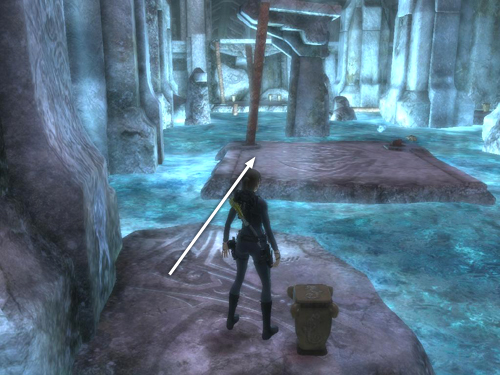
Now carefully make the long running jump back to the larger island with the column sticking out of it. Again, try and make the jump on the left side where the gap is a little smaller and hold Jump to keep Lara in the air a little longer
>When you reach the larger island, go to the right side and jump onto the angled column sticking out of the water. Walk to the upper end of it and jump forward to grab the edge of the light-colored stone wall.
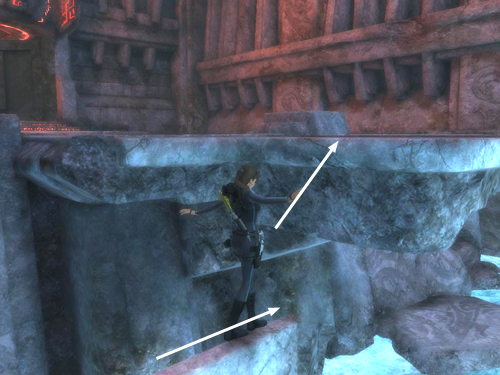
Pull up and walk to the right end of it. Jump from there to grab the ledge ahead. Pull up and approach the HELHEIM PORTAL.
[Return to the Helheim Walkthrough]
Copyright © 2008- - Stellalune (). All rights reserved. The screenshots and videos included here were made using Fraps. Feel free to copy or print this walkthrough for personal use. By all means, share it with friends, but please include this credit line so people can send me their feedback. No part of this walkthrough may be reproduced on another site without permission. As an Amazon Associate I earn from qualifying purchases. Follow this link for details about this site's advertising and privacy policy.
|