Lost City of Tinnos - Secret #3 (Alternative Routes to the Floor)
The main strategy, shown in part 2 and in the video, involves side flipping down the ledges to the floor, resulting in a little injury for Lara. To conserve health, try this:
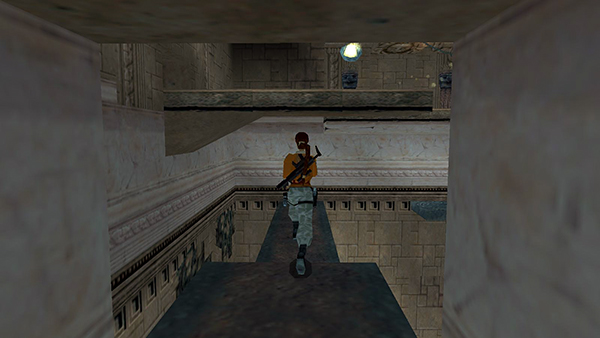
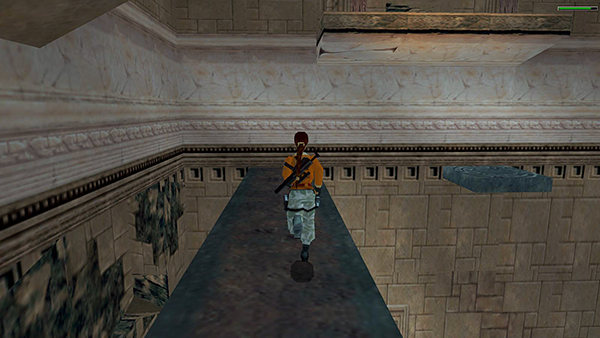
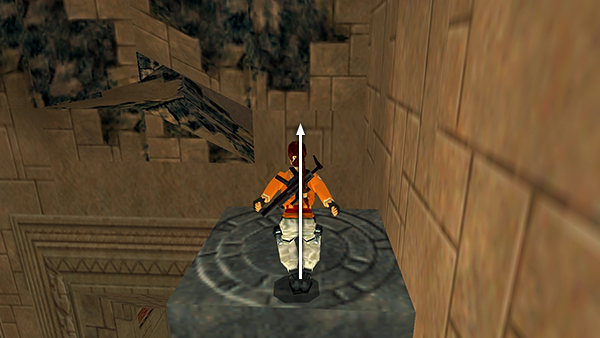
After pulling switch #6, roll and run/sprint forward along the walkway.
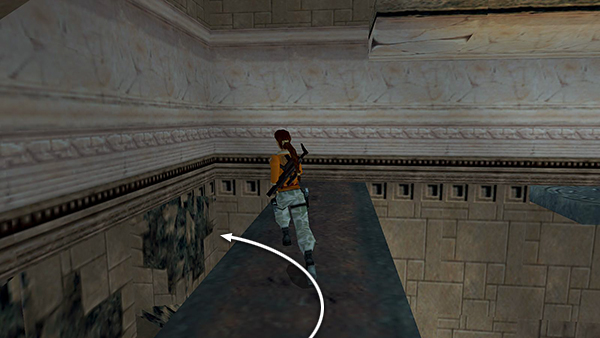
Veer sharply to the left toward the wasp hive (the crack in the wall).
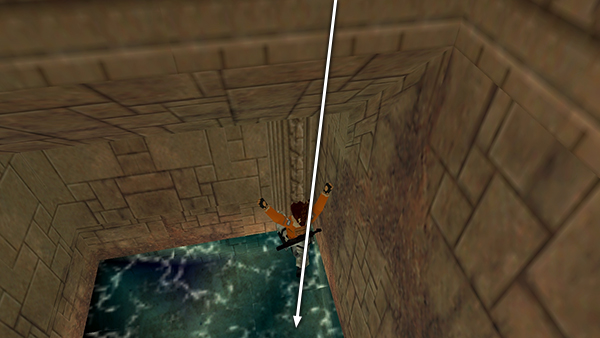
Hold Action as you run off the ledge...
...so Lara lands in the pool below.
- OR -
Instead, after pulling switch #6, roll and run/sprint toward the end of the walkway. As you approach the wall, release sprint and stop running.
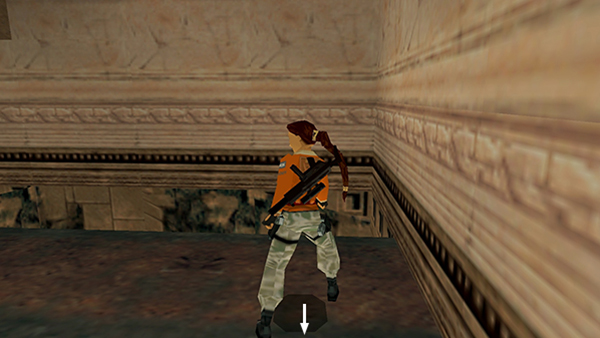
Turn left, hold Walk, and step backward to the edge of the walkway. This takes a moment to set up, but you'll save time on the way down.
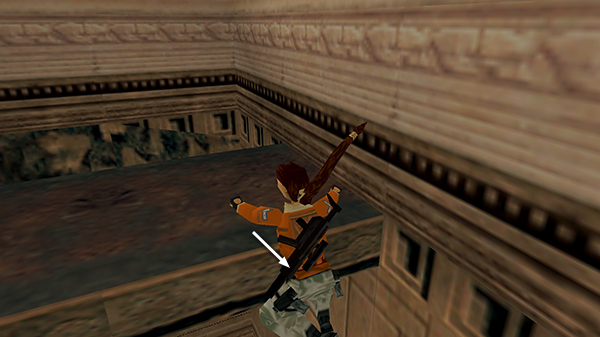
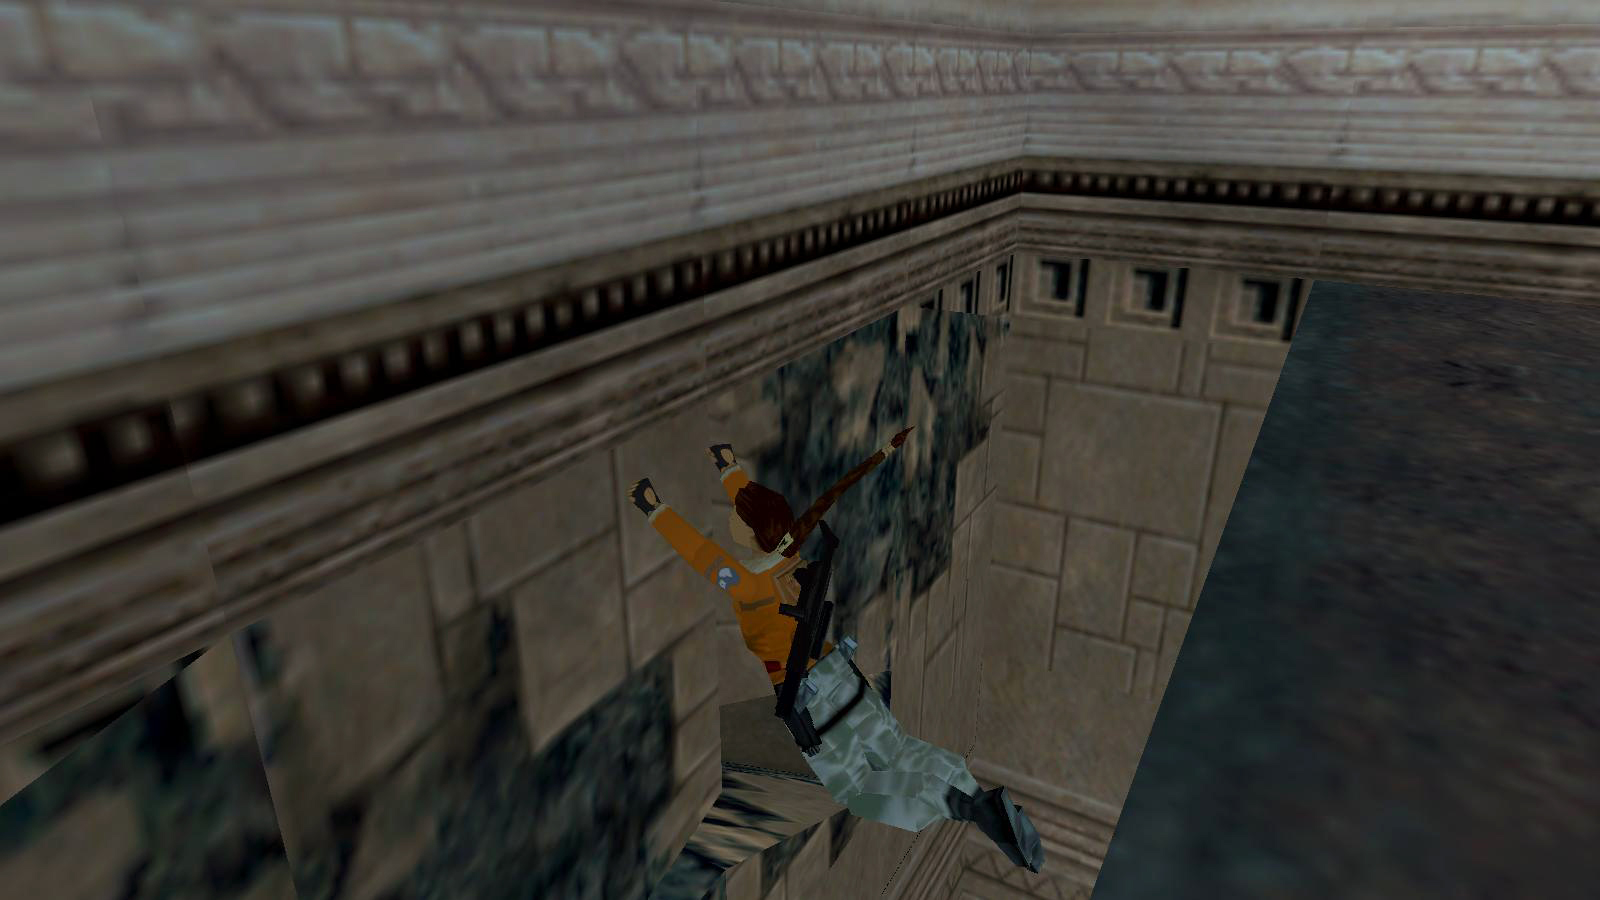
Now hop back and press Action as though you were going to grab the edge of the walkway, but before you do, release Action...
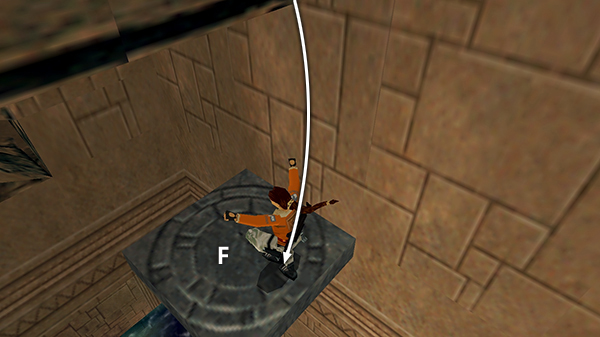
...and Lara will land on ledge F, under the walkway.
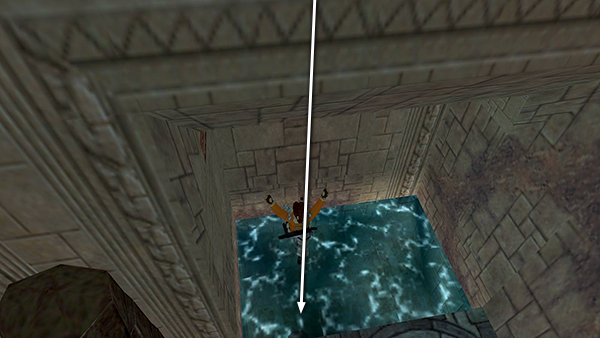
Now take a standing jump with Action toward the wall...
...to land safely in the pool below.
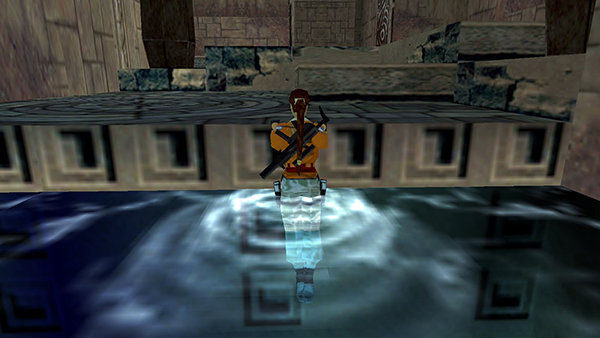
Whichever method you used to drop into the pool, once you get there, roll underwater and climb out of the water.
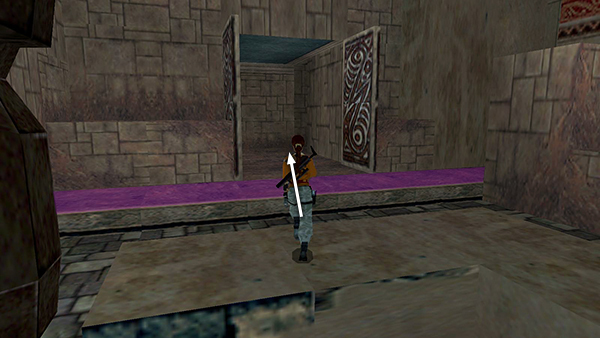
Run/jump across the room to the double doors. If you haven't triggered the wasp swarm yet, try to jump over the portion of the ledge that triggers it. If you don't manage to do this, don't worry; just keep going. You can kill the wasps later.
[Part 2 | Part 3 | Return to the Lost City of Tinnos Walkthrough]
Copyright © 1998- - Stellalune (
). All rights reserved. Feel free to copy or print this walkthrough for personal use. By all means, share it with friends, but please include this credit line so people can send me their feedback. No part of this walkthrough may be reproduced on another site without permission. Follow this link for details about this site's advertising and privacy policy.