Thames Wharf - Secret #1 - Across the Crane and Back (part 1)

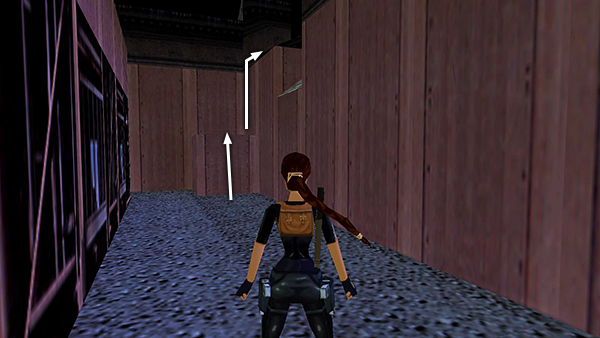
From the starting point, turn around and move to the end of this ledge, where it meets the metal catwalk. Turn left and step as close to the base of the angled roof as you can.
Take one hop and one or two walking steps back.
Now take a running jump over the angled roof...
...to land in the low area behind it. Lara will take a little damage in the fall, but there's no way to avoid that.
Head to the left and around the corner to find shotgun shells and a save/power-up crystal.
After getting the goodies, climb onto the pink, metal block in the opposite corner and pull up onto the ledge on the right.
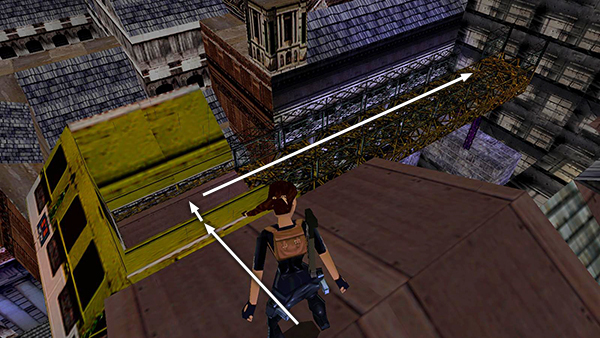
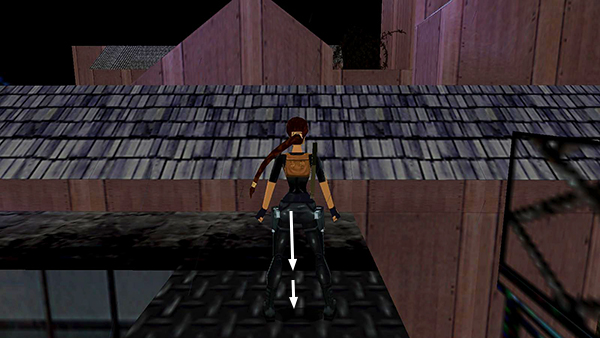
Walk across the roof to the edge. Hop back and then take a standing jump down onto the yellow crane. (If you hop back first, Lara will land on the sloping side of the crane, avoiding any damage.) Move along the crane arm to the breaks in the railings.
Then drop down onto the gray block dangling from the crane by purple chains.
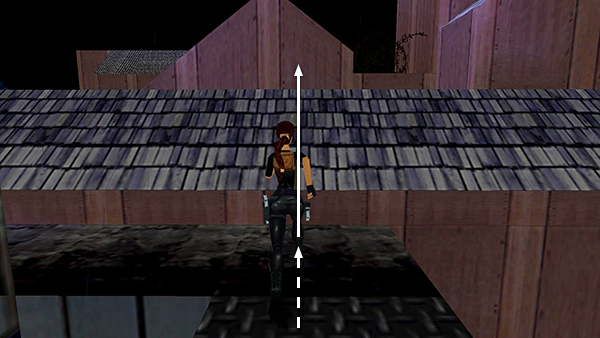
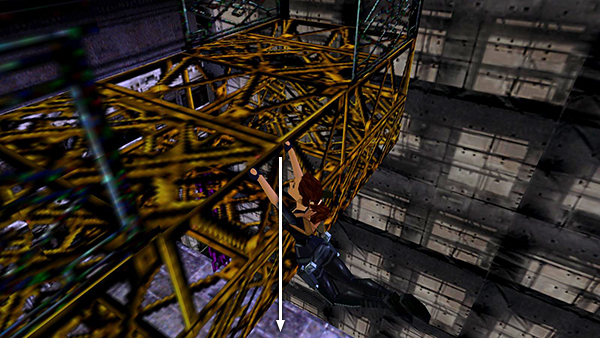
Position Lara in the middle of the block, facing the crane's vertical support. Step off the edge to land on the roof below, taking a small amount of damage.
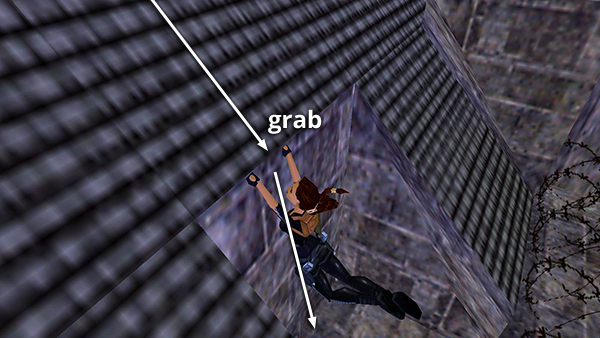
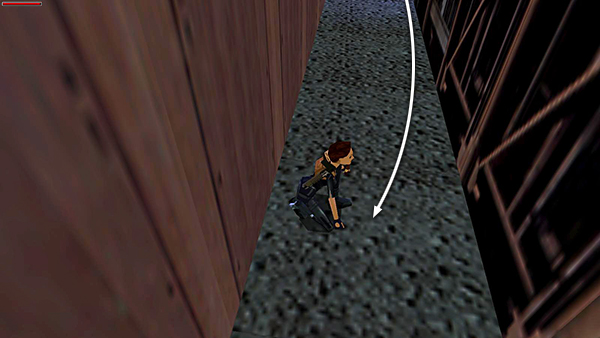
Slide backwards down the roof, grab the edge, and drop into the safe alcove near the coil of barbed wire.
- OR -
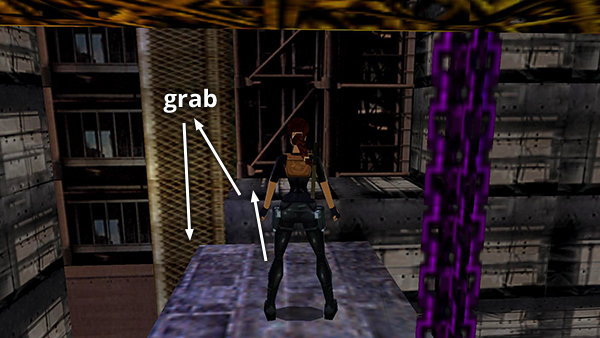
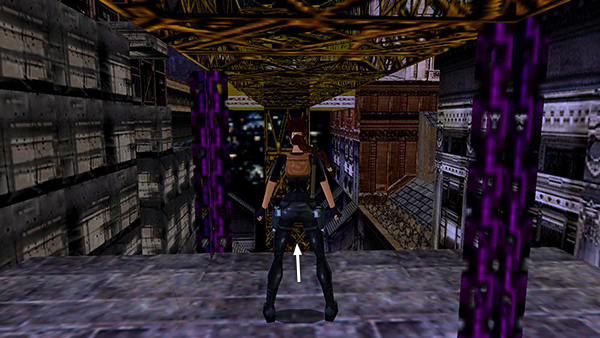
Alternatively, instead of sliding down the roof, you can jump from the gray block dangling from the crane onto the nearest ledge. Then climb down the yellowish grating.
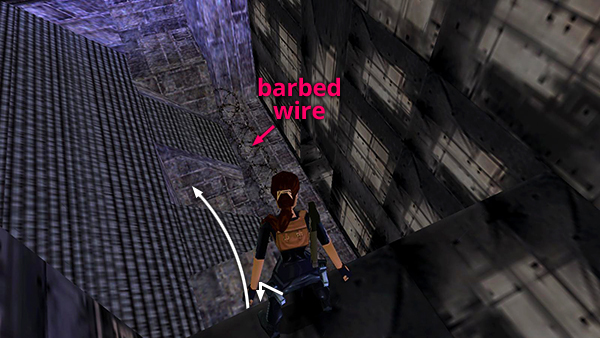
Drop onto the small, concrete ledge below. Back up to the wall and then take a standing jump down to the alcove, so as not to slide into the barbed wire
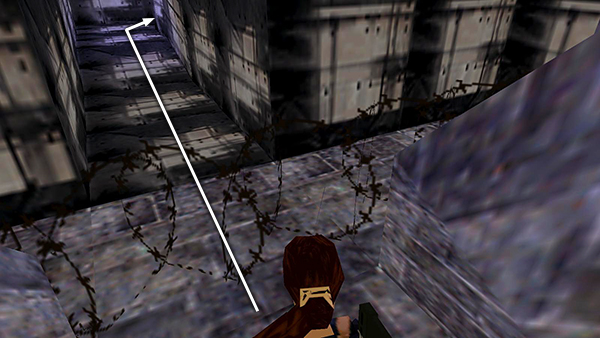
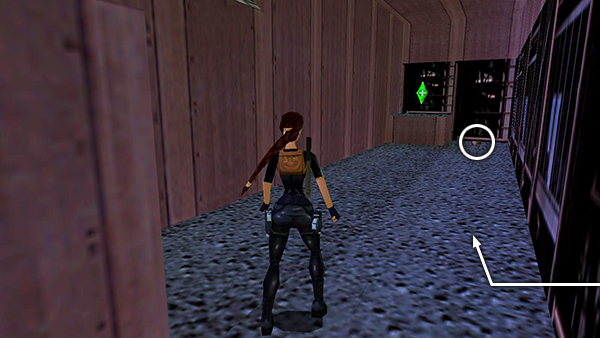
Once you're standing in the safe alcove, either walk through the barbed wire or pull up onto the slope and backflip over the wire. Follow the hallway to SECRET #1...
...a rocket and small medi pack guarded by 2 rats.
Copyright © 1998- - Stellalune (
). All rights reserved. Feel free to copy or print this walkthrough for personal use. By all means, share it with friends, but please include this credit line so people can send me their feedback. No part of this walkthrough may be reproduced on another site without permission. Follow this link for details about this site's advertising and privacy policy.