Temple of Puna - Secret #1

Now you're back at the beginning of the level. There are 3 more locals with blowguns waiting for you—one in the doorway on the right, the others on the stairs to the left. One of the men on the left drops a small medi pack when he dies. The chute on the right leads to the final area, but don't slide down yet! Instead climb the stairs as you did before.
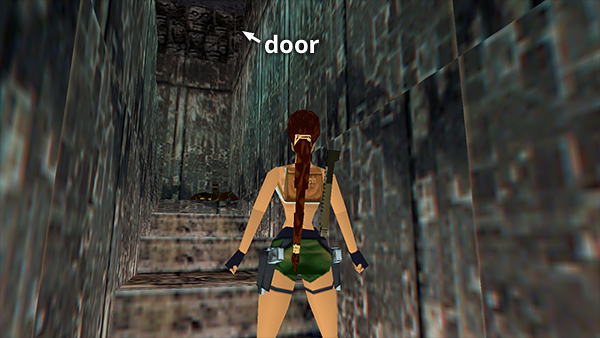
This time the small door above the bend in the stairs is open.
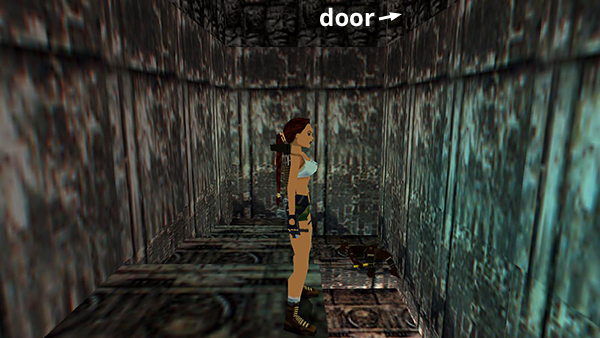
To reach it go to the fourth step from the top (or any of the higher steps).
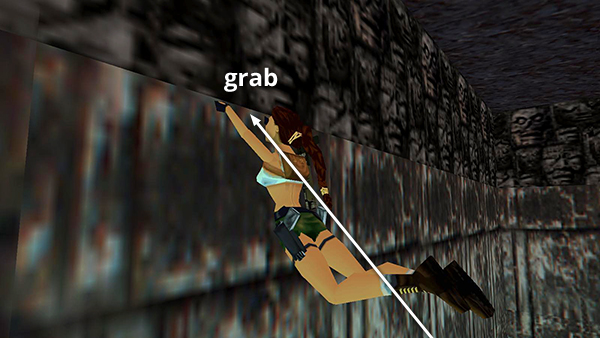
Take a standing jump from the edge to grab the horizontal seam in the carved wall.

Traverse to the left...

...and pull up into the doorway.
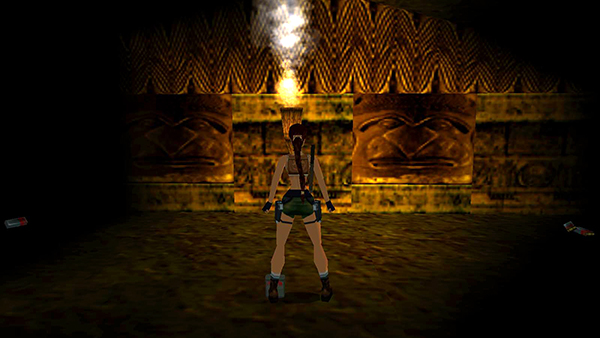
Don't bother lighting a flare, since the torch on the wall ignites as you move into the room. This is the level's ONLY SECRET—3 sets of Desert Eagle clips, flares, and a large medi pack.
NOTE: If you don't already have the DESERT EAGLE PISTOL, you will get it here in place of one set of clips. If the door to the secret room is still closed when you get there, it may be because you missed the trigger that opens it. This appears to be either the last save crystal or just the tile it's sitting on. Return down the stairs, turn right, and go back into the room with the giant boulder. Crawl under the edge of the boulder to get the crystal, and the secret door should be open when you return.
Copyright © 1998- - Stellalune ( ). All rights reserved. Feel free to copy or print this walkthrough for personal use. By all means, share it with friends, but please include this credit line so people can send me their feedback. No part of this walkthrough may be reproduced on another site without permission. Follow this link for details about this site's advertising and privacy policy.