Lud's Gate - Egyptian Exhibit and Nearby Offices (part 2)
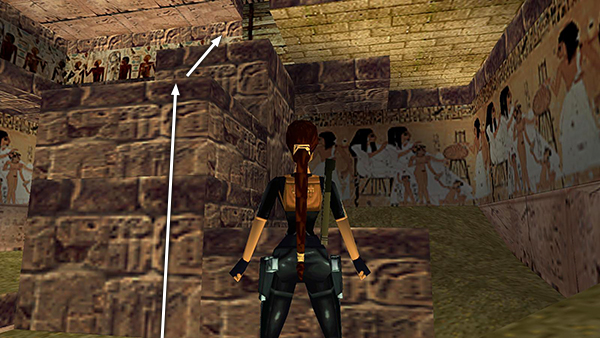
After moving the tall pillar back toward the entrance and getting the save/power-up crystal, as shown in part 1, climb back up the stepped blocks...
...and jump to grab the slats on the ceiling again.
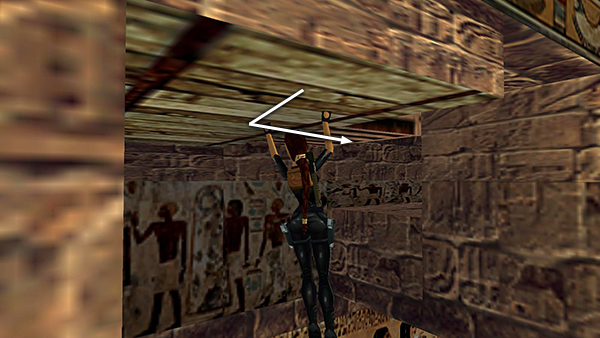
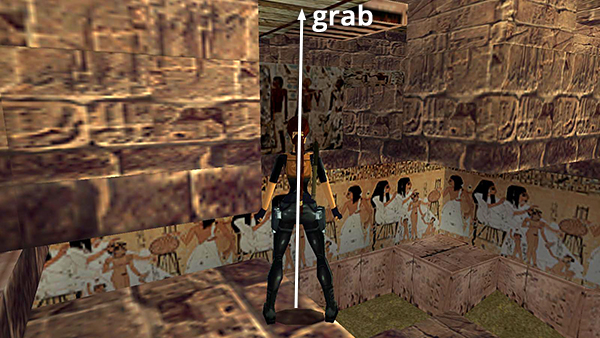
This time monkey swing around to the alcove on the right.
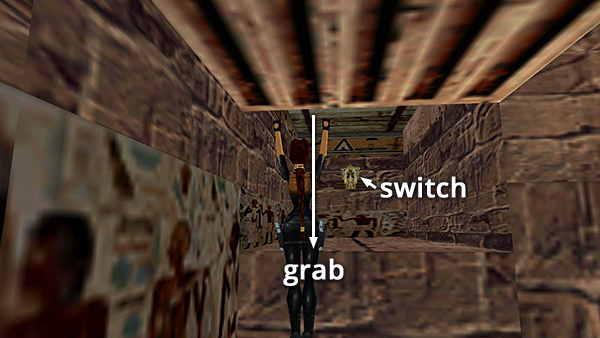
Drop, grab the edge, pull up, and crawl into the alcove. Pull the switch.
This opens a door high above.
Crawl backwards to the edge and drop to the floor once more.
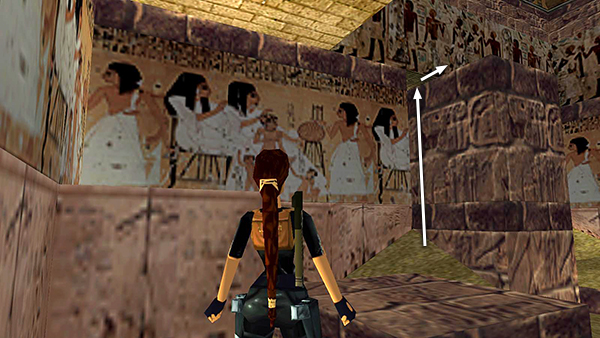
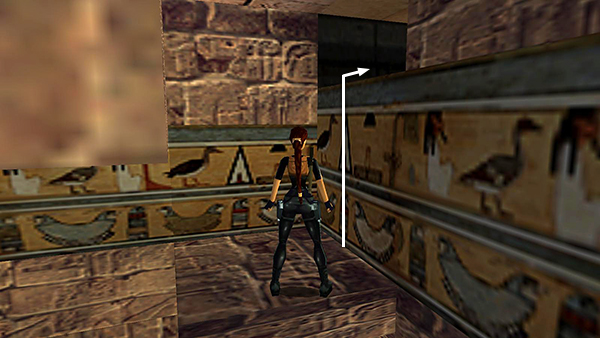
Now climb onto the tall pillar blocking the entrance.
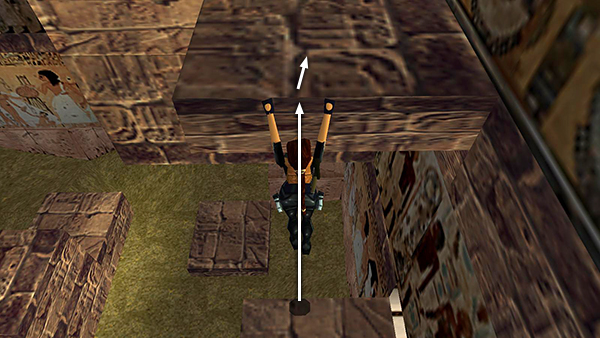
Pull up onto the ledge above.
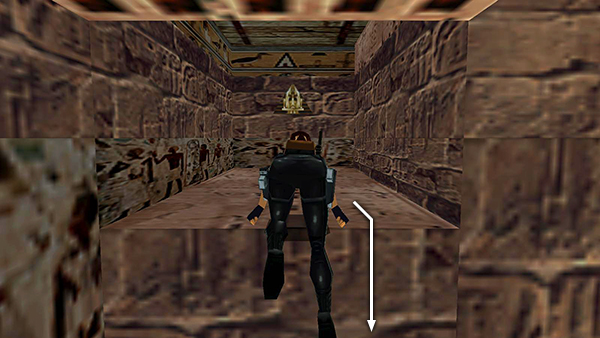
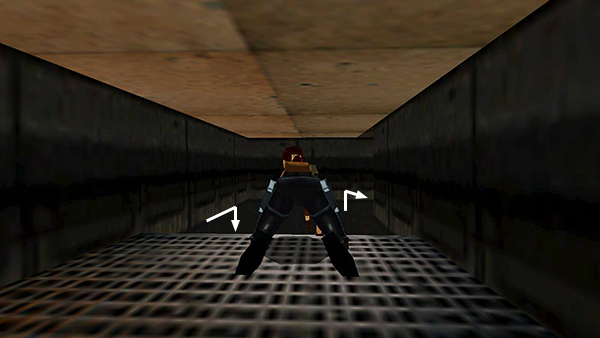
Then go through the crawlspace on the right.
Follow the metal duct...
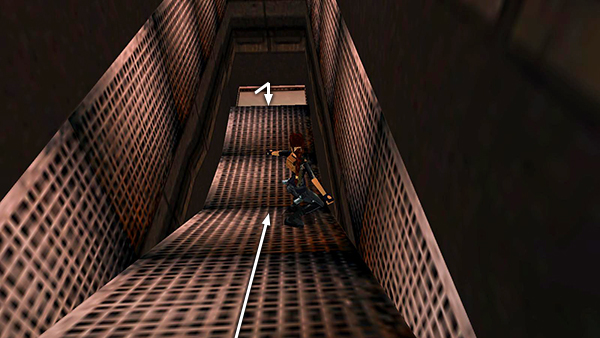
...to a hole in the floor. Drop down into the hallway...
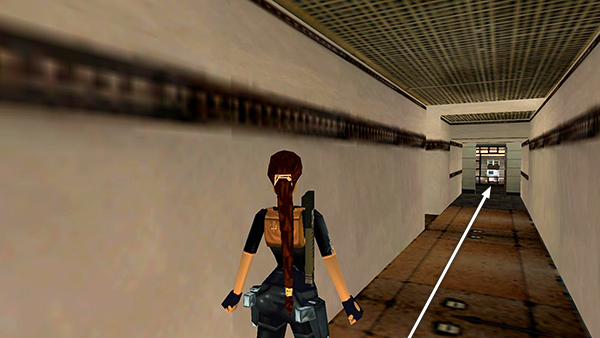
...and return to the OFFICE with the movable block.
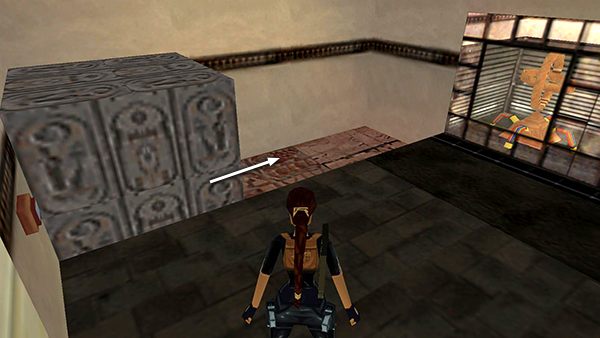
Pull the block off the gray tile to slide the tall pillar away from the doorway once more.
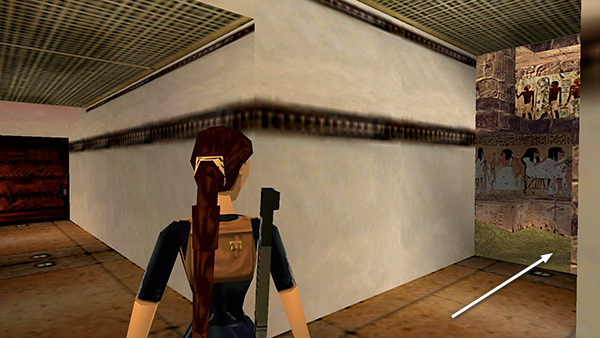
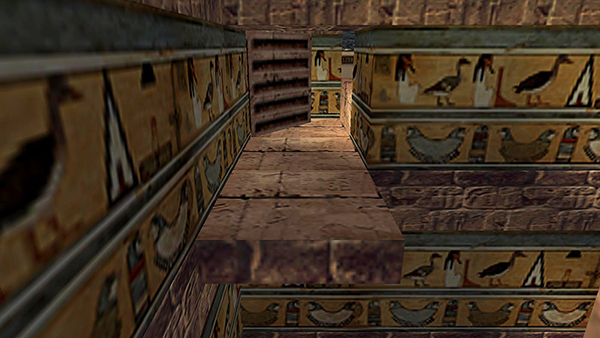
Go back into the hallway and turn right into the EXHIBIT ROOM.
Copyright © 1998- - Stellalune (
). All rights reserved. Feel free to copy or print this walkthrough for personal use. By all means, share it with friends, but please include this credit line so people can send me their feedback. No part of this walkthrough may be reproduced on another site without permission. Follow this link for details about this site's advertising and privacy policy.