Lud's Gate - Boiler Room (part 2)
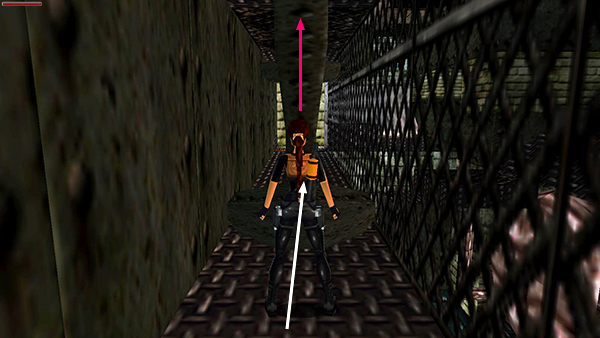
After turning off the burners and jumping across them, as shown in part 1, follow the galvanized steel duct around the corner to a corridor with 3 pounding pistons.
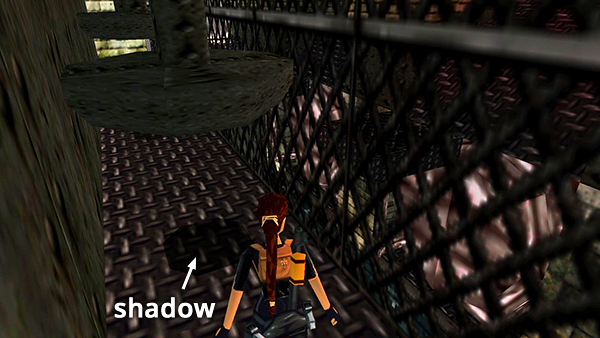
To pass the each piston safely, watch its shadow on the floor. Stand close to the tile with the shadow but not too close.
Run under the piston as it starts to rise. Take care to stop just beyond it so you don't run on into the next piston. Then repeat the process to reach the end of the hall.
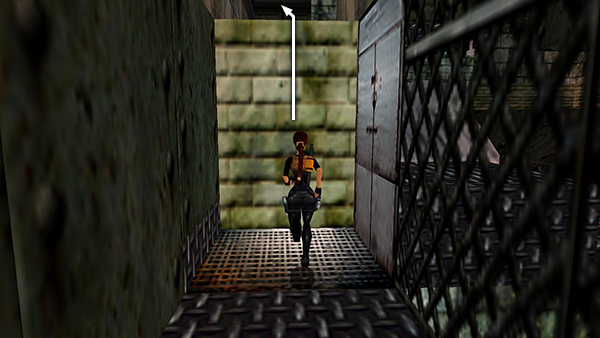
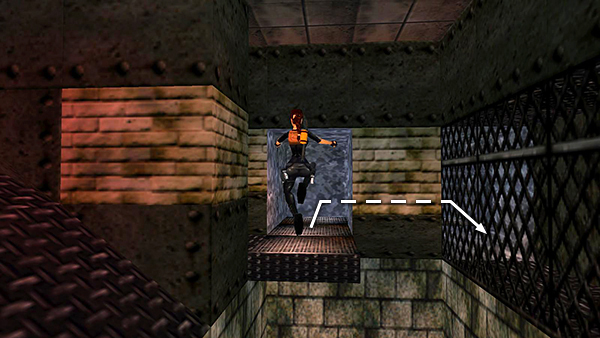
Climb up onto the ledge ahead.
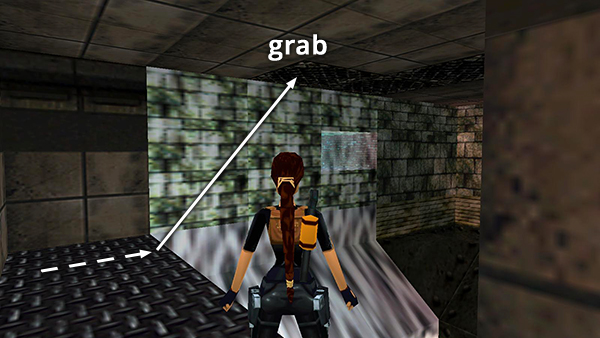
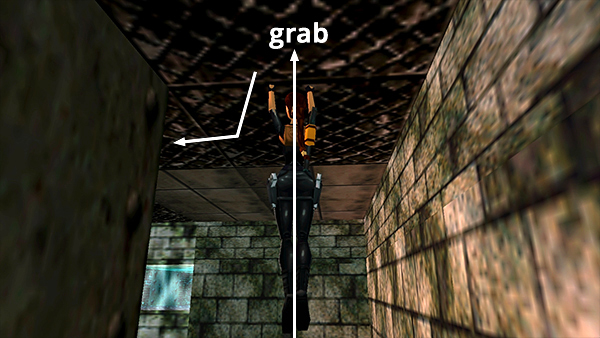
You're now just above the pool where you left the UPV. Take a running jump from the left side of the ledge to grab the grate on the ceiling.
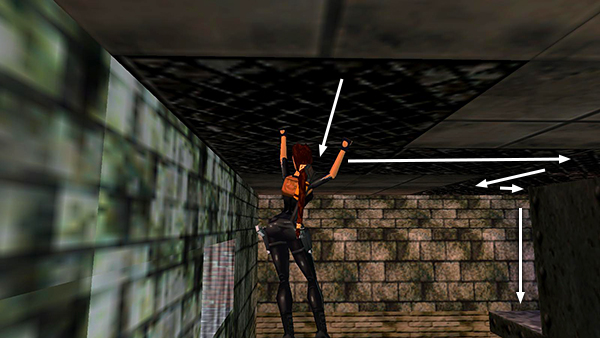
Ignore the small opening on the left for now. Instead monkey swing all the way across the room and drop down on the ledge in the right corner.
The galvanized steel duct directly ahead leads to a long air shaft, but there are no ledges or openings close enough to reach. So don't bother going that way. Rather, turn around...

...and hop down in the area next to the pool, where you'll find Desert Eagle clips and flares.
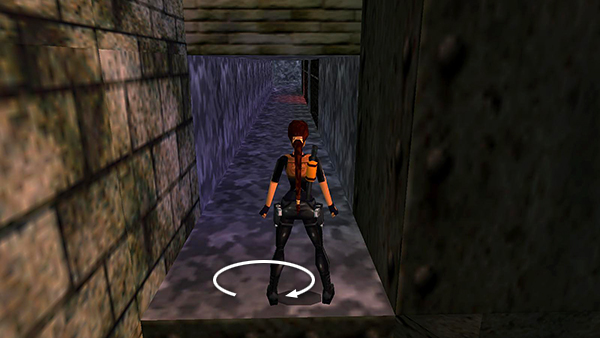
Climb back onto the ledge near the galvanized duct.
Grab the ceiling grates again and monkey swing over to the small opening in the wall near the waterfall.
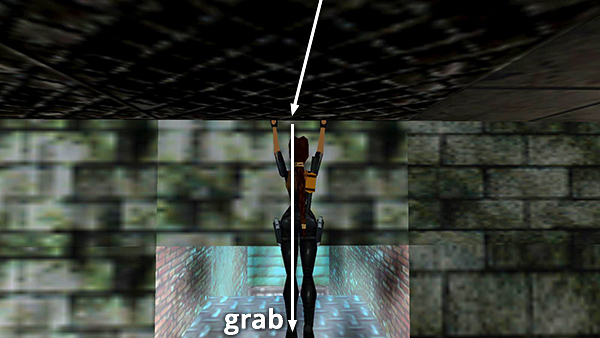
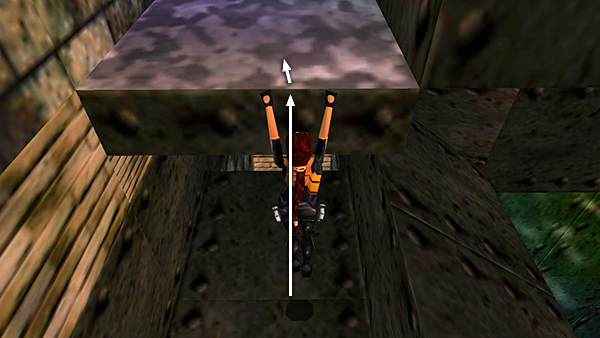
Position Lara's chest against the wall, drop, and grab the opening.

Pull up into the crawlspace, turn around, and drop into the small room below.
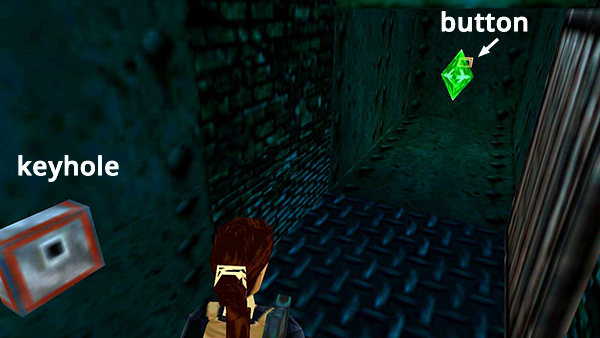
Now use the BOILER ROOM KEY in the lock to open the door. Get the save/power-up crystal and press the button.
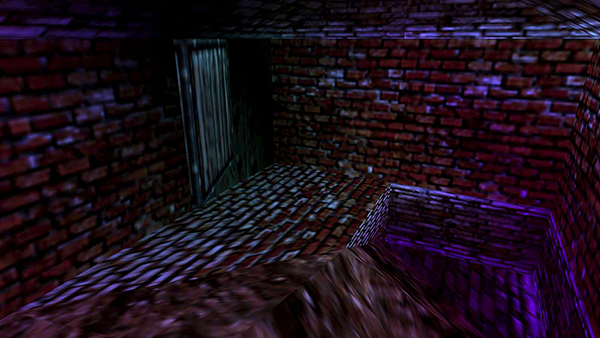
This opens another door back in the purple passageway off the UNDERWATER ROOM WITH DIAMOND-SHAPED OPENINGS.
Copyright © 1998- - Stellalune (
). All rights reserved. Feel free to copy or print this walkthrough for personal use. By all means, share it with friends, but please include this credit line so people can send me their feedback. No part of this walkthrough may be reproduced on another site without permission. Follow this link for details about this site's advertising and privacy policy.