Crash Site - Cave with Switches (part 2)

Crawl into the tunnel...
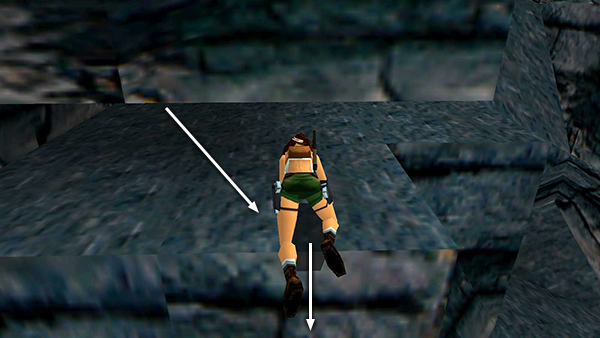
...and drop down inside the cave.
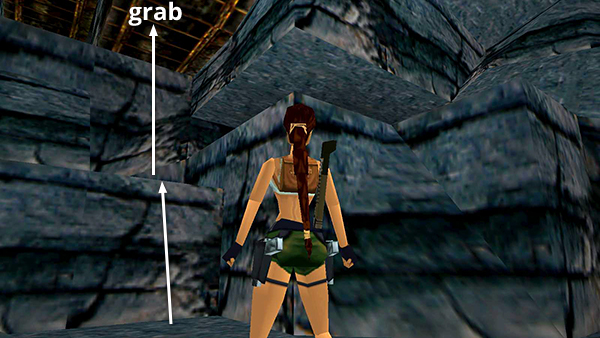
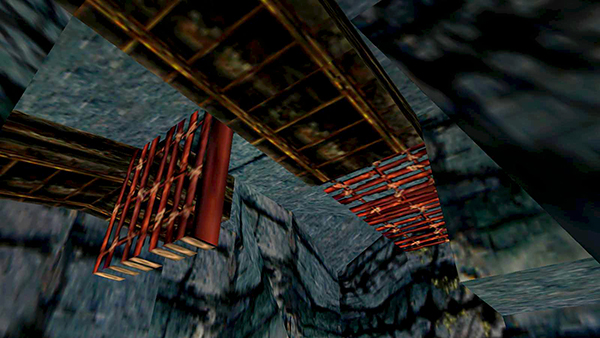
Climb onto the low block, turn around, and jump to grab the bars on the ceiling.
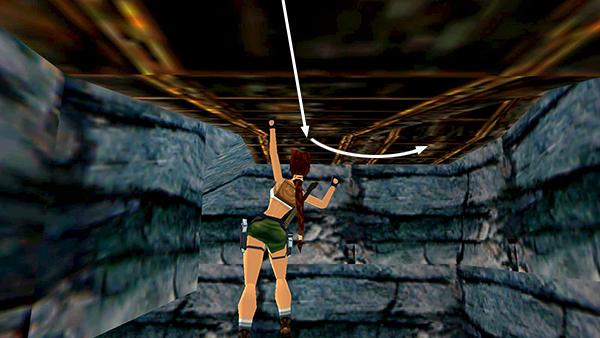
Monkey swing forward then make a U-turn around to the right.

Continue forward and drop down in the doorway.
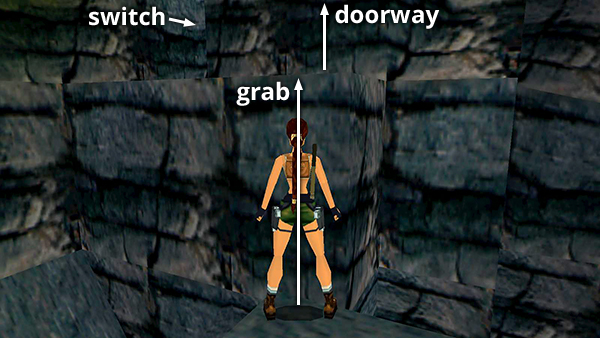
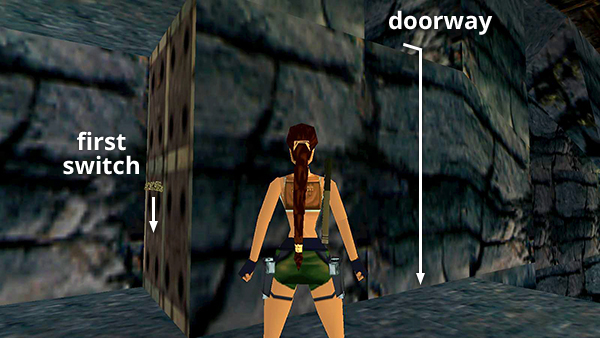 Step off the edge to land on the ledge below the doorway. Turn around to face it. Then go into the alcove on the left and use the first switch.
This rearranges the bars on the ceiling.
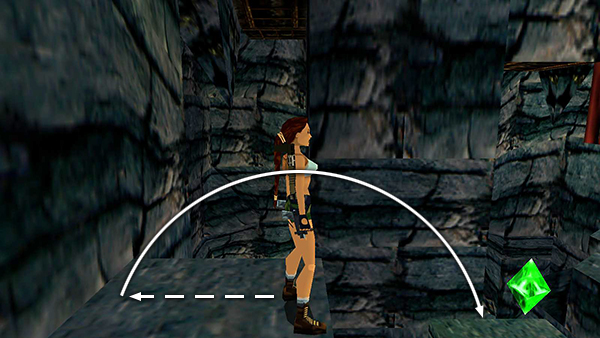
There's a save/power-up crystal on the pillar below. If you don't need it right away, you can skip this step since you'll pass over this pillar later on during the climbing sequence. If you want it now , walk to the corner of the ledge, face the pedestal with the crystal, hop back once, and then take a standing jump to land on the pedestal. If you miss, you'll need to reload, because all the slopes lead down into a pit of spikes.
Once you have the crystal, turn around, walk to the left corner of the pillar, and take a standing jump to grab the ledge below the entrance. Pull up. Then climb back up into the doorway,
Copyright © 1998- - Stellalune ( ). All rights reserved. Feel free to copy or print this walkthrough for personal use. By all means, share it with friends, but please include this credit line so people can send me their feedback. No part of this walkthrough may be reproduced on another site without permission. Follow this link for details about this site's advertising and privacy policy.