Aldwych - Masonic Temple
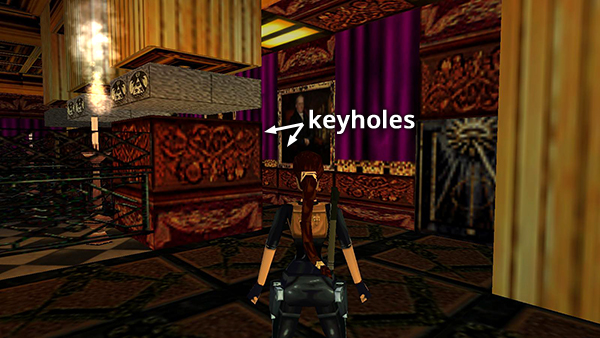
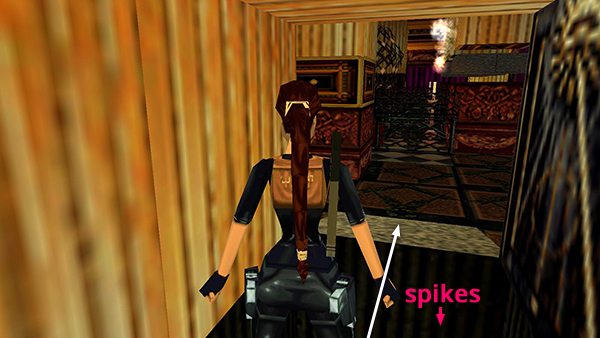
Enter the temple, taking care to avoid the break-away floor tiles with spikes below. Go around the fenced-in area to the right side of the room. Here you'll find 2 receptacles where you can use the SOLOMON'S KEYS. Doing so opens three doors: the one near the keyholes, shown in the screenshot above, another in the far corner of this room, and a third door inside an underwater passage you will explore shortly.
NOTES: If you are missing either of the Solomon's keys, you'll need to backtrack for it now. Directions to each key are included on a separate page.
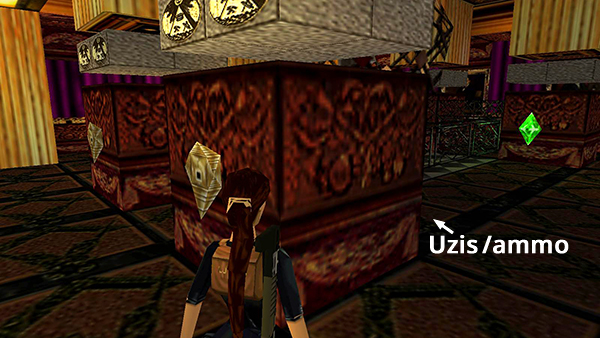
Go around the corner to the right and pick up a save/power-up crystal and Uzi clips near the railing surrounding the rotating moon sculpture.
NOTE: If you missed the UZIS in the ROOM WITH THE STACKED CRATES, you'll get the weapons here instead of ammo.
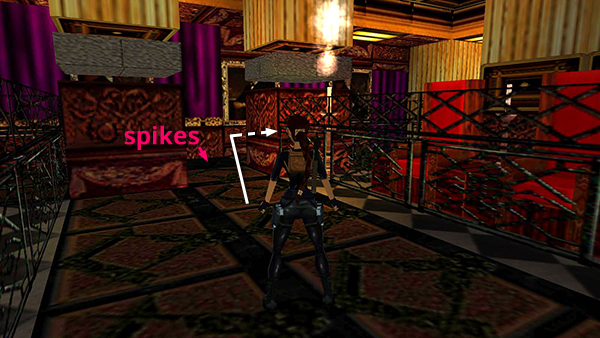
Now head for the back of the room, carefully avoiding the break-away tiles with spikes below.
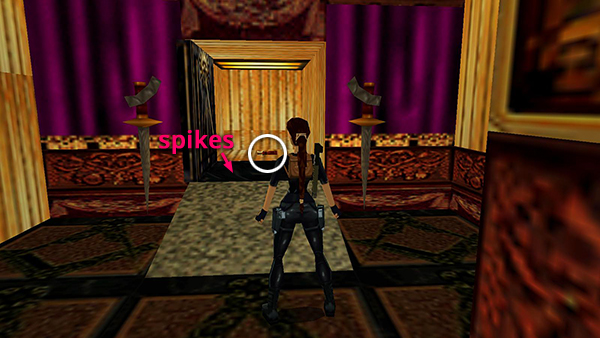
Run up the small, stone ramp, over the tile concealing another spike pit, and into the little room you just opened. Grab the MASONIC MALLET.
Turn around, walk to the edge and take a standing jump over the spikes onto the ramp.
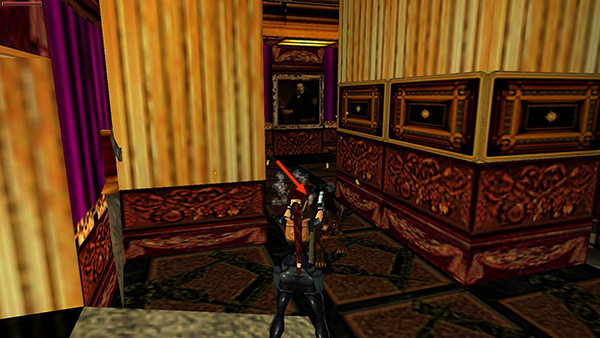
Immediately draw weapons and kill the dog that charges from the left.
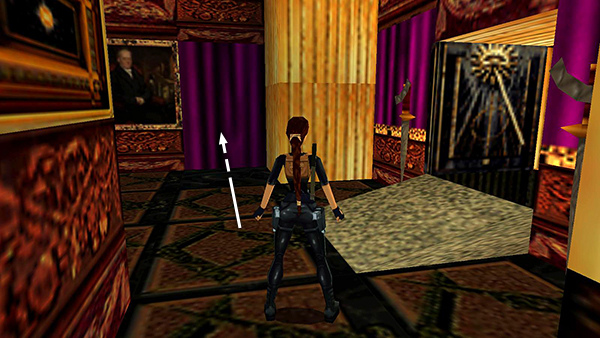
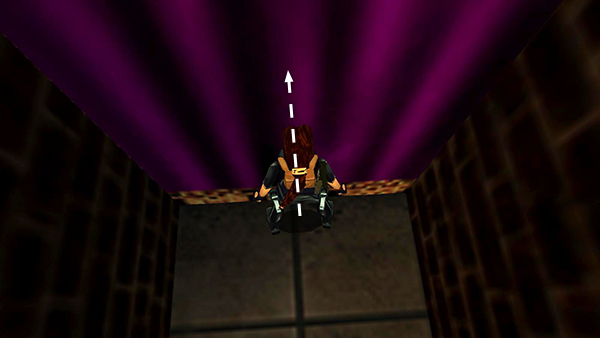
Turn around so the alcove where you found the mallet is on Lara's right. Ahead is a floor-length purple curtain with a break-away tile in front of it. Run across the tile—don't worry; there are no spikes below this time—and through the curtain into a little alcove.
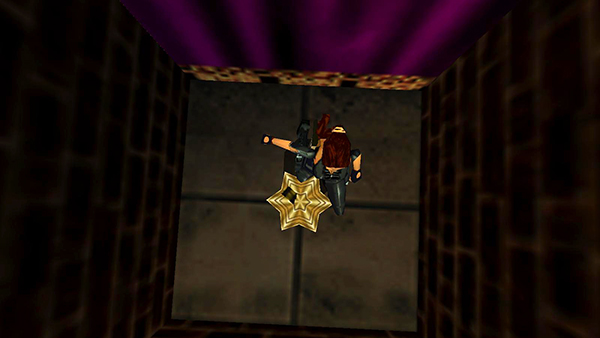
Here you'll find an ORNATE STAR and some MP5 clips. The two items overlap, so it's difficult to see the clips, but you'll get both items at the same time.
Turn around, walk to the edge, and then jump back through the curtain.
Copyright © 1998- - Stellalune (
). All rights reserved. Feel free to copy or print this walkthrough for personal use. By all means, share it with friends, but please include this credit line so people can send me their feedback. No part of this walkthrough may be reproduced on another site without permission. Follow this link for details about this site's advertising and privacy policy.