Bartoli's Hideout - Fighting the Dragon
The following techniques are also shown in this short video walkthrough.
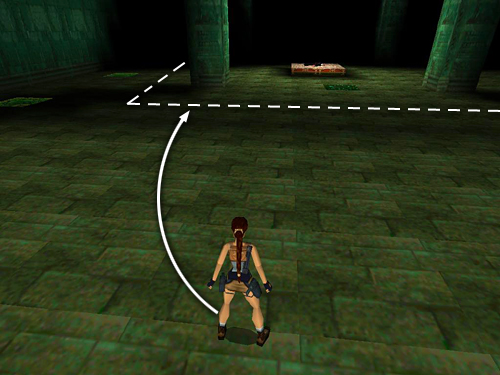
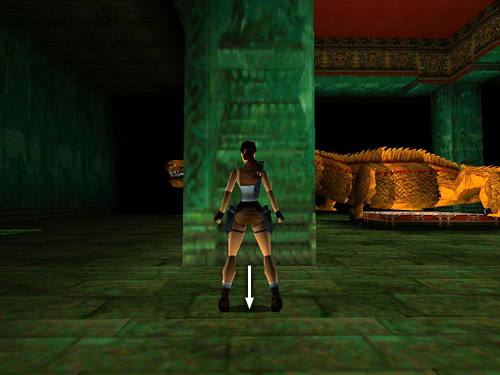
Approach the center of the room on the left side, staying behind the pillar.
As you move close to the pillar, you'll enter the trigger zone and Bartoli will transform.
As soon as the dragon appears it will start blowing flames, but the pillar should protect Lara. From your original position touching the pillar, hop back once.
Then pivot to the right so Lara is facing the dragon's body. He won't come around the pillar if you're positioned correctly. Equip the grenade launcher, which allows you to hit the dragon without actually having to get a target lock on it, and start firing at its belly just in front of his back leg. If you hit it squarely each time, it will take exactly 10 grenades to bring it down. Earlier I suggested saving about 15 grenades in case you miss a few times as you're lining up your shot.
-OR-
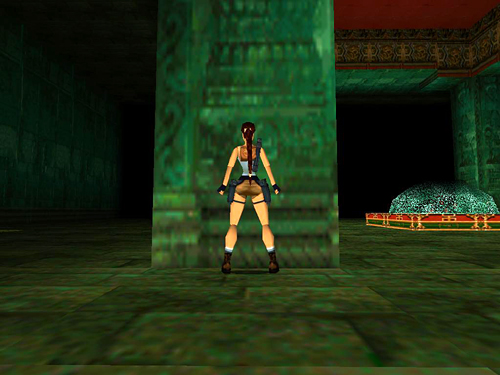
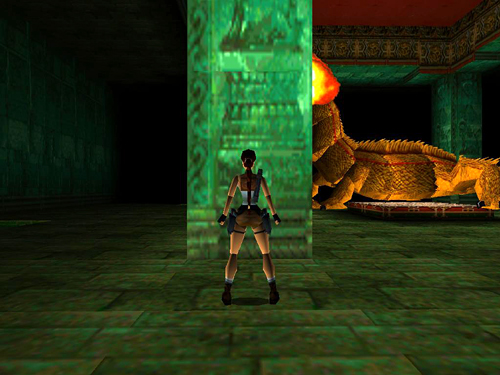
If you don't have enough grenades, you can use Uzis or even pistols, but you'll need to be more careful about where you stand. Move into the same spot, behind the left pillar, to trigger the transformation, as shown in the first two screenshots above.
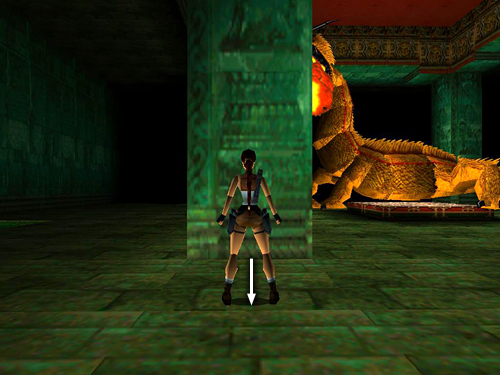
Then, when the dragon starts breathing fire, carefully back away from the pillar just a few steps. Not too far, though, or the dragon will come around the pillar toward Lara. Now observe the rhythm of the dragon's fire breath. Notice how the pillar is dark at first (as shown above). . .
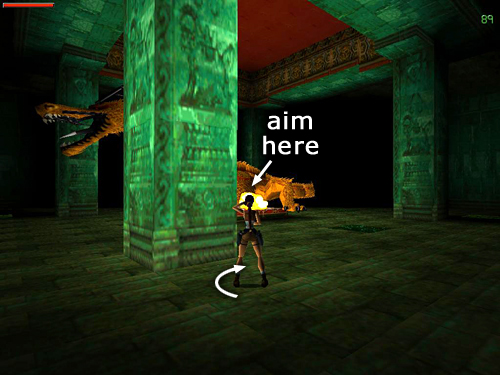
. . . then lights up each time the flames hit it. You can use this to help with your timing.
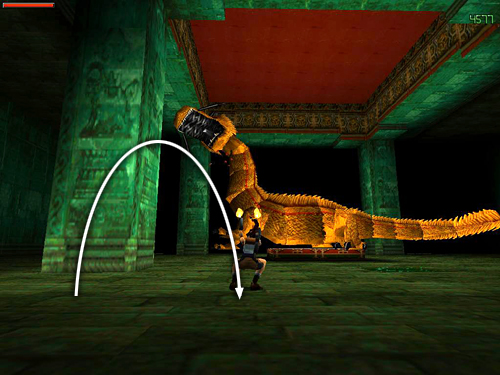
Draw weapons, wait for the dragon to blow a plume of fire that lights up the pillar. Immediately side flip to the right, so Lara can get a target lock on the dragon, and start shooting.

Then quickly flip to the left so Lara lands behind the pillar before the next blast can hit her. You can continue to hold Action to maintain the target lock. Lara should stop shooting once she's behind the pillar and no longer has line of sight. Now just keep repeating this as long as it takes, adjusting Lara's position if necessary to make sure she lands safely behind the pillar.
-AND FINALLY-
Once the dragon has taken enough damage—10 grenades or about 300 Uzi rounds—a bright flash will illuminate the whole room, the dragon will raise its head with an agonized roar, and magical sparkles will swirl around the dagger wound on its belly. Then the dragon will fall down stunned. At this point, you have about 10 seconds to run up to it and press Action to pull the DAGGER OF XIAN from its belly. This is the only way to defeat it permanently. If you don't get the dagger in time, the dragon revives and the whole ordeal starts again.
You may want to save the game in a new slot as soon as the beast starts to fall. That way, if he revives, you can reload and try to grab the dagger without having to fight him again.
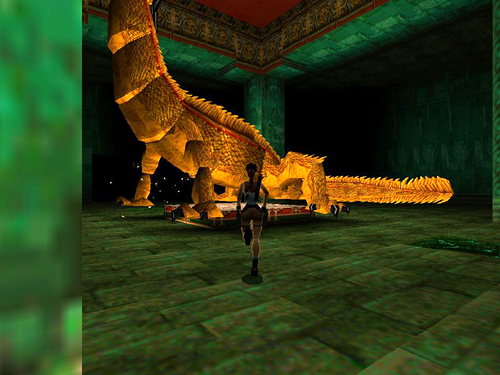
When you do stun the dragon, don't wait for it to hit the ground. As soon as you see the bright flash and the dragon lifts its head to roar, indicating it's about to fall down, holster your weapons and run toward it.
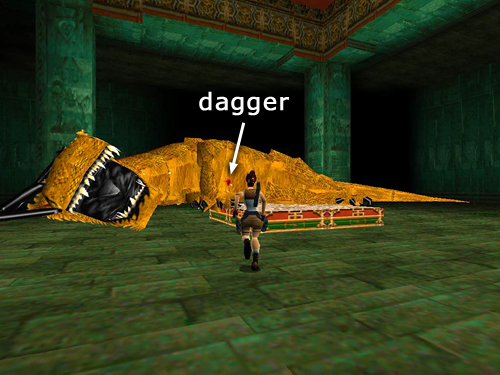
Run straight to the dragon's belly. . .
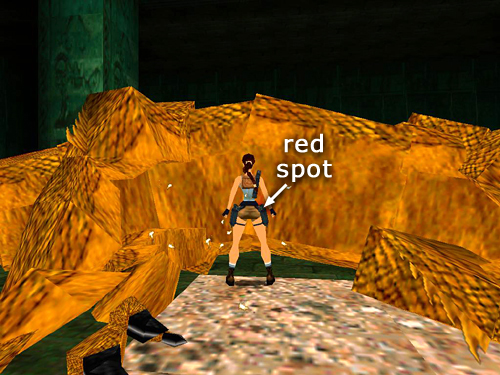
. . . stand facing the bloody spot and press Action to pull out the dagger. If you're having trouble doing this, try sidestepping so Lara's right hip is directly in front of the red spot where the dagger is. Or, jump straight up to land a little closer to the dragon and try pressing Action again.
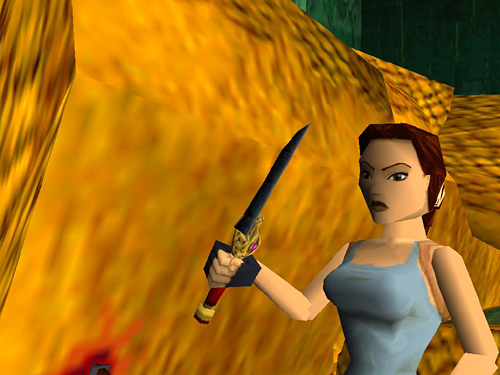
A cut scene starts when you've done it right.
Copyright © 1998- - Stellalune (). Feel free to copy or print this walkthrough for personal use. By all means, share it with friends, but please include this credit line so people can send me their feedback. No part of this walkthrough may be reproduced on another site without permission. As an Amazon Associate I earn from qualifying purchases. Follow this link for details about this site's advertising and privacy policy.
Stella's Tomb Raider Site: tombraiders.net.