Train Yard Second Visit - Mission: The Unlucky Ones (Part 2)
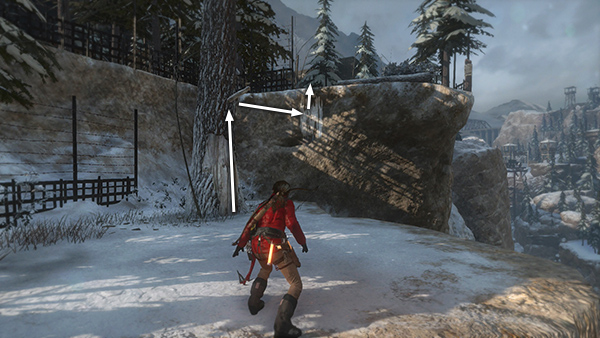
Lara crouches slightly, indicating there are enemies ahead. Climb the tree to the ledge above.
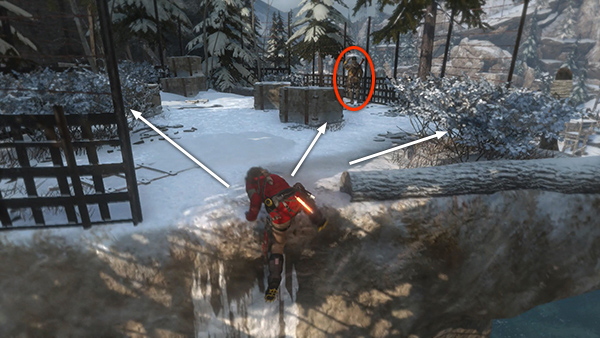
Immediately take cover so the first Trinity soldier doesn't spot you.
There is only one other soldier here, so if you have unlocked the Double Shot skill, you can wait for the first man to move toward his buddy and then kill them both at once. Otherwise, kill the nearest one with a headshot then quickly finish off the second before he notices.
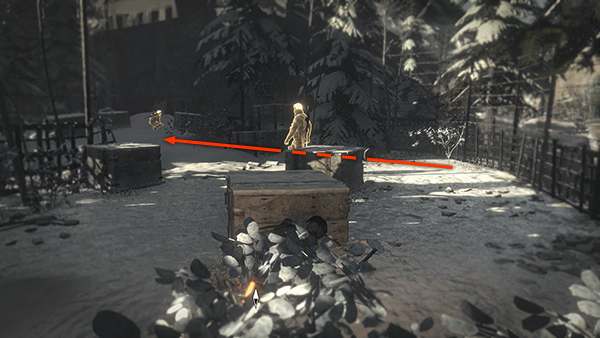
Search the bodies and locate an Explorer Satchel (2/6) to the left of the opening leading inside. It reveals the location of 4 survival caches and a strongbox on your map. You'll already have found most of the caches if you followed this walkthrough.
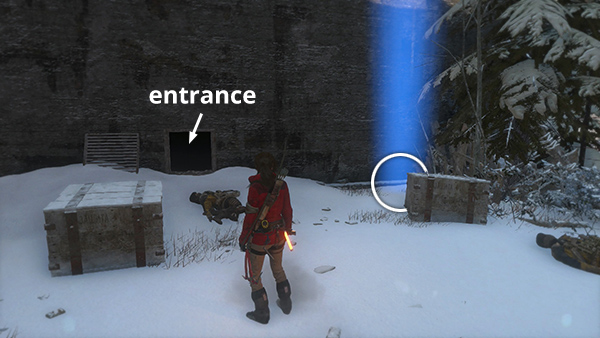
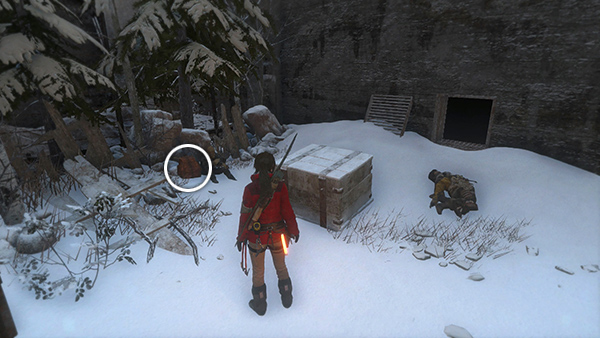
The nearest survival cache (10/21) is just to the right of the opening leading inside. Dig it up. Then enter the building.
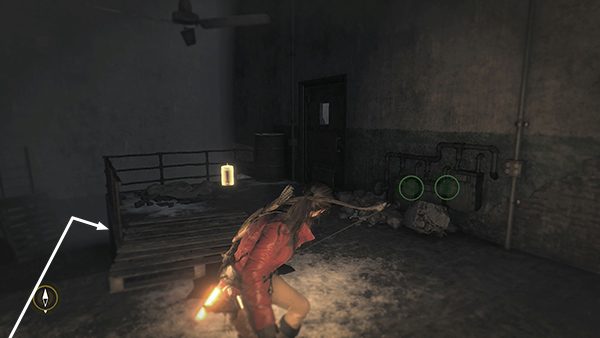
The green beacons in Survival Instinct seem to indicate that the prisoners are located behind the wall ahead, but they're actually in the basement. Grab some herbs from a jar.
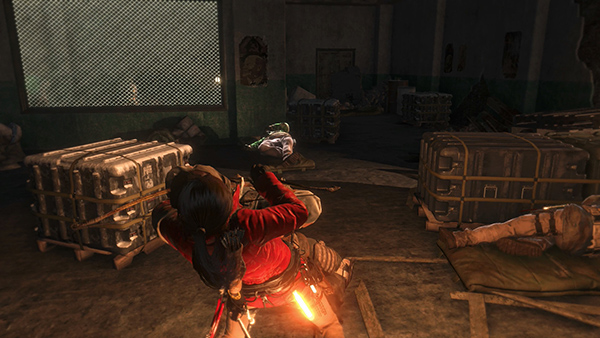
Then move quietly down the stairs to avoid alerting the guards in the next room.
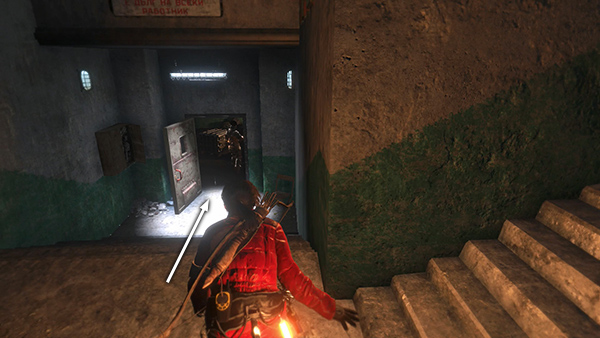
You can take out the first guard with a silent headshot or a stealth attack.
If you succeed, the other 2 guards should remain asleep.
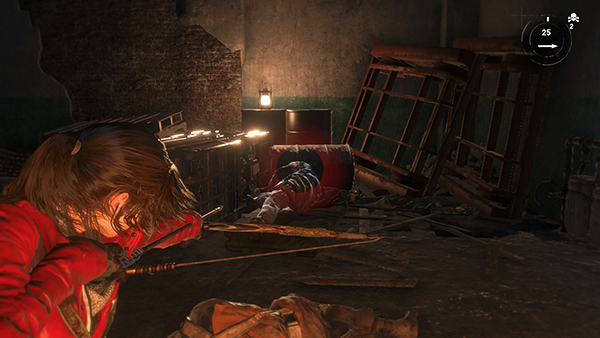
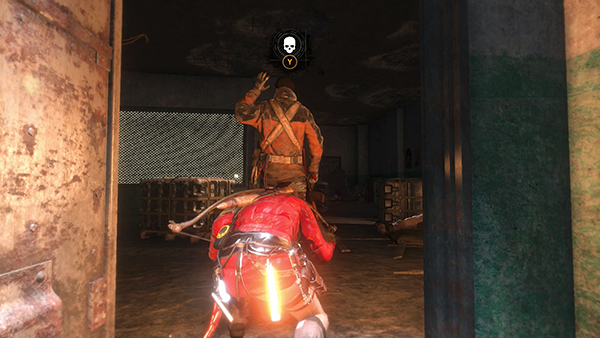
You can then kill at least one of them without incident.
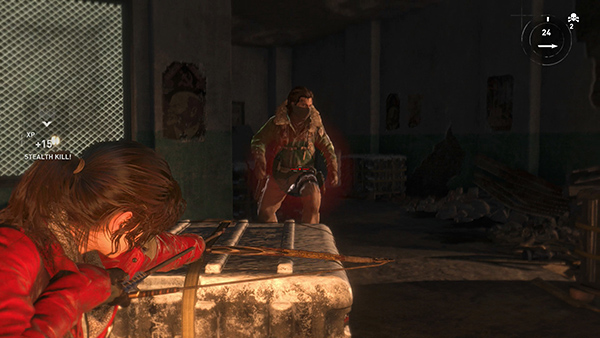
When the other wakes up, take him out quickly before he can do much damage.
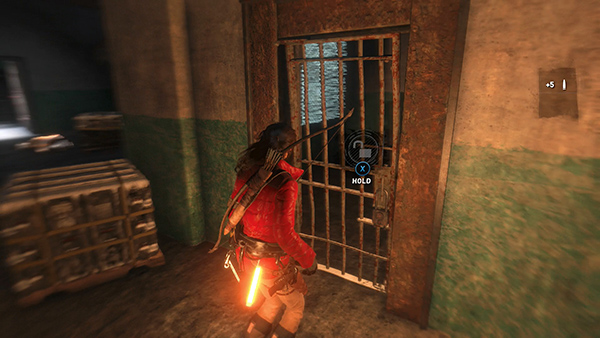
Now use the LOCKPICK (obtained by completing the Communications Breakdown Mission in the Logging Camp earlier) to open the cell door, go inside...
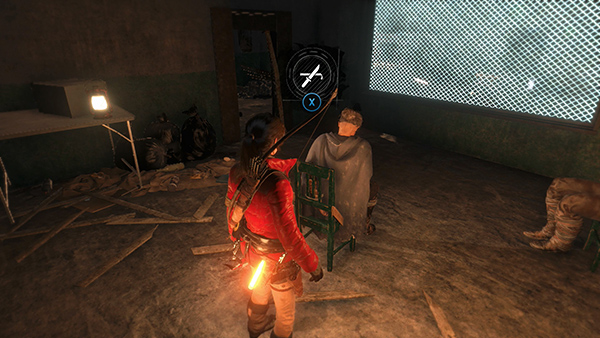
...and free the prisoners by standing behind each one and holding X. They won't talk to you, but you'll receive a notification that you've completed the mission and should return to the Remnant General, but before doing that, we have a few pickups to make in this area.
[Part 1 | Return to the Train Yard Walkthrough]
Copyright © - Stellalune ( ). All rights reserved. Feel free to copy or print this walkthrough for personal use. By all means, share it with friends, but please include this credit line so people can send me their feedback. No part of this walkthrough may be reproduced on another site without permission. Follow this link for details about this site's advertising and privacy policy.