Geothermal Valley - Lighting the Signal Fire (Part 2)
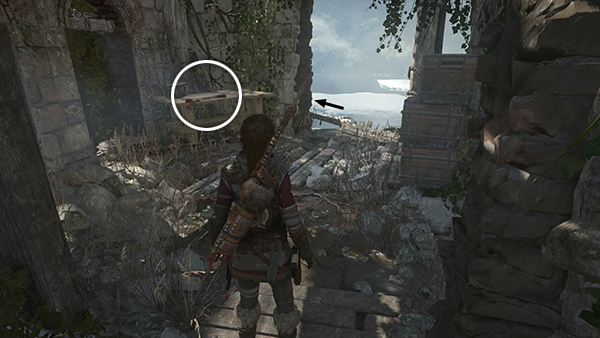
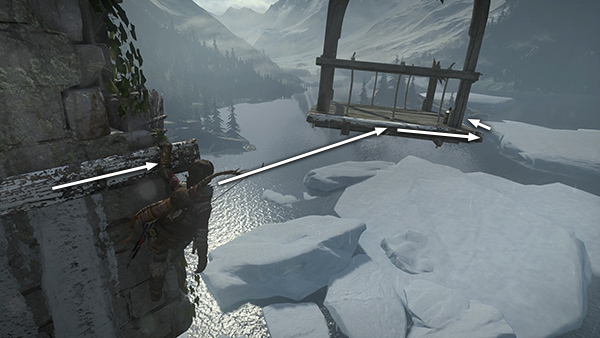
Once you have the OIL FLASK, step out onto the narrow beam...
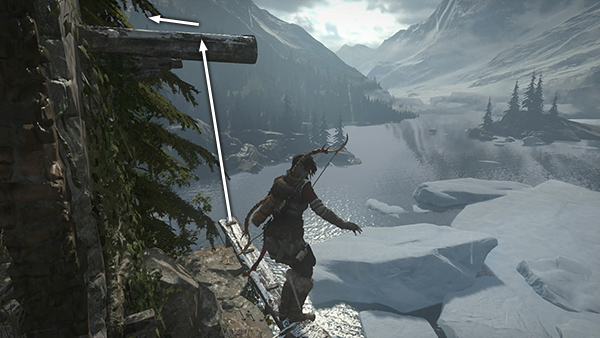
...and walk along behind the tower. When you reach the end of the beam, jump to grab the perpendicular beam ahead. Pull up, turn left, and walk toward the wall.
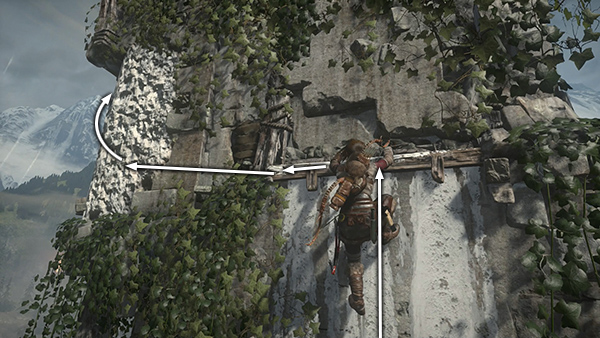
Scramble up the wall to grab another horizontal plank. Climb to the left and then jump and latch onto another climbable wall. Climb up and around to the left.
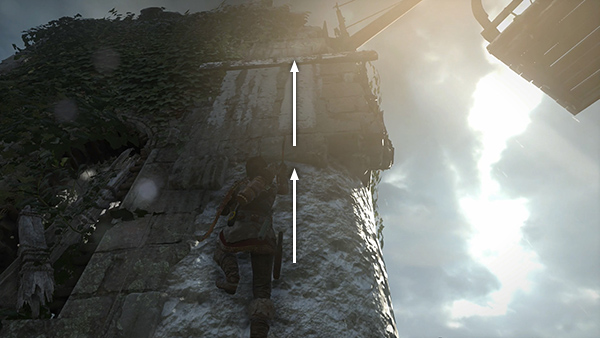
Scramble up the wooden wall above the climbing wall and grab another plank.
Climb to the right and jump to grab the dangling platform. Climb around to the right.
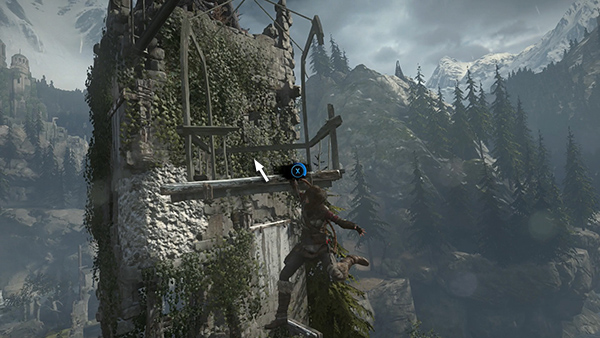
The platform shifts under Lara's weight and you'll need to press Interact to hang on. When it settles, climb up onto it.
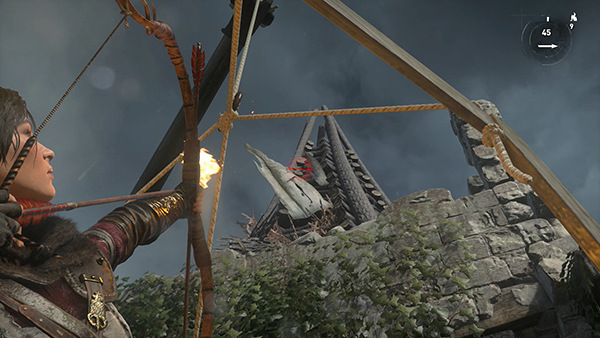
Now it's time to try out those fire arrows! Equip the bow and press D-Pad Up or press 1 on the keyboard repeatedly to swap between poison and fire arrows. (You'll see the fire icon at the top right instead of the skull and crossbones.) Aim at the pile of wood and rags on top of the tower by holding LT/Right Mouse. Then press and hold RB/Middle Mouse to charge up a shot with a fire arrow. Release the RB/Middle Mouse to shoot a fire arrow and light the beacon.

GONDOR CALLS FOR AID! ;)
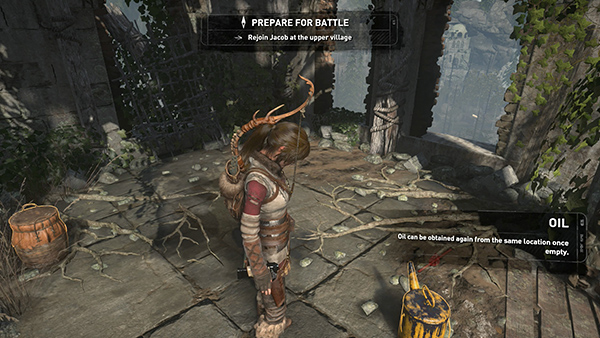
During the cutscene, Jacob thanks Lara for her efforts over the walkie-talkie. As she drops into an interior room of the tower, you receive a new goal. Hold RB/Middle Mouse without aiming to make more fire arrows. Then use the oil can and box of cloth to replenish your supplies.
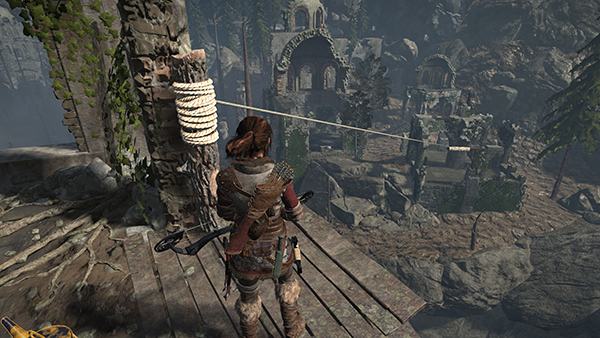
Use a rope arrow to make a zip line across the water and slide back down to the ruins.
[Part 1 | Return to the Geothermal Valley Walkthrough]
Copyright © - Stellalune ( ). All rights reserved. Feel free to copy or print this walkthrough for personal use. By all means, share it with friends, but please include this credit line so people can send me their feedback. No part of this walkthrough may be reproduced on another site without permission. Follow this link for details about this site's advertising and privacy policy.