STELLA'S LARA CROFT GO WALKTHROUGH - Android, iOS, PS4 and Vita, Steam, and Windows Phone/PC/Tablet
MAZE OF SNAKES - PART 8: ONE DEADLY STEP
Updated: 9/6/15(†)
Relic Fragments: 1
Gems: 2
Follow this link for my video walkthrough.
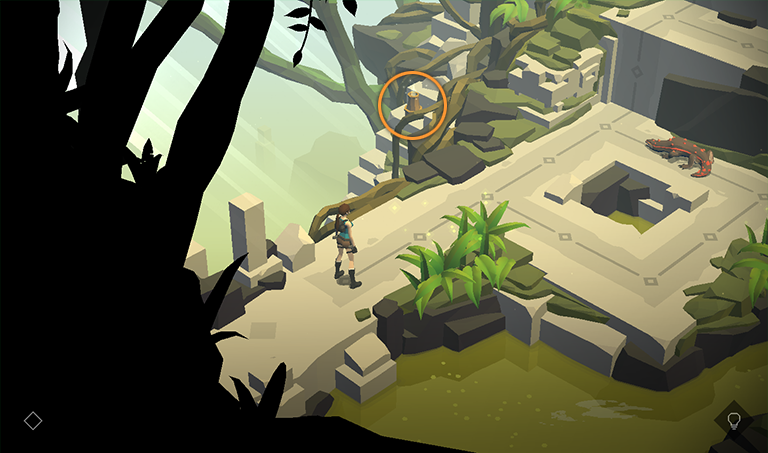
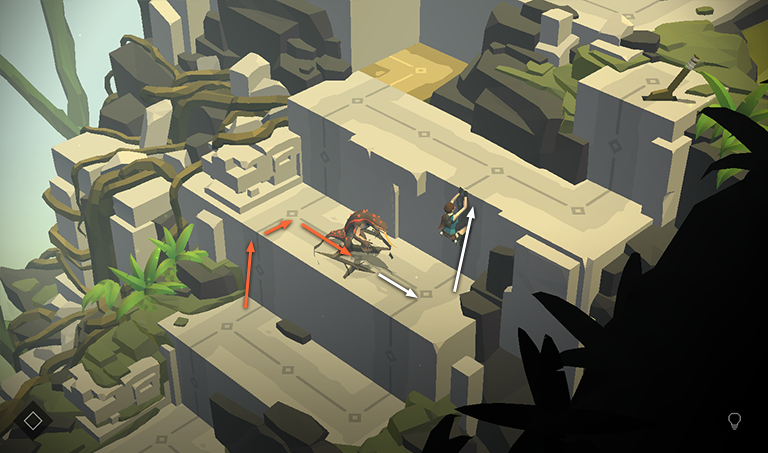
Smash the vase on the steps to the left to get another piece of THE TWIN SNAKES relic (8/10).
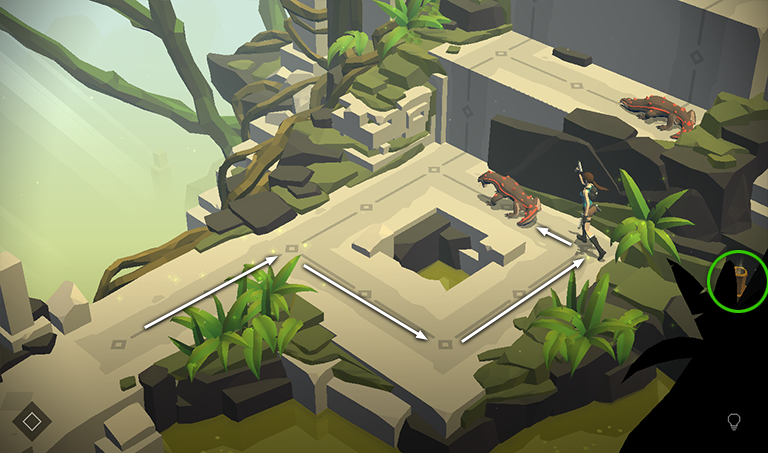
We now meet a new enemy type: the lizard. Unlike snakes, these guys will chase Lara if she passes in front of them, but you can kill them by sneaking up from behind. So move around to the right to approach the first lizard and kill it from behind. Smash the vase sitting in the dark area on the right to collect another EMERALD (15/19).
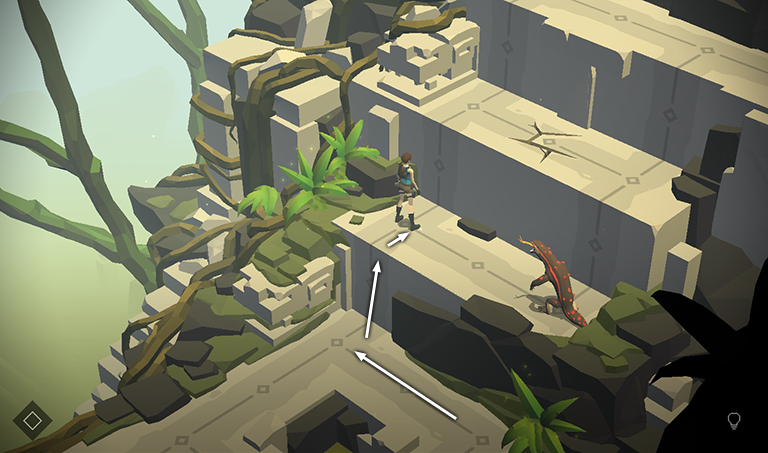
When you climb onto the ledge above, the second lizard spots Lara and begins to move toward her. Like Lara, it can only move one space per turn. So you can use this to your advantage.
To defeat it, climb up onto the next ledge, and move to the right, passing over the cracked floor. The lizard will follow you.
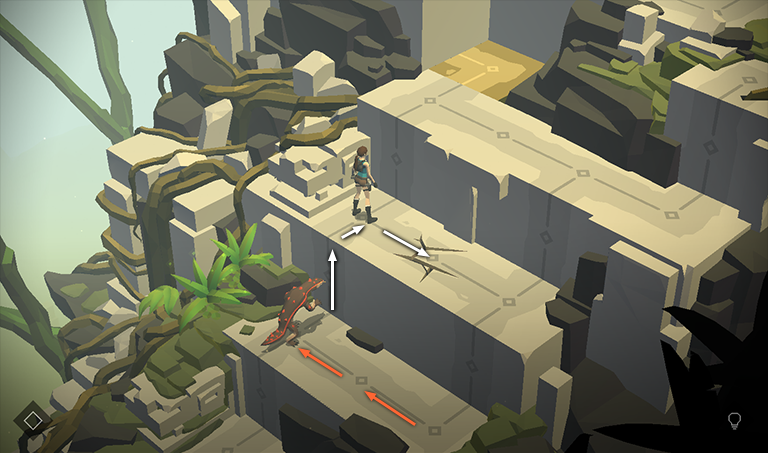
If you then climb onto the next higher ledge, the lizard will step on the cracked area and fall through the hole in the floor, unlocking the Into the Abyss achievement/trophy.
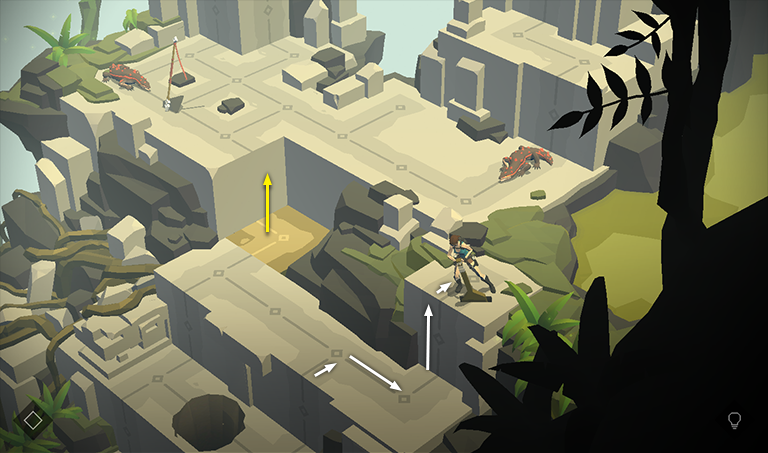
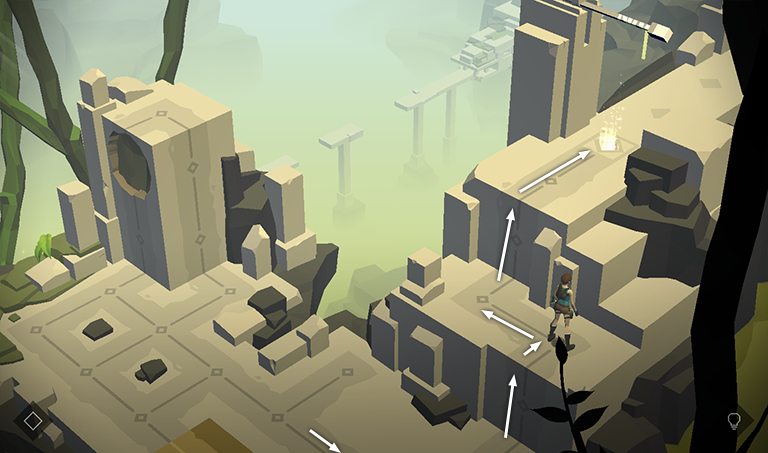
Now climb up onto the ledge on the right and pull the lever to raise the gold block on the left.
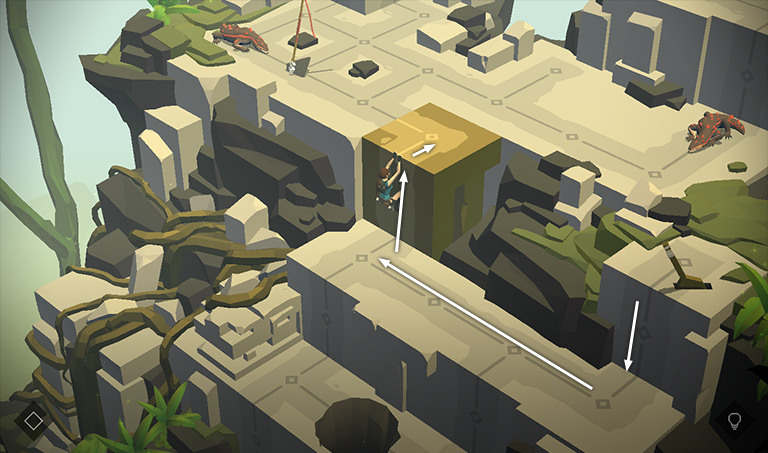
Drop down, head to the left, and climb onto the gold block.
Move one space to the left, toward the SPEAR, but don't try to grab it yet. The lizard sitting just beyond the spear notices Lara and will kill her if she gets to close. Instead, move to the right, then twice to the upper left.
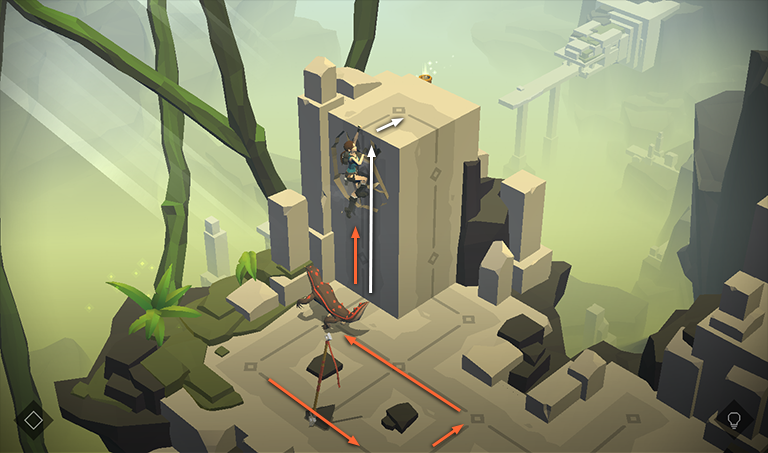
Climb up the left face of the square pillar, where there's a cracked section. The lizard will follow, but you should remain two spaces ahead of it.
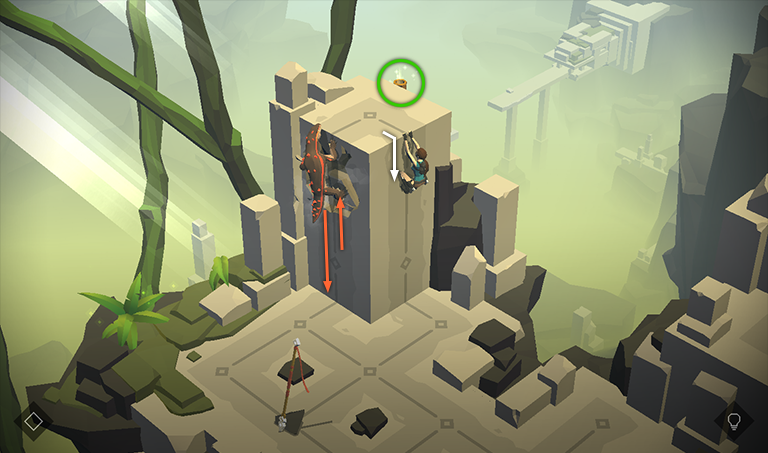
Once you reach the top of the pillar, drop down on the right side. As the lizard attempts to climb up after Lara, the cracked section will give way, and he'll fall to the ground. With Lara out of sight and his brain being the size of a pecan, he'll quickly lose interest and sit facing the wall. Before climbing down, smash the vase hidden behind the tall pillar to get another EMERALD (16/19).
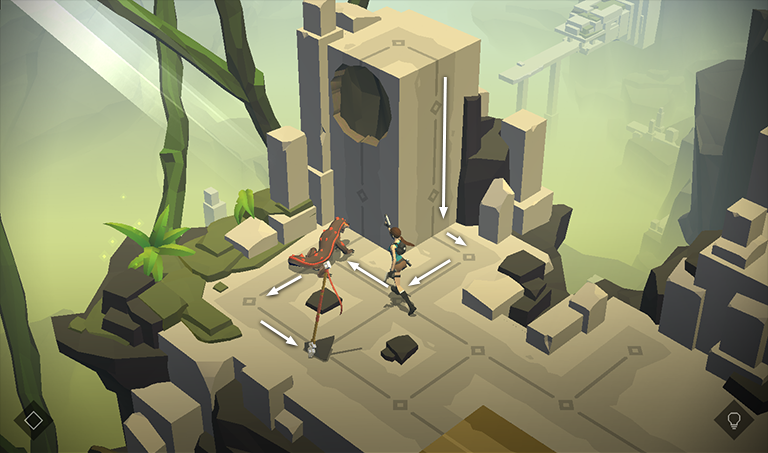
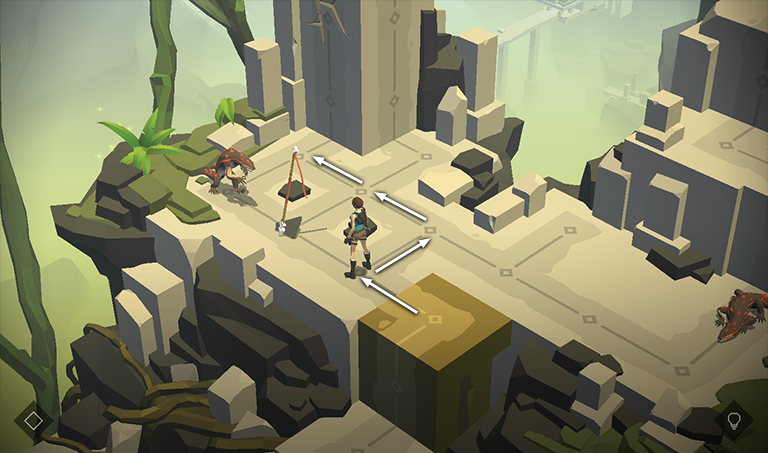
Drop down and approach the lizard from the side to shoot it with your pistols. Now you can safely retrieve the SPEAR.
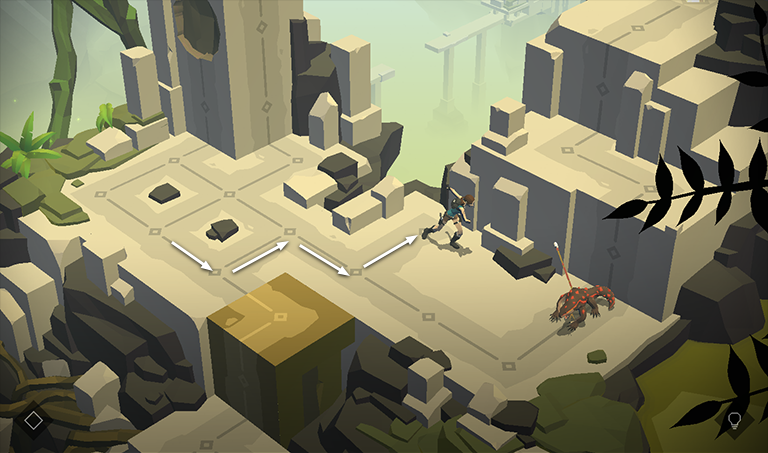
Zigzag over to the right so Lara is standing on the path to the left of the remaining lizard. You can spear it from here without having to get too close.
Once the lizard is dead, climb up to the exit.
†UPDATE HISTORY: 8/30/15 - Walkthrough first posted.
8/31/15 - Added achievements.
9/6/15 - Added video walkthrough.
WAS THIS WALKTHROUGH HELPFUL? If not, I apologize and invite you to contact me with any questions. If you need help right away, I recommend the r/TombRaider subreddit. Other fan-run forums are listed at tombraiders.net/stella/community.html. If this site was useful, please consider supporting it financially or in other ways. For details, visit tombraiders.net/stella/support.html. As always, I welcome your corrections/suggestions. Thank you!
Copyright © - Stellalune ( ). Screenshots were made using the Andy Android emulator. Feel free to copy or print this walkthrough for personal use. Share it with friends if you like, but please include this credit line so people can send me their feedback. No part of this walkthrough may be reproduced on another site without permission. As an Amazon Associate I earn from qualifying purchases. Follow this link for details about this site's advertising and privacy policy.
Stella's Tomb Raider Site: tombraiders.net.