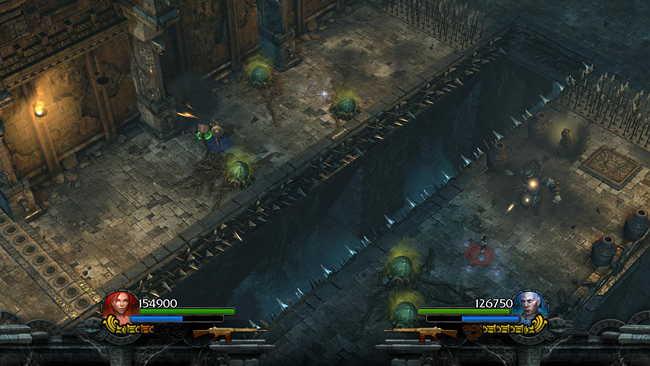
There are more poison pods, gems, and urns containing ammo and health on both walkways. As Lara moves forward, a long-haired ogre and several other enemies spawn ahead of her. After you've dealt with them, 3 skeletons approach from the SW.
Meanwhile, a squad of bogmen and a giant swamp ogre appear on Totec's side. Try to avoid the pods and spikes as you fight and help each other out if you can. The swamp ogre drops health and/or ammo when he dies.

Just ahead both sides of the walkway are blocked by spikes. If you're going for the Time Challenge, the player controlling Lara should stand on the pressure pad to retract both sets of spikes. Then Totec can move ahead. Once he has safely crossed the spikes, Lara should roll as quickly as possible across the spikes on her side to clear them before they pop up. This is risky but faster than the alternative shown below.
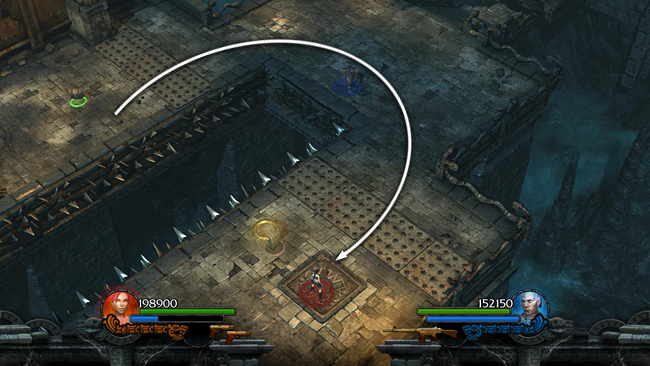
Alternatively, have Lara stand on the pad to retract the spikes. Totec should then come around toward her.
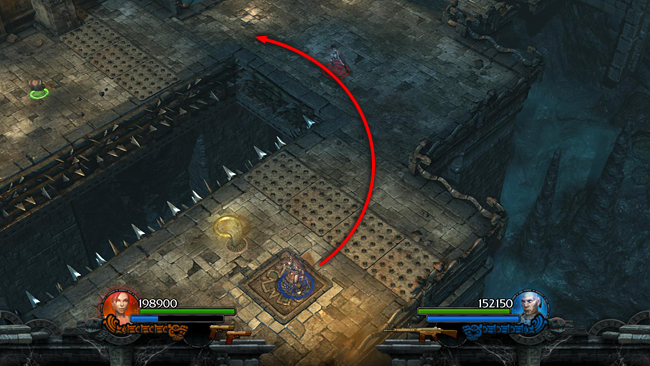
Now Totec should stand on the pad as Lara moves around to the end of the walkway.
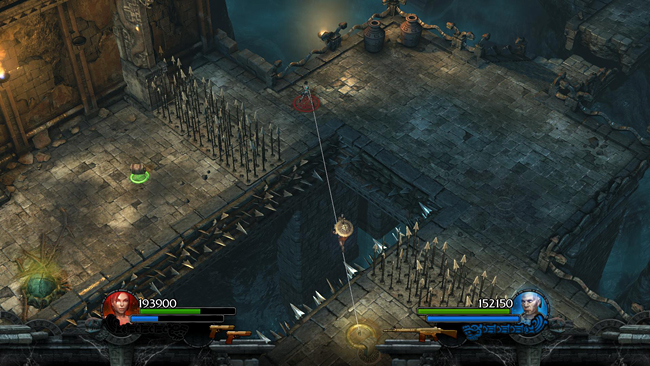
From there she can grapple the golden ring, and Totec can walk across the cable to join her.
[Part 2 | Return to the Flooded Passage Walkthrough]
Copyright © - Stellalune (). All rights reserved. The screenshots and videos included here were made using Fraps. Feel free to copy or print this walkthrough for personal use. By all means, share it with friends, but please include this credit line so people can send me their feedback. No part of this walkthrough may be reproduced on another site without permission. Follow this link for details about this site's advertising and privacy policy.
|