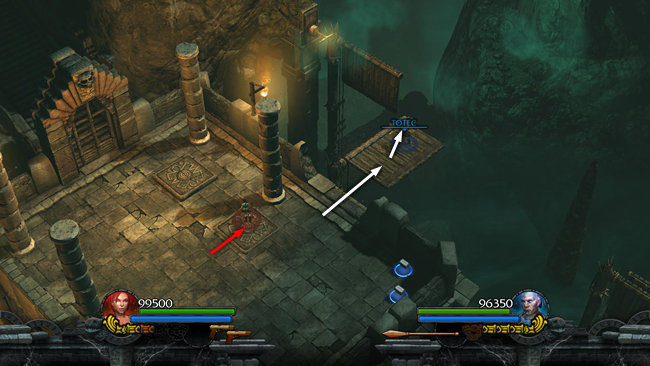
The exit from this room is on the NW wall. To open it, begin by having one character stand on the pressure pad on the right to raise the first of 2 wooden ledges to the NE. The other character should then jump onto this ledge and move to the top corner.
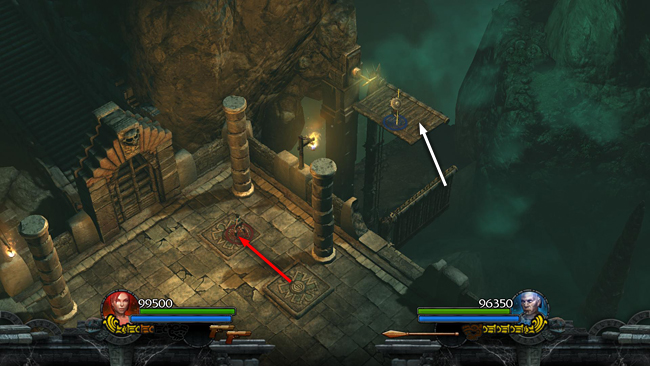
As the first character moves onto the left pad, the other character needs to jump quickly onto the second ledge as it rises and the first collapses.
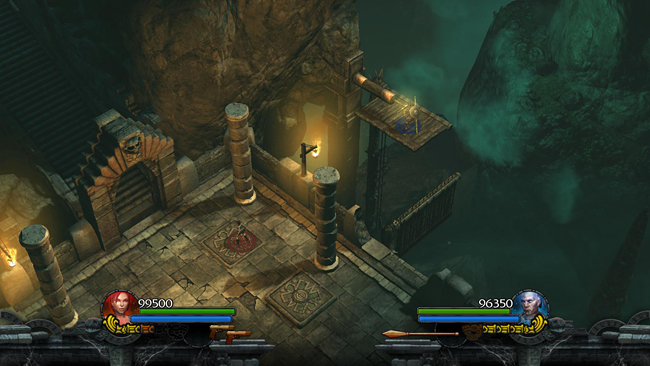
He or she can then pull the handle to open the exit. As soon as you release the handle, it begins to retract. You must now move quickly to reach the door before it closes.
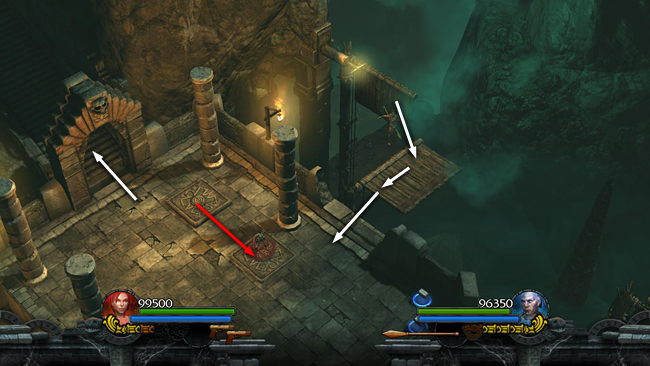
The first character should move back onto the pad on the right. The second character must then jump back onto the first ledge as it rises and the other ledge collapses. Now jump back down to the floor and run through the exit before it closes. If you don't make it in time, you'll have to pull the handle and try again.
[Page 1 | Return to the Twisting Bridge Walkthrough]
Copyright © - Stellalune (). All rights reserved. The screenshots and videos included here were made using Fraps. Feel free to copy or print this walkthrough for personal use. By all means, share it with friends, but please include this credit line so people can send me their feedback. No part of this walkthrough may be reproduced on another site without permission. As an Amazon Associate I earn from qualifying purchases. Follow this link for details about this site's advertising and privacy policy.
|