Since it's difficult to show the simultaneous movements of the various sets of blocks in static screenshots, I recommend you check out this short video walkthrough if possible.
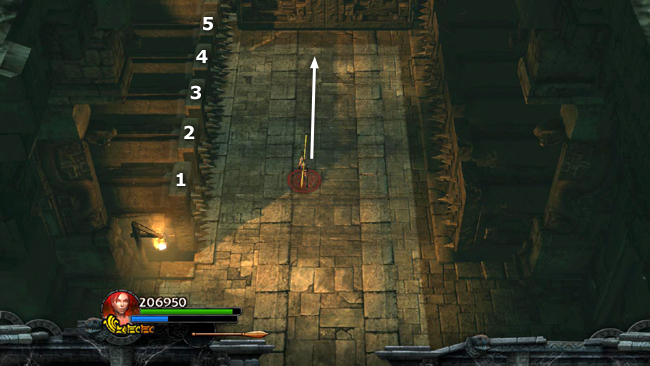
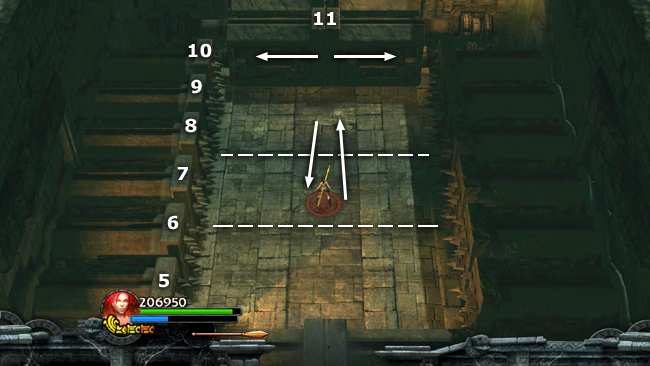
Advance along the middle of the corridor between the pounding blocks. These are similar to the ones in the Twisting Bridge level. If you observe carefully, you'll notice that after the blocks open, some of them start to quiver just before they slam shut.
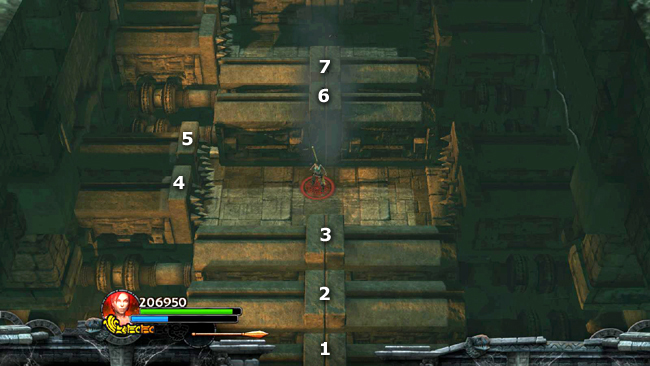
Stop between the 4th and 5th sets of blocks as the ones behind and ahead close.
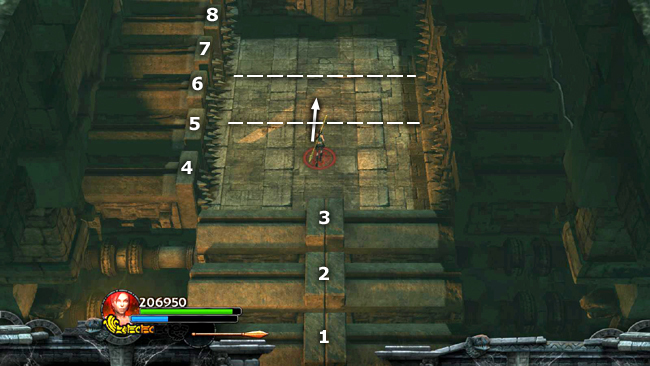
As soon as the 6th and 7th re-open, run forward to stand between them. . .
. . . as the blocks ahead and behind close.
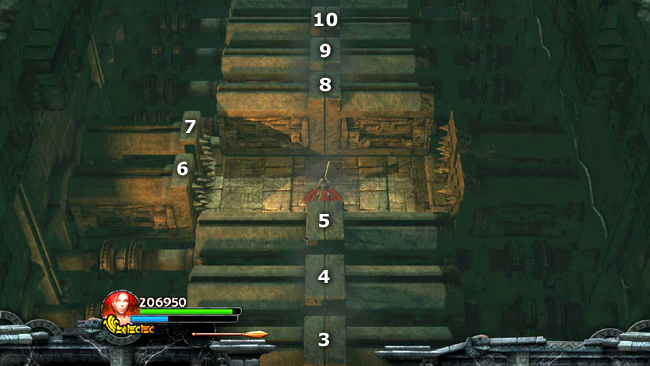
After those blocks re-open, move forward. The 10th and 11th sets open in front of you, then the 9th 10th and 11th quickly close, so move back between the 7th and 8th.
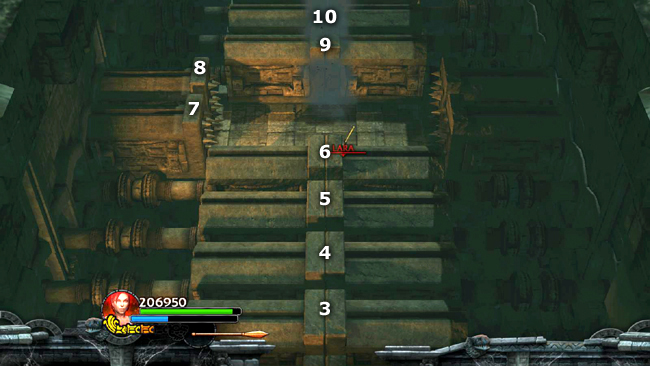
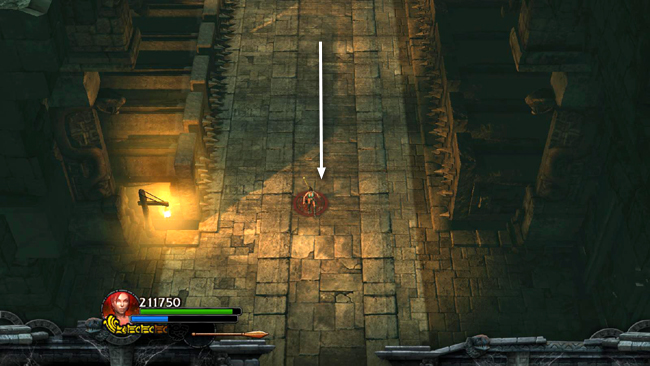
This area is safe for the moment.
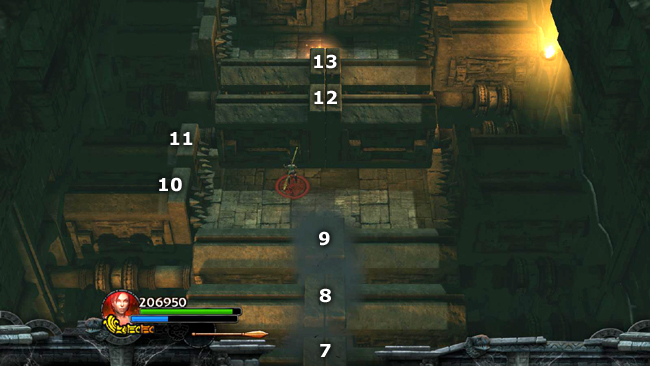
When the 9th, 10th and 11th re-open, move forward and stand between the 10th and 11th as the blocks behind you close. You can now glimpse the Gold Lizard Artifact (+ bomb) beyond the next 2 sets of blocks.
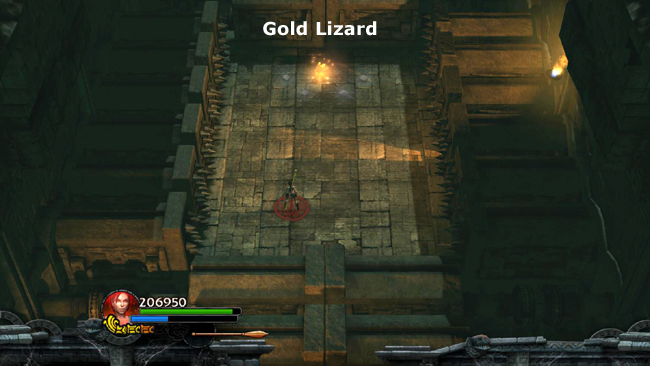
When they open, run forward and take the artifact, along with a few gems.
All of the blocks behind you then re-open, allowing you safe passage back to the start.
[Return to the Twisting Bridge Walkthrough or Co-op Walkthrough]
Copyright © - Stellalune (). All rights reserved. The screenshots and videos included here were made using Fraps. Feel free to copy or print this walkthrough for personal use. By all means, share it with friends, but please include this credit line so people can send me their feedback. No part of this walkthrough may be reproduced on another site without permission. Follow this link for details about this site's advertising and privacy policy.
|